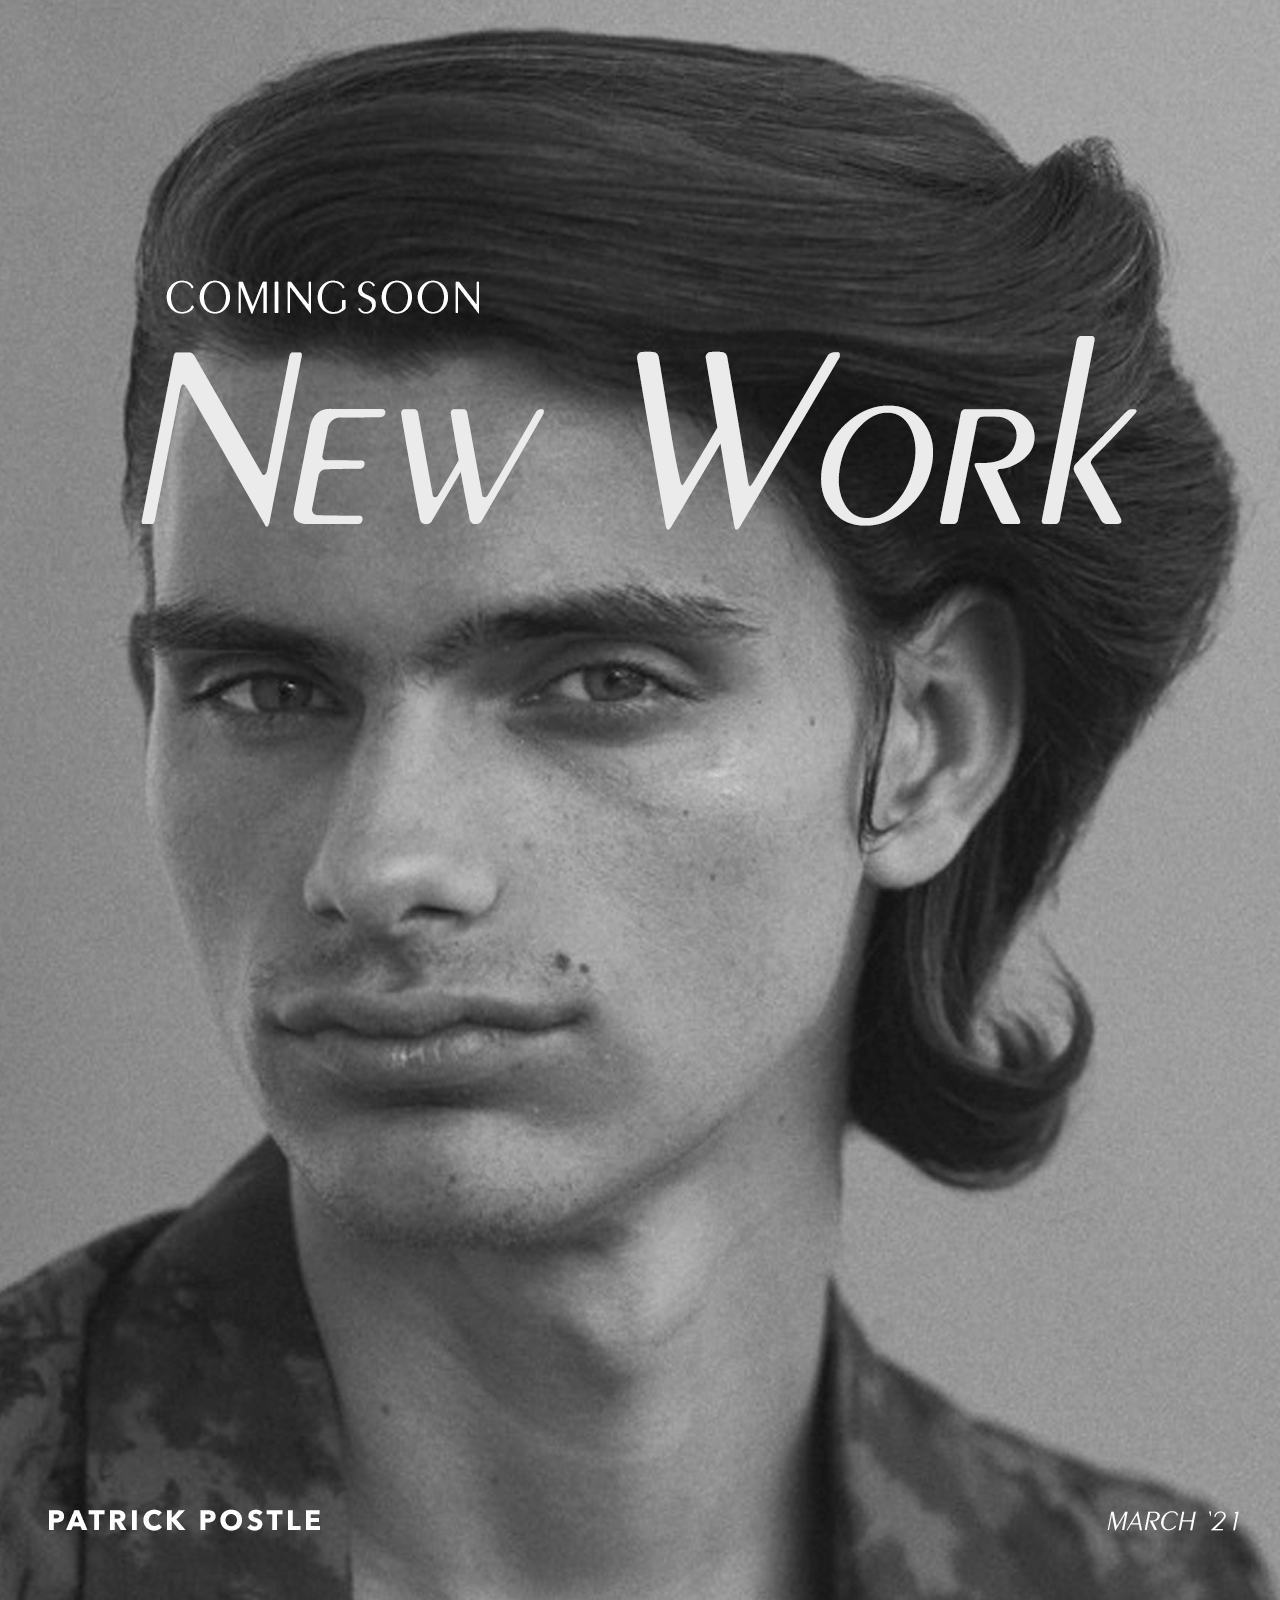
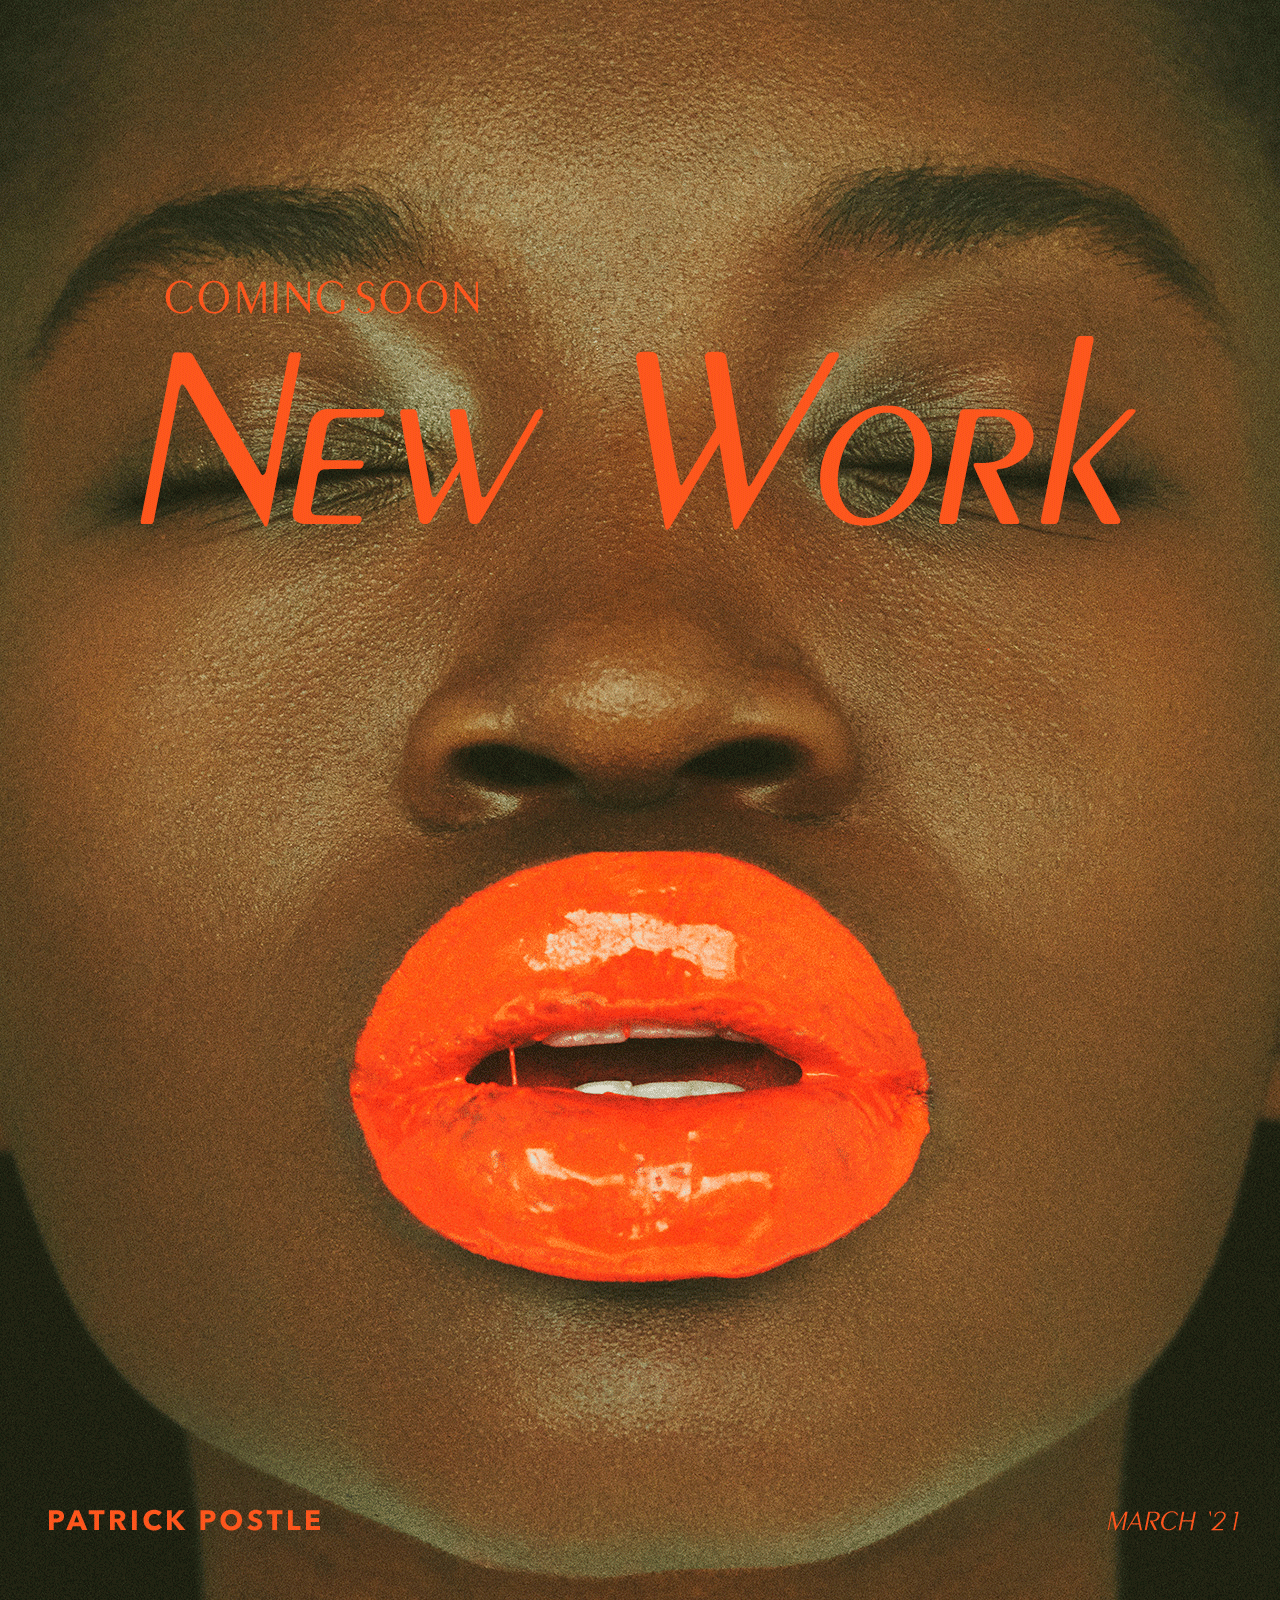
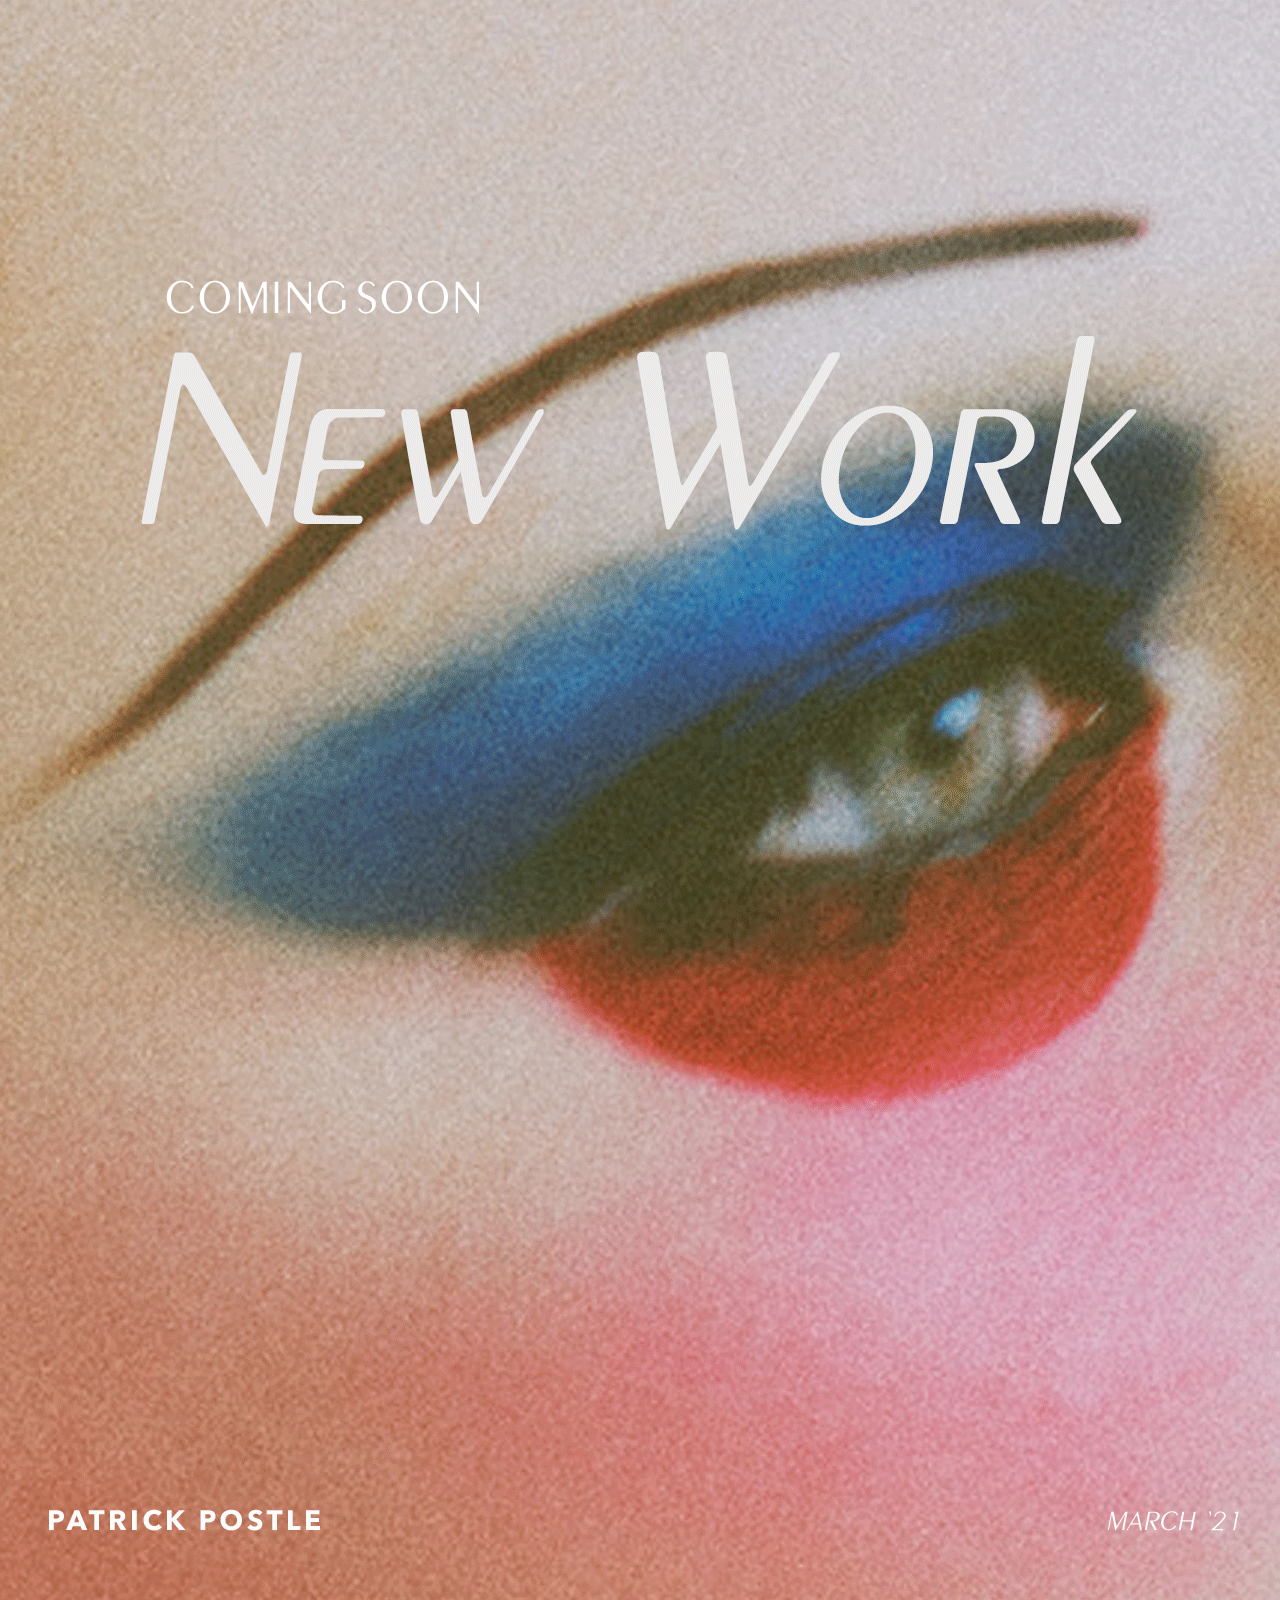
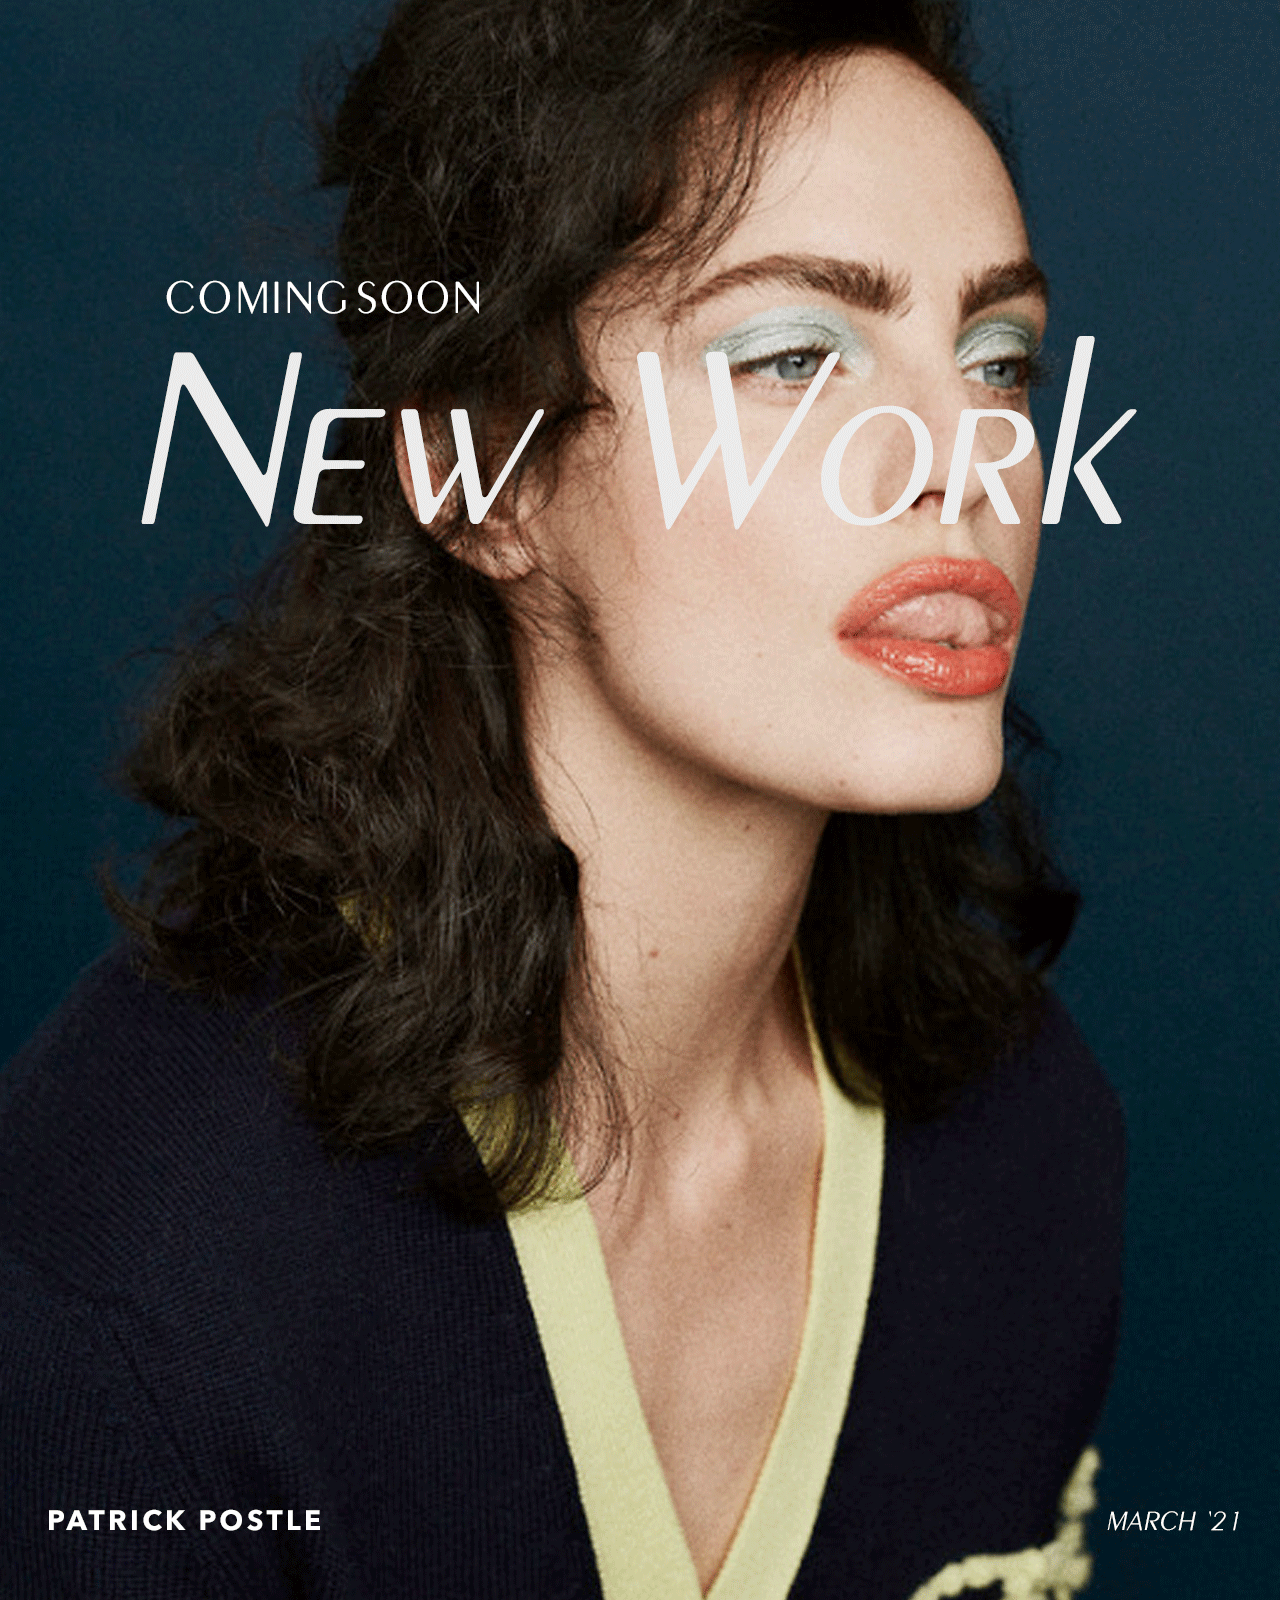
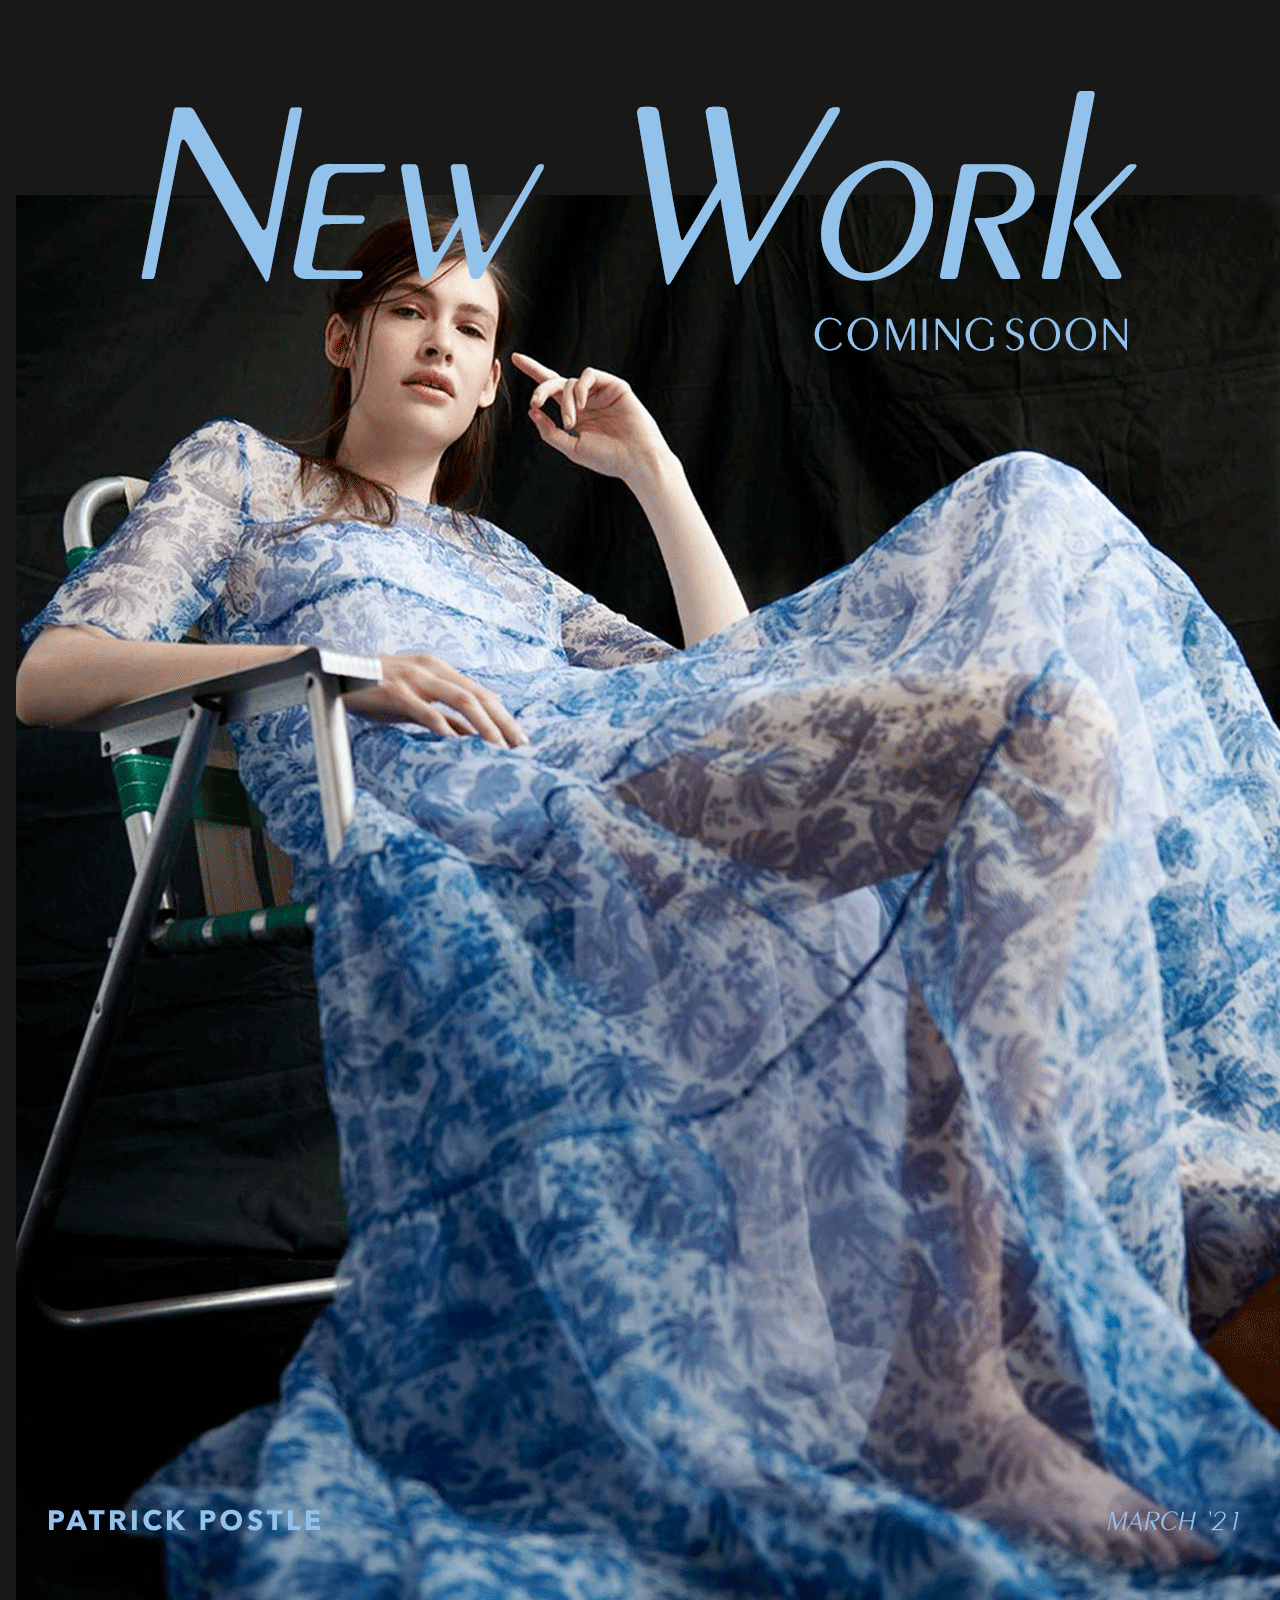
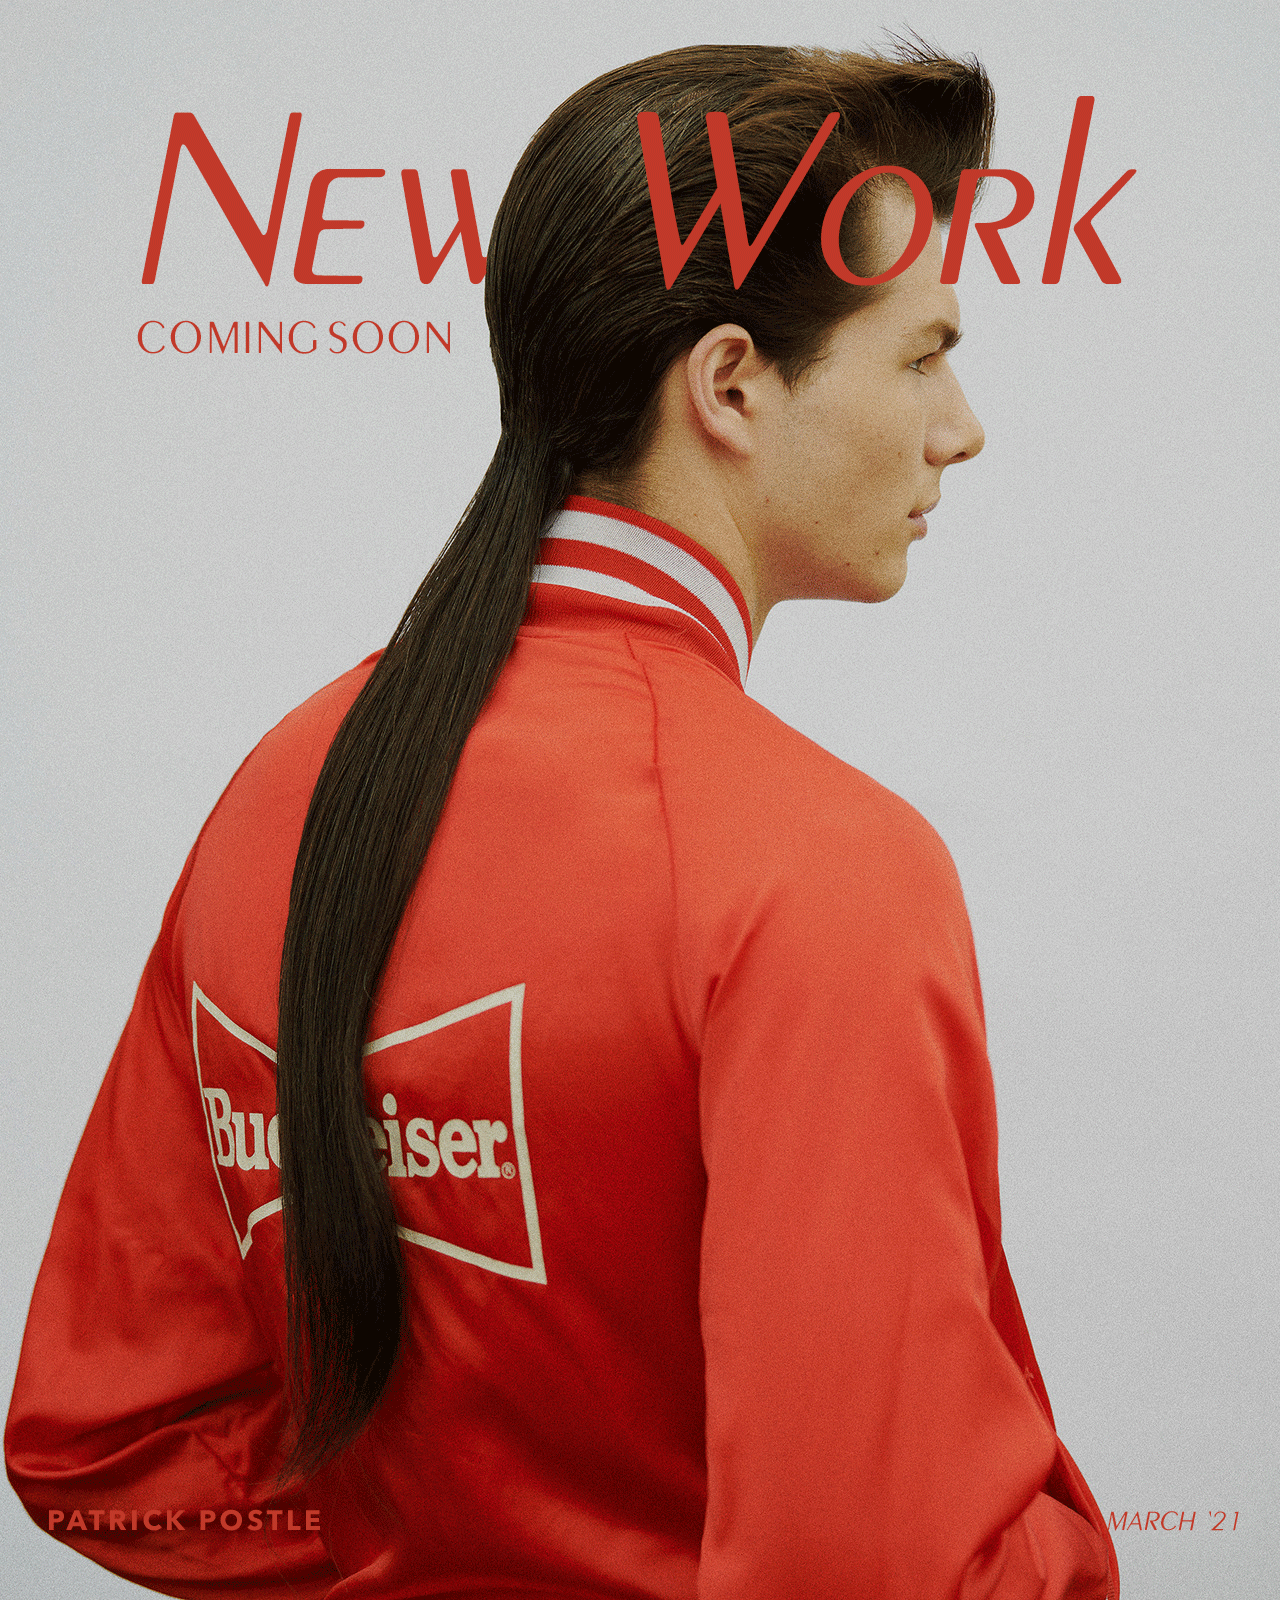
Patrick Postle Photography | Branding
Working with photographer, Patrick Postle, we created 6 magazine-style covers featuring his latest work to relaunch his IG account and patrickpostle.com. Live this March ‘21.

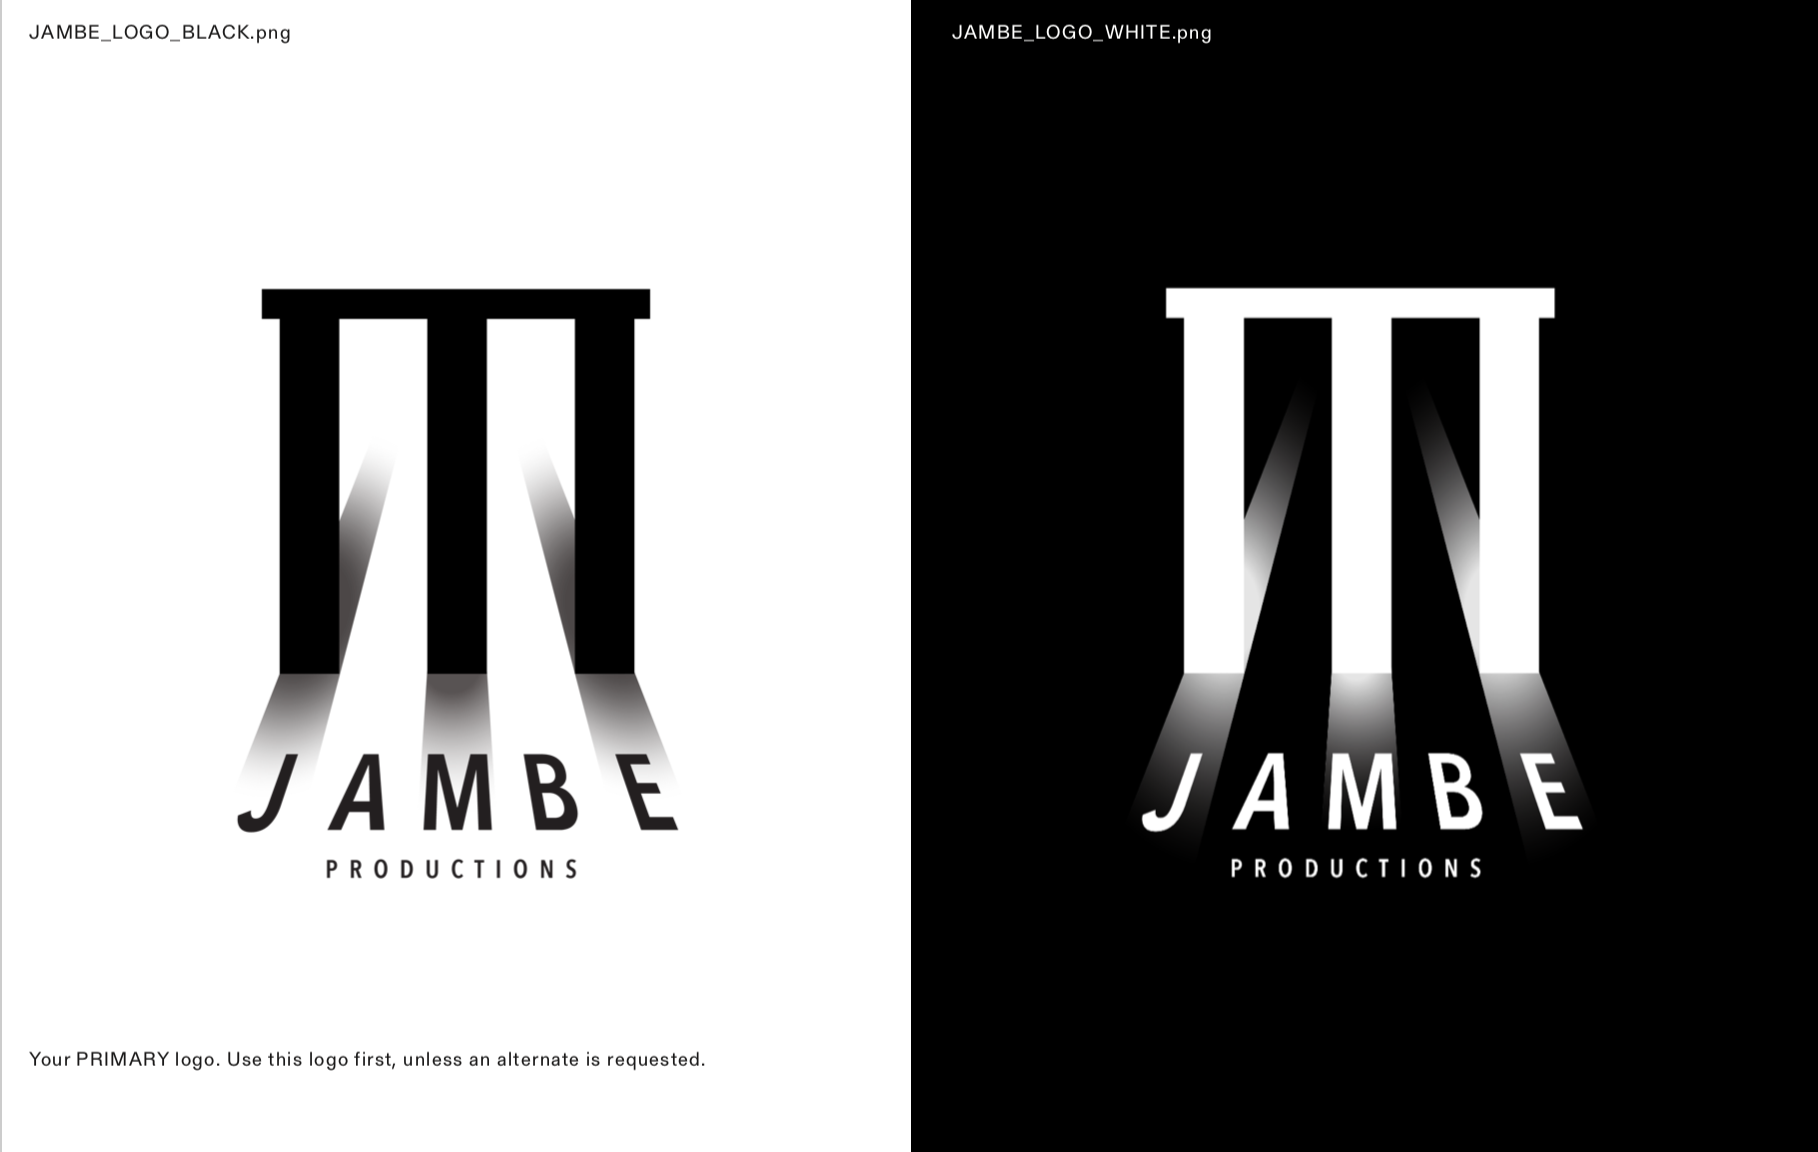
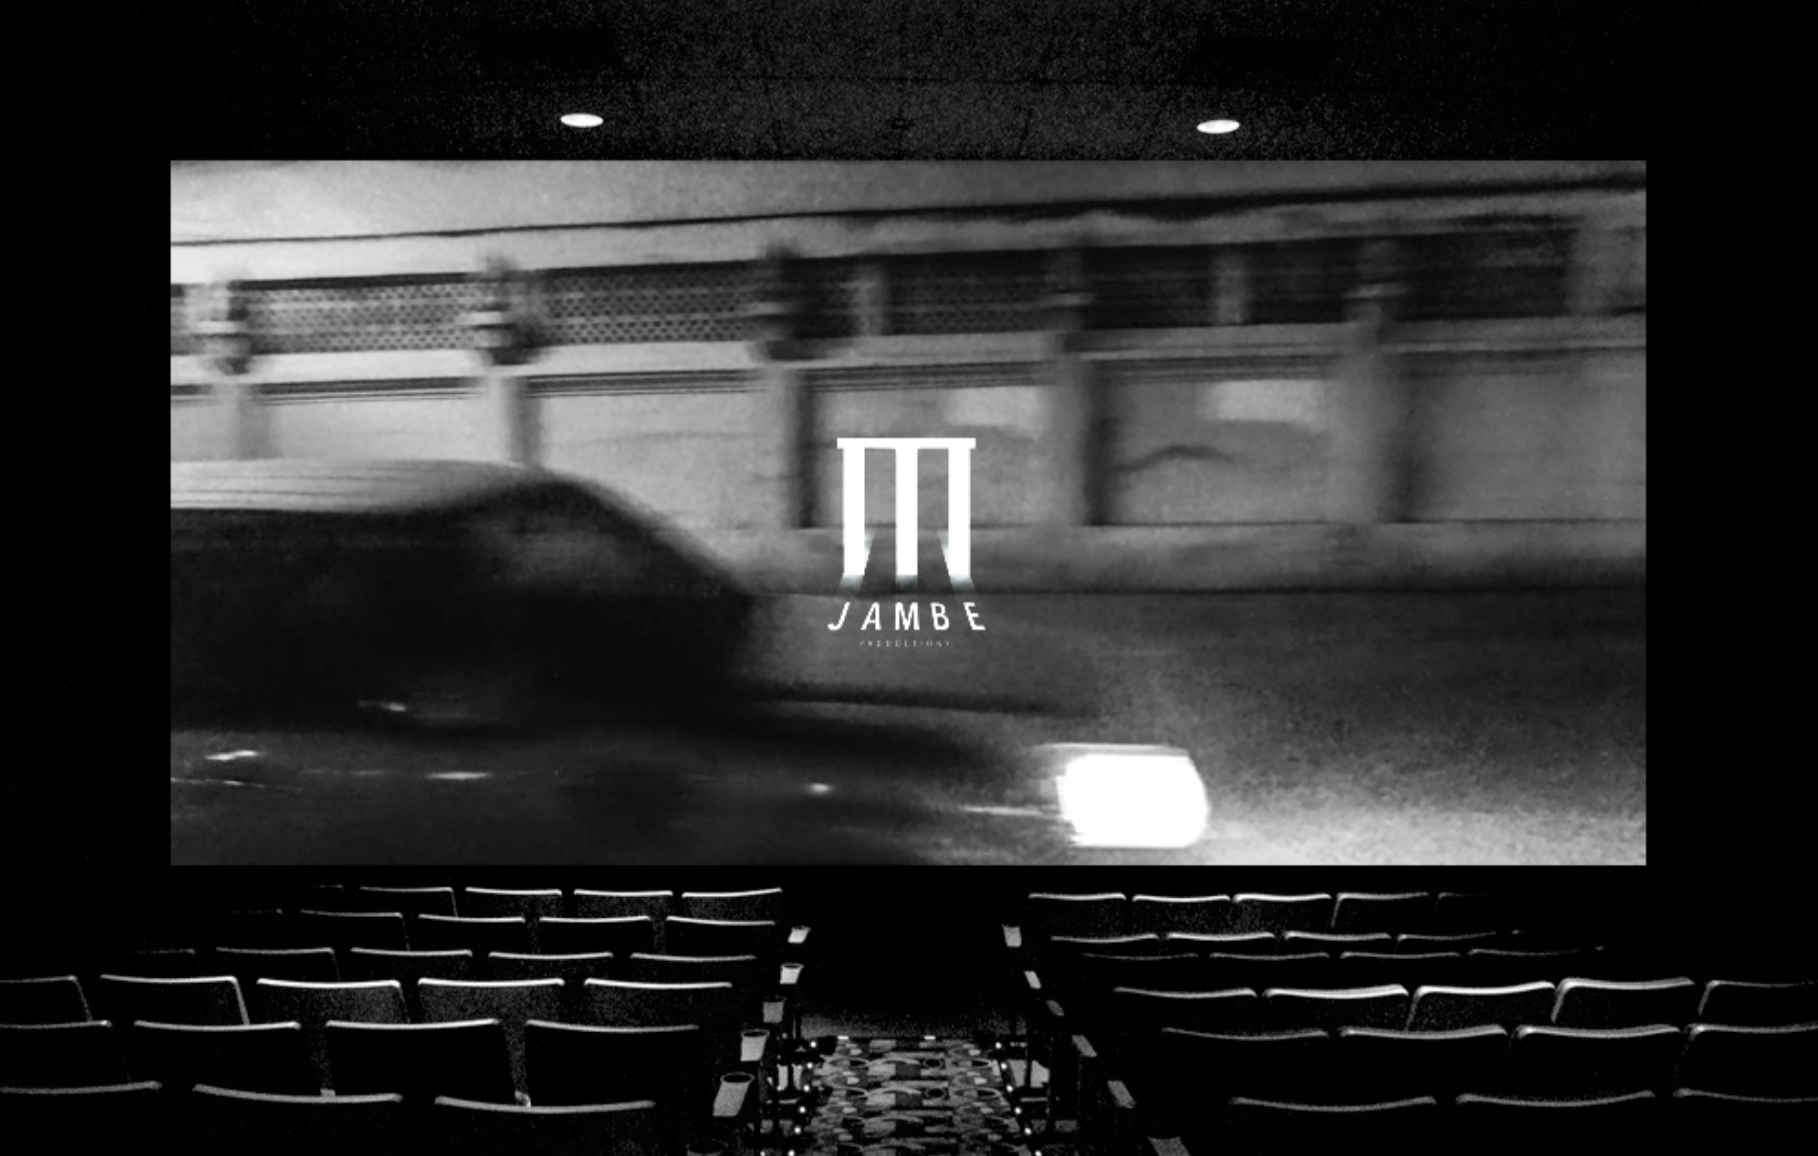
Jambe Logo Identity
Jambe is a film production company with a penchant for dark, mysterious and psychological storytelling. Director, Béla Baptiste, joined forces with a creative team that needed a logo that would stand up at Sundance and across international boards. We created a logo that represented the meeting of minds, the root of the name “Jambe”, with a dark theatrics.

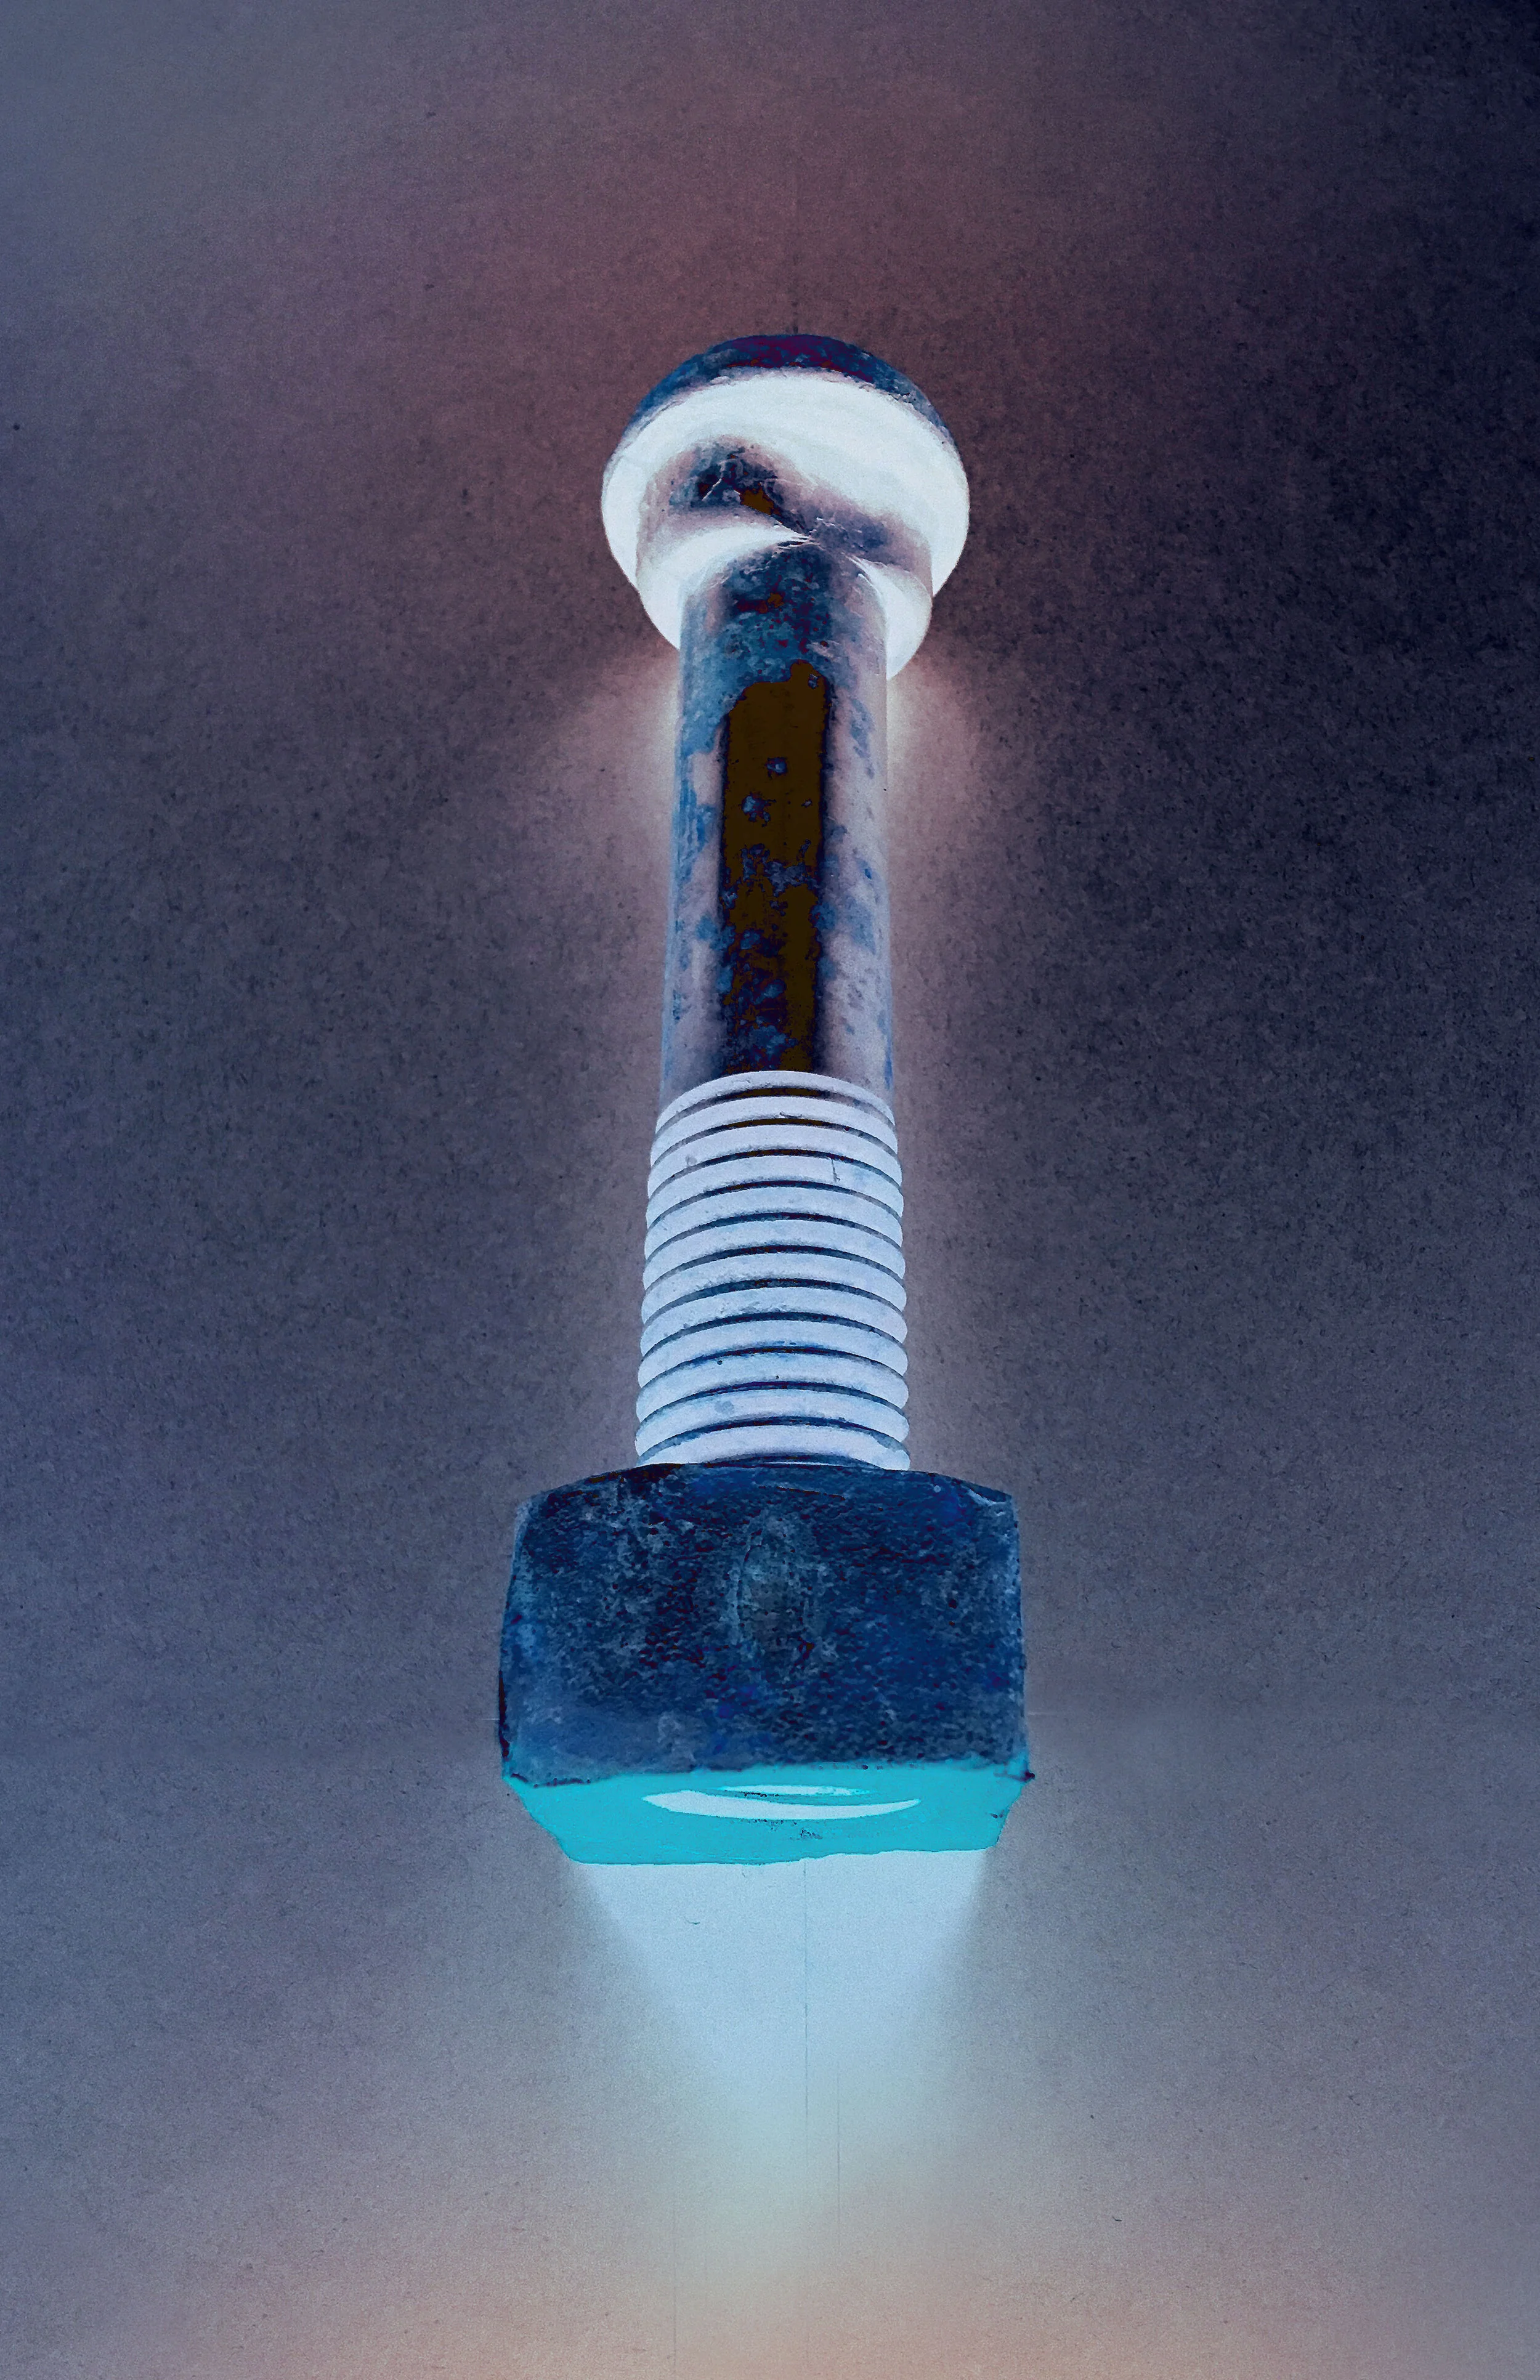
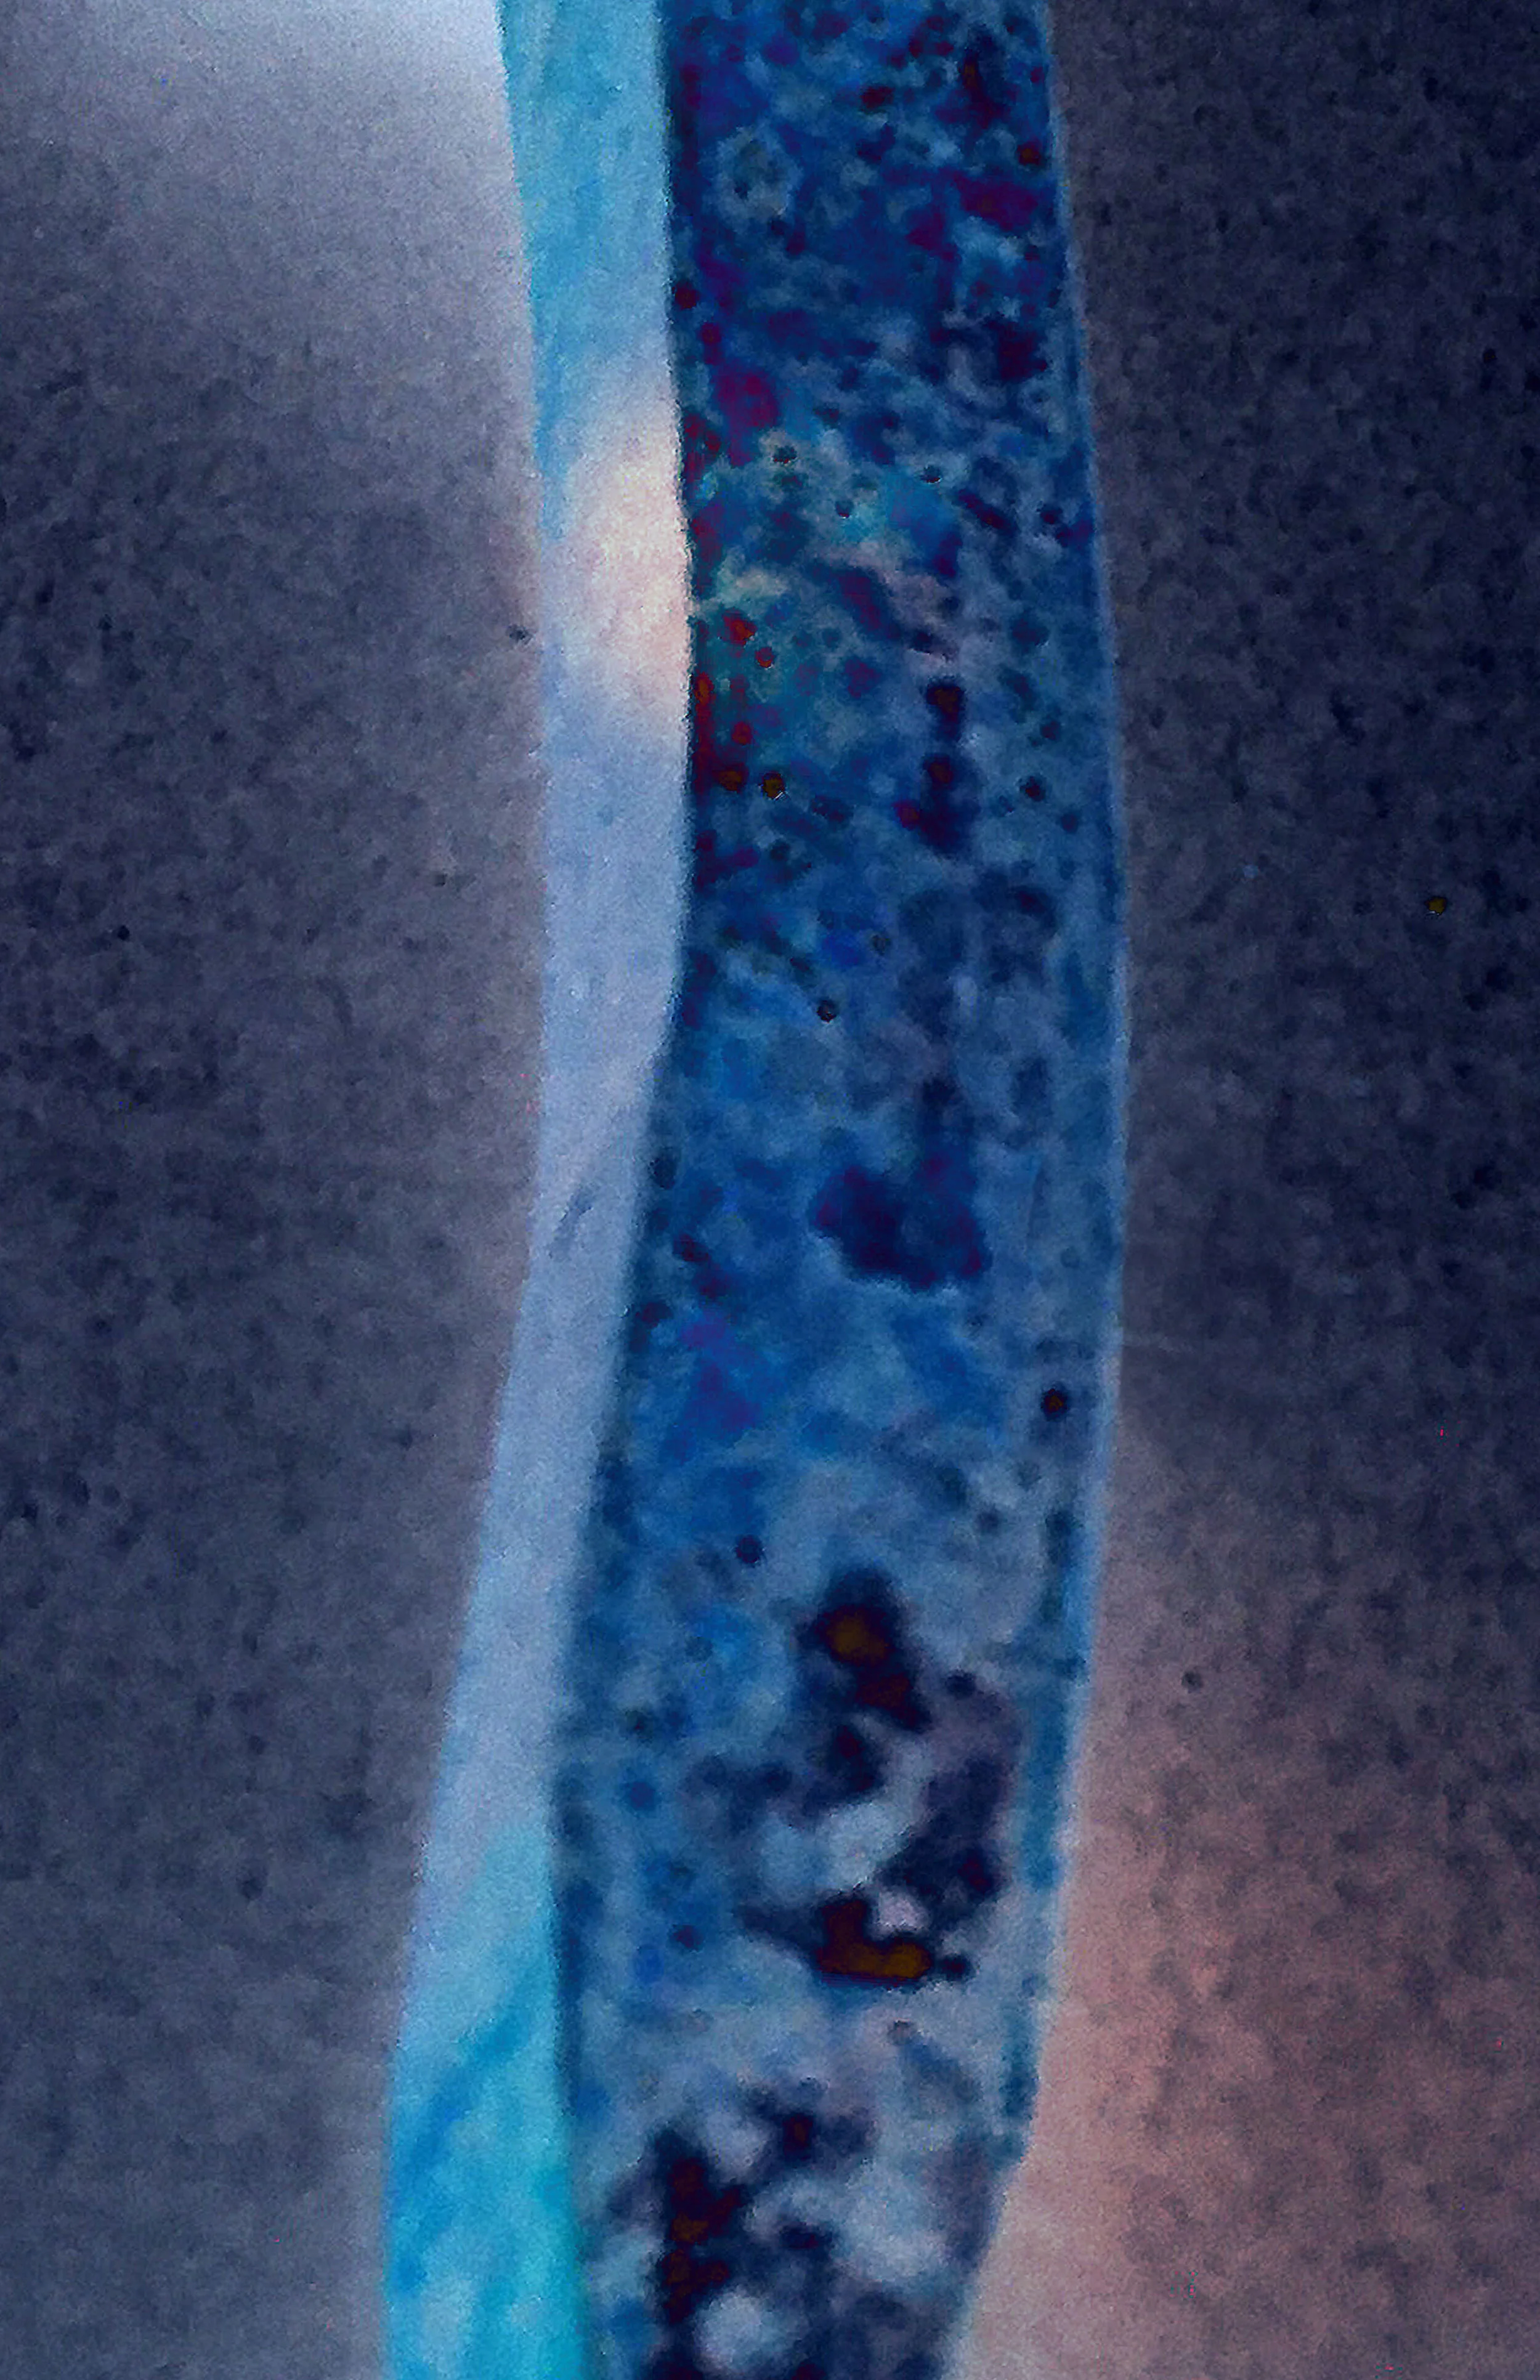
Objects from Home
I always visit the train tracks by my childhood home to be alone, but also to look for cool things to photograph, or in this instance, take home to Brooklyn. I photographed each object from above on black charcoal paper and used a small flashlight to shine a red beam. I then manipulated lighting and color balance in Photoshop and played with cropping.


Layout Design & Information Heirarchy

I love getting a chance to redesign resumes. I think it’s a really exciting time in people’s lives and generally, a boost to the resume is a boost to their self esteem, which can only be positive for the job search ahead. This week I helped two friends with their cv’s and I had fun creating a look that represented their industry and personality, while also making it easy to read for the interviewer.
For Alex, I designed several options - one simplified high level (title and company) version with room for a into and a list of skills. I like to let my resume read easily and then have my website or LinkedIn profile fill in. But that doesn’t work for everyone so it was fun to think about ways to organize and simplify a lot of copy.
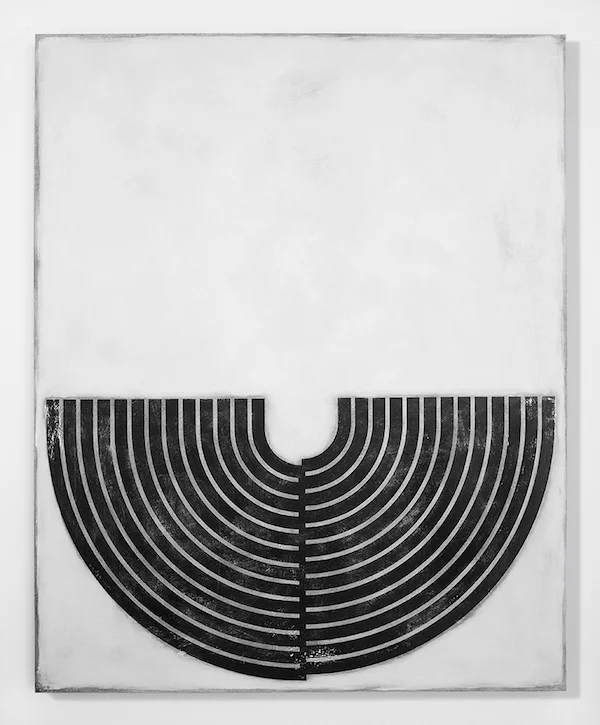

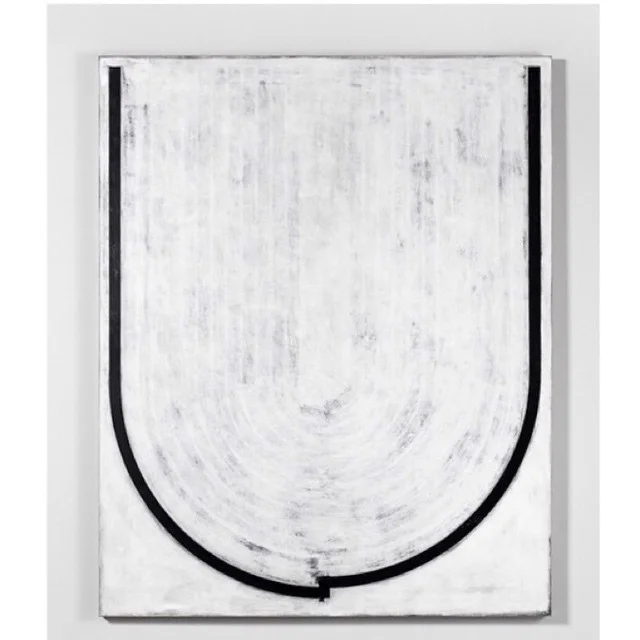

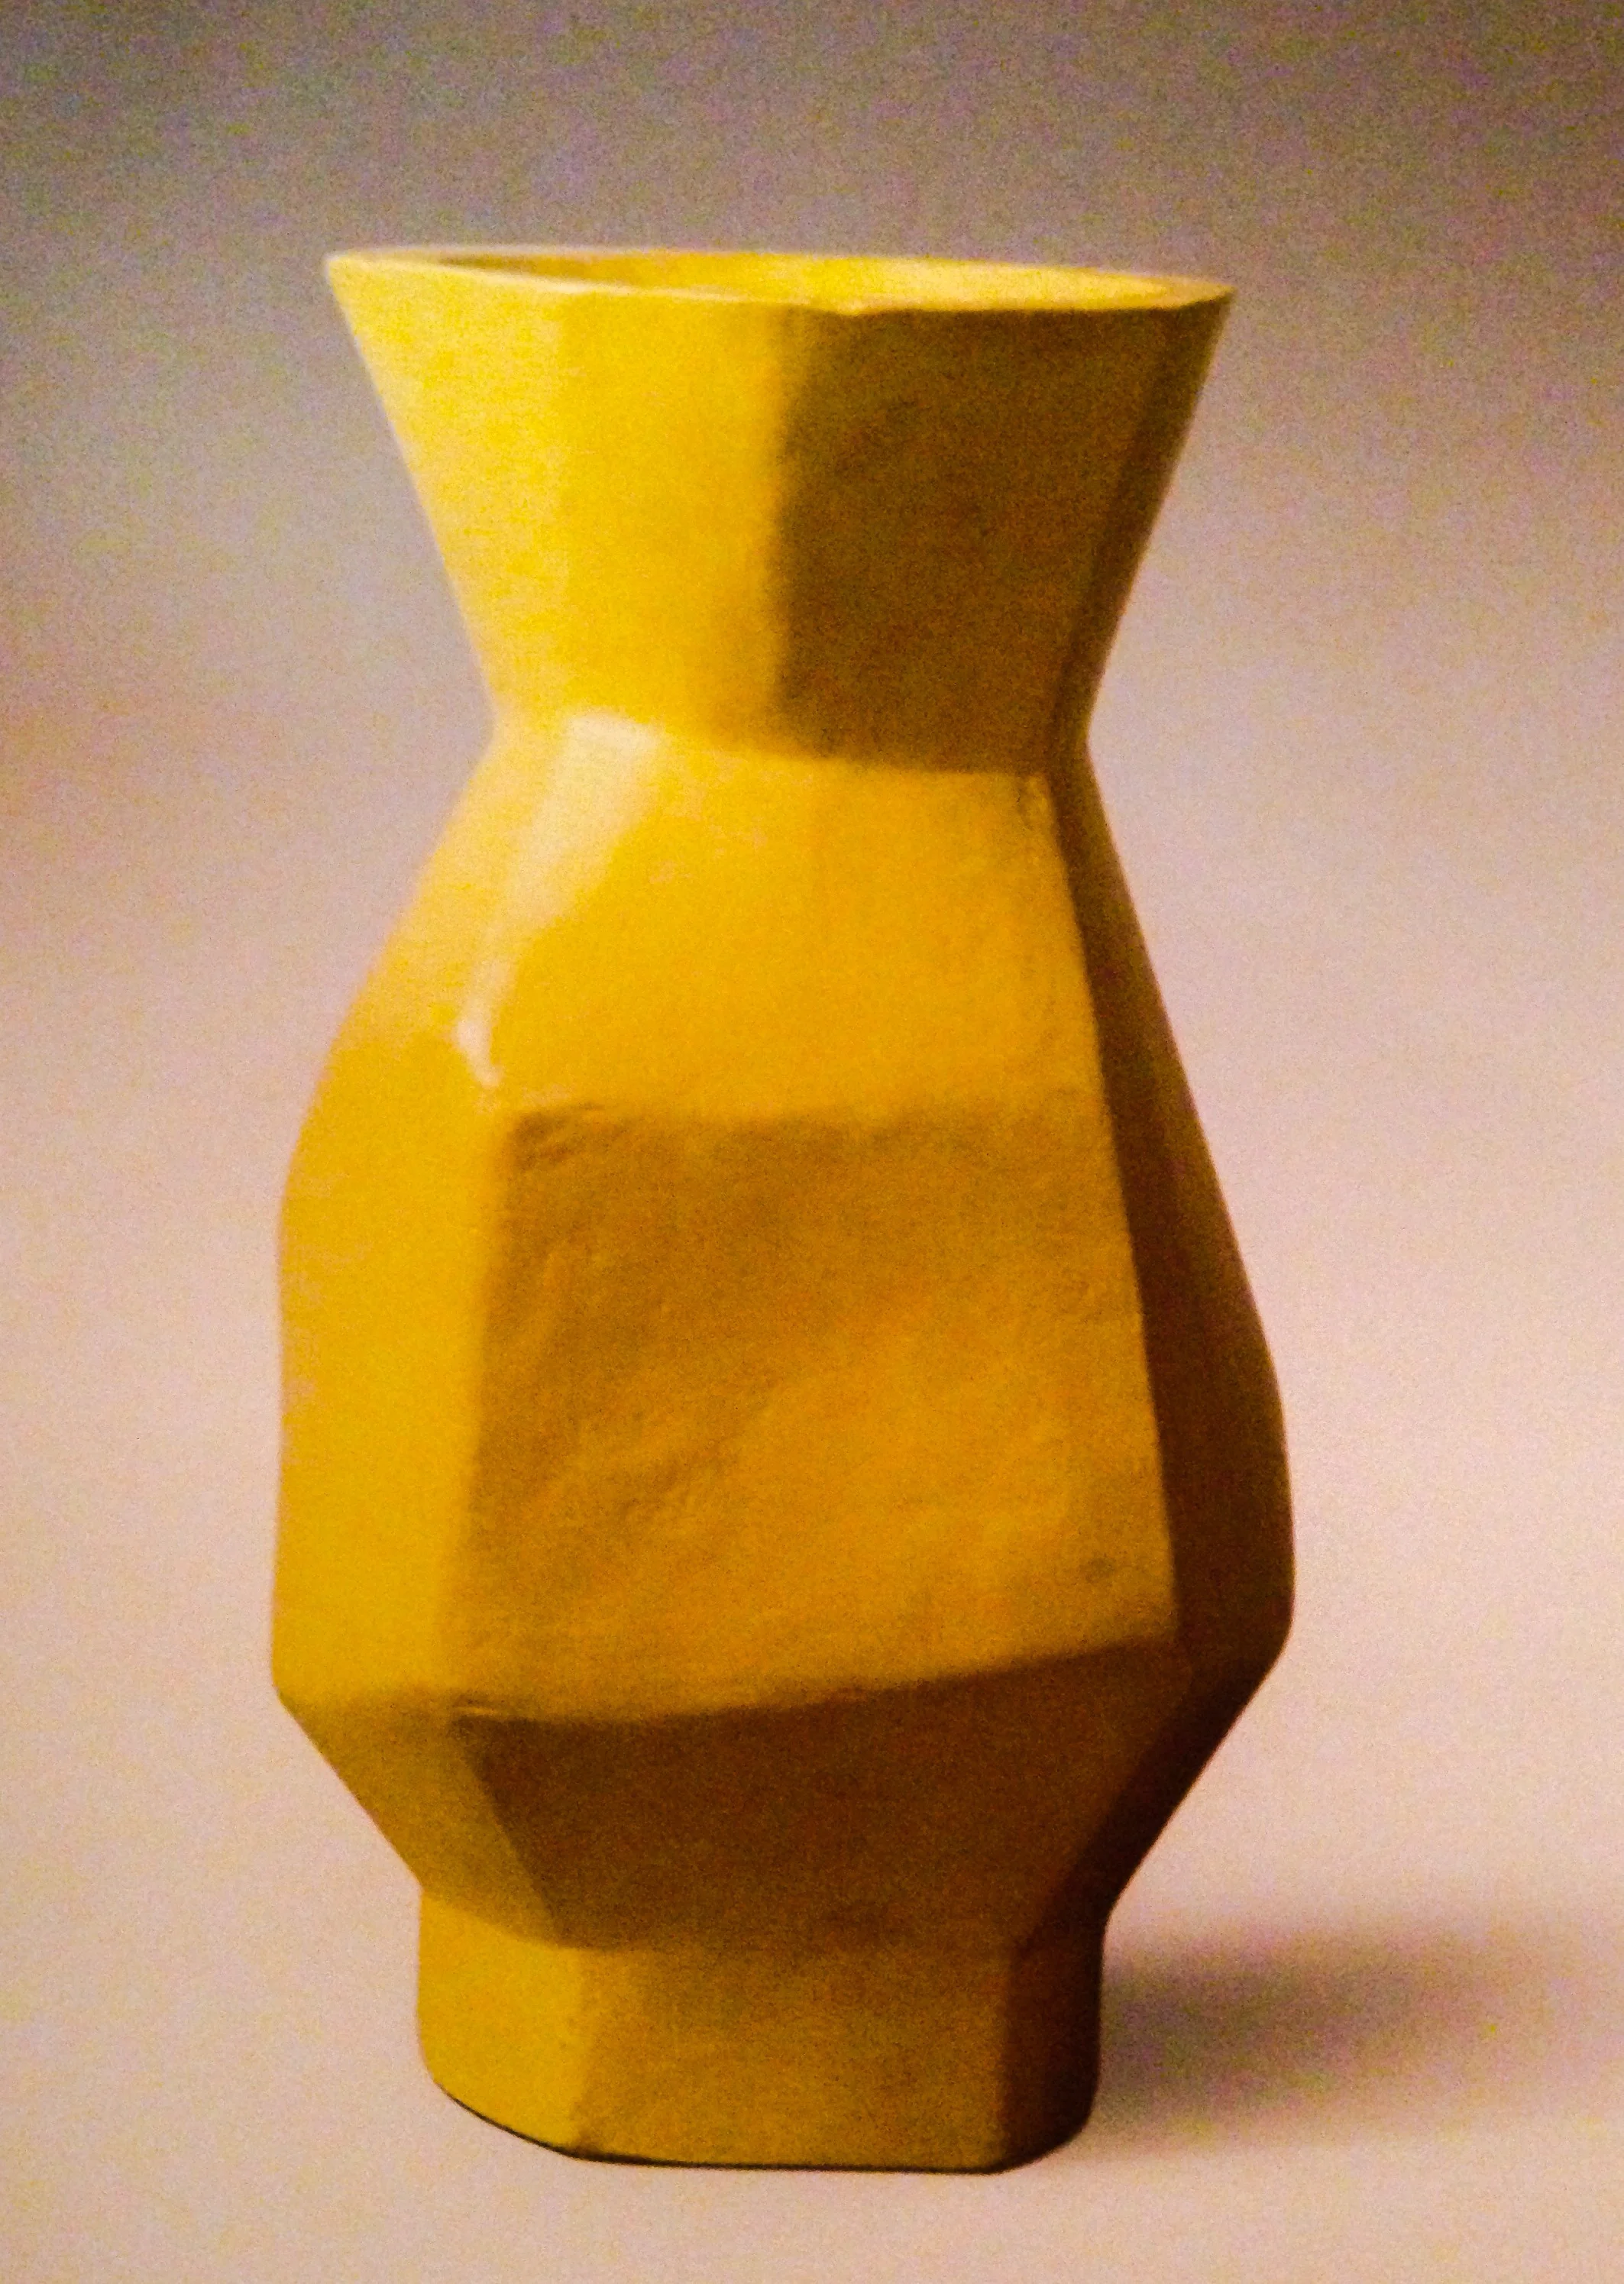
Lonely Clay
I've been a ceramics artist for almost 2 years now and I wanted to showcase my work and brand myself, so I created Lonely Clay. The name, logo, brand identity, photography, website and social accounts all developed and designed by me <3 Check out the website and learn more about the branding project here. Enjoy!


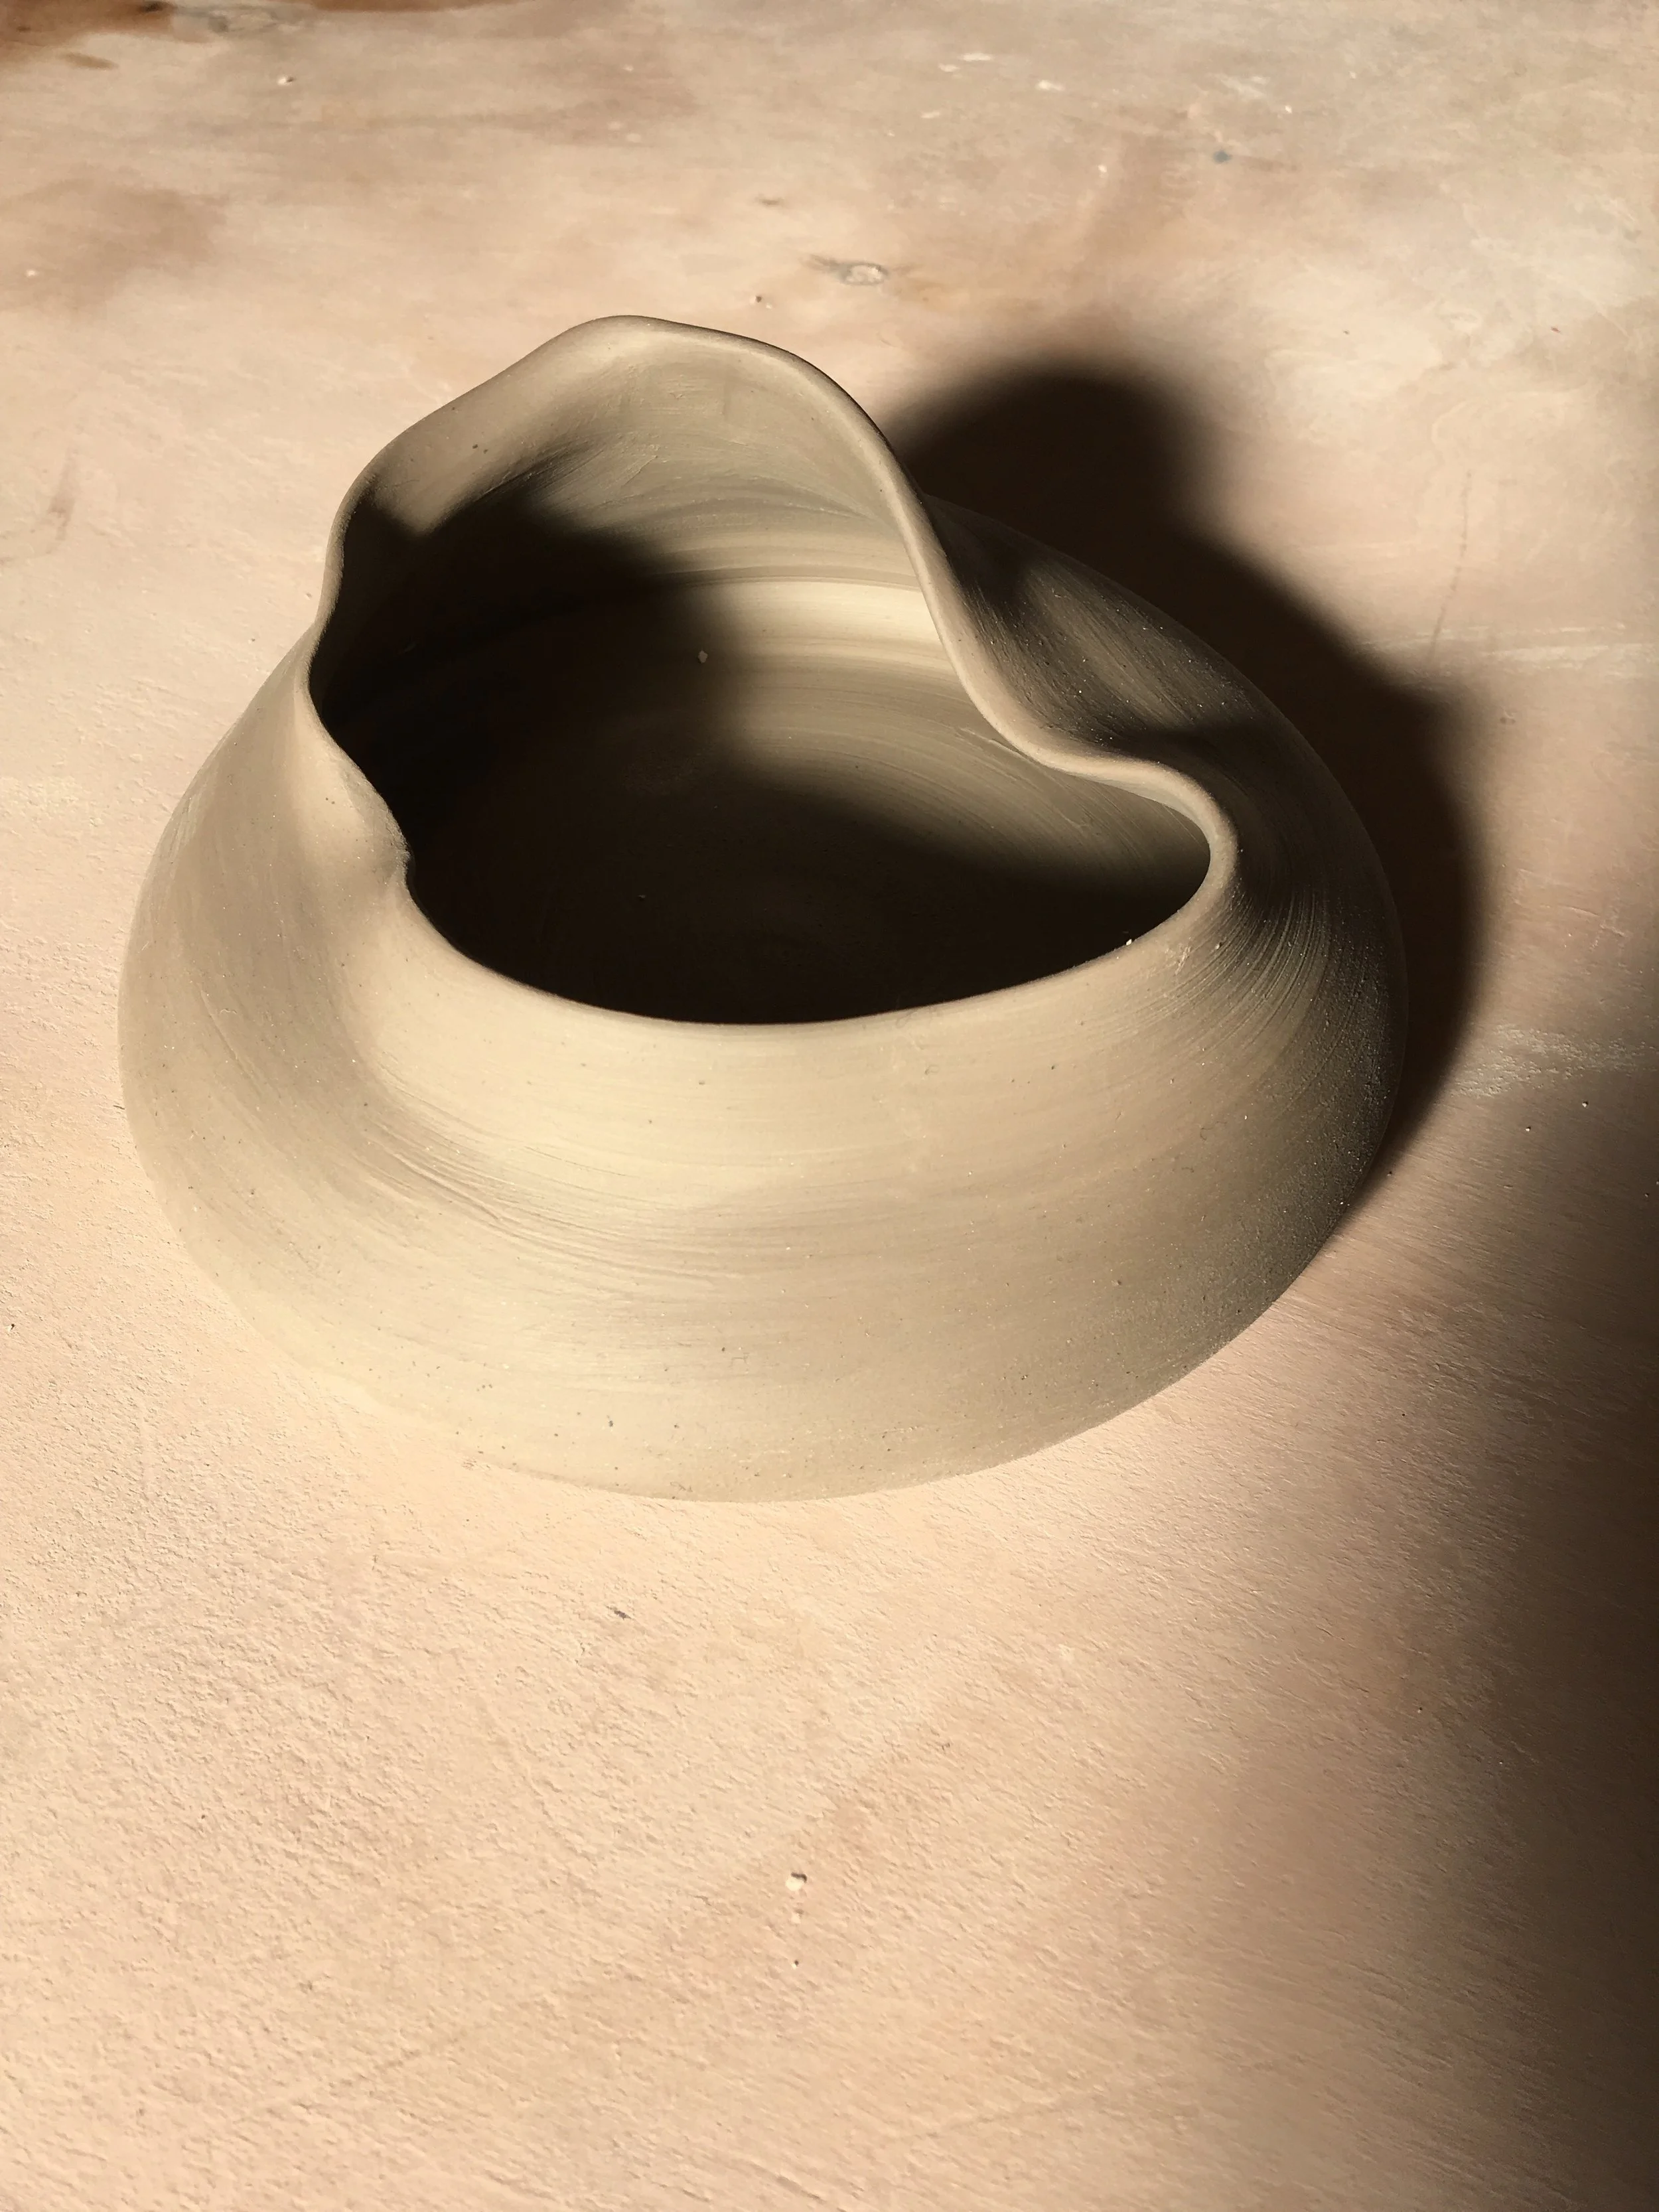
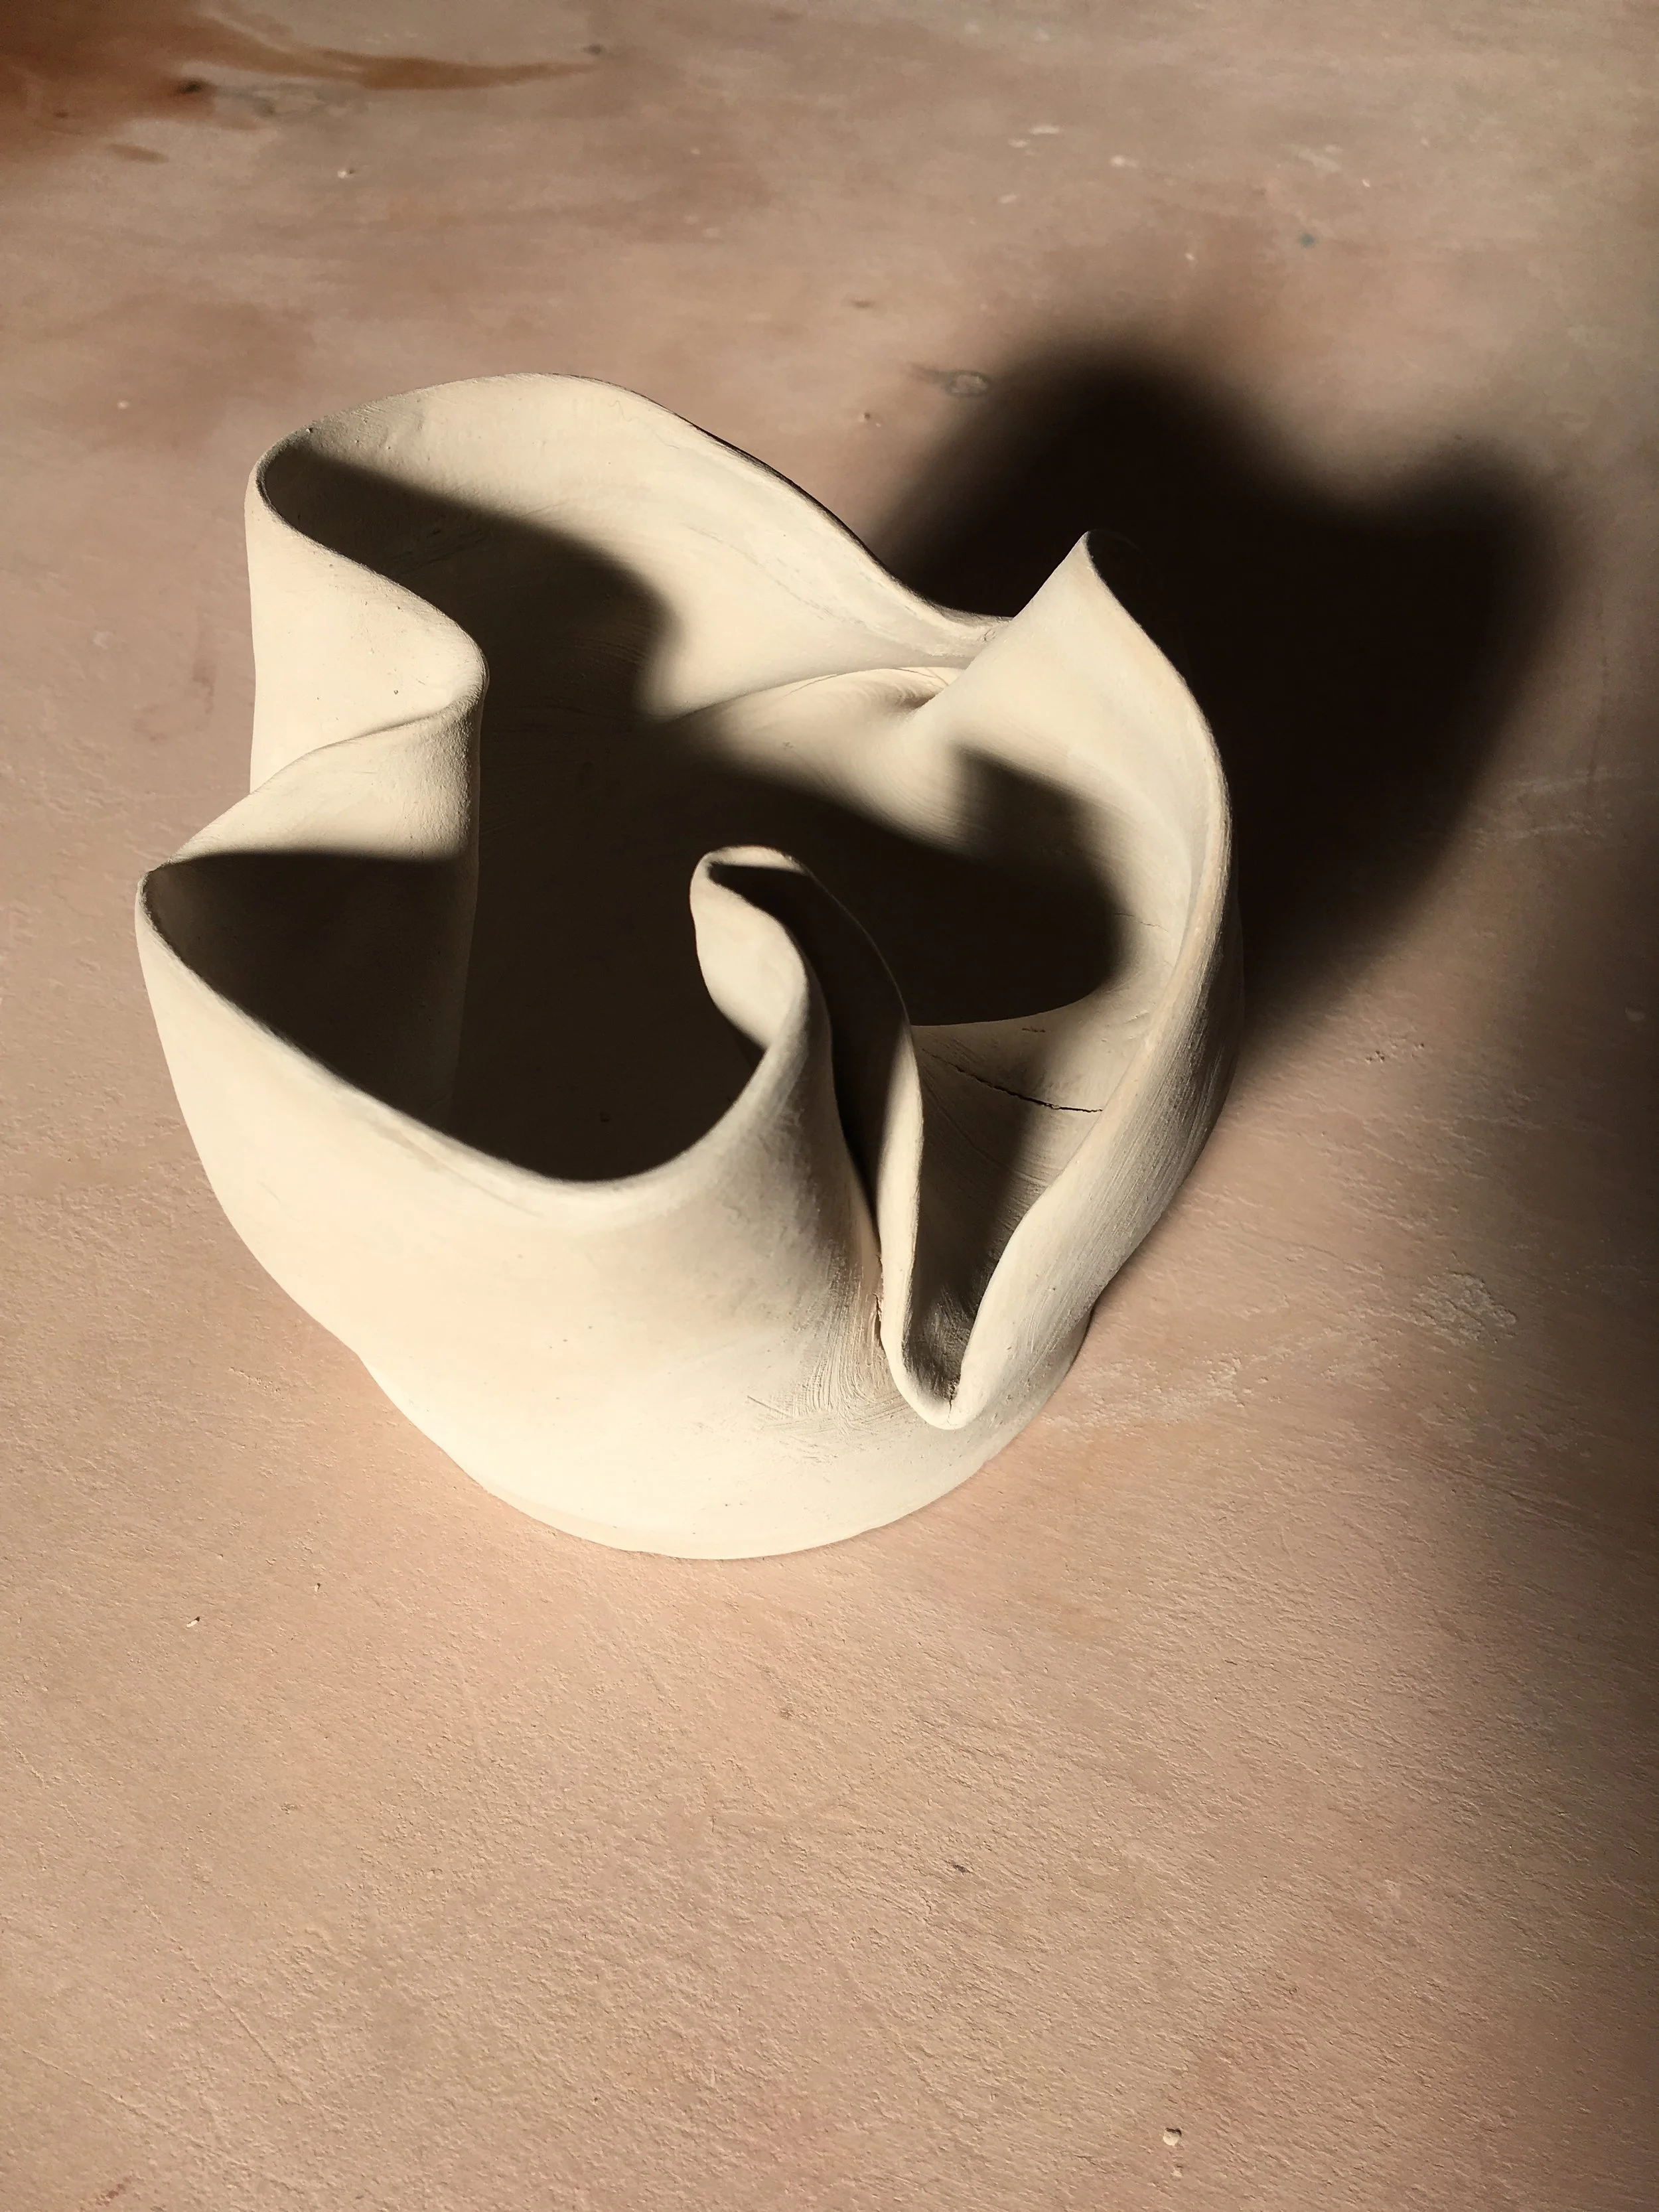
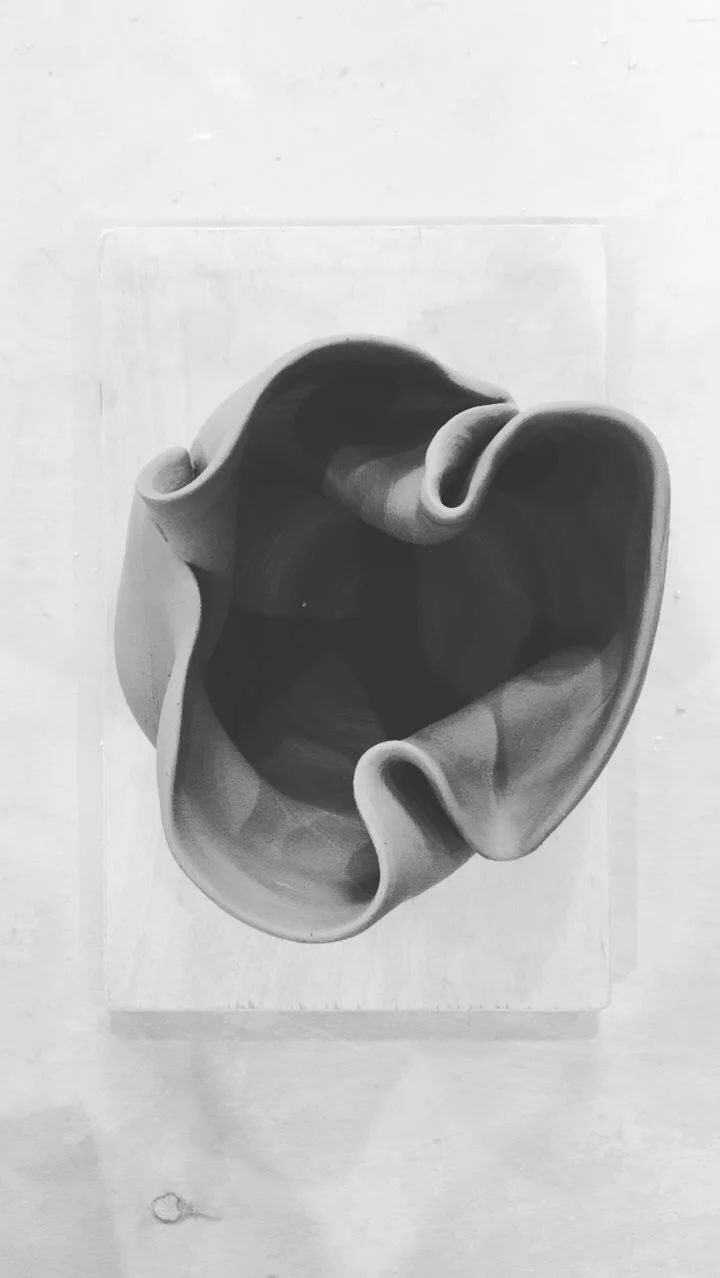
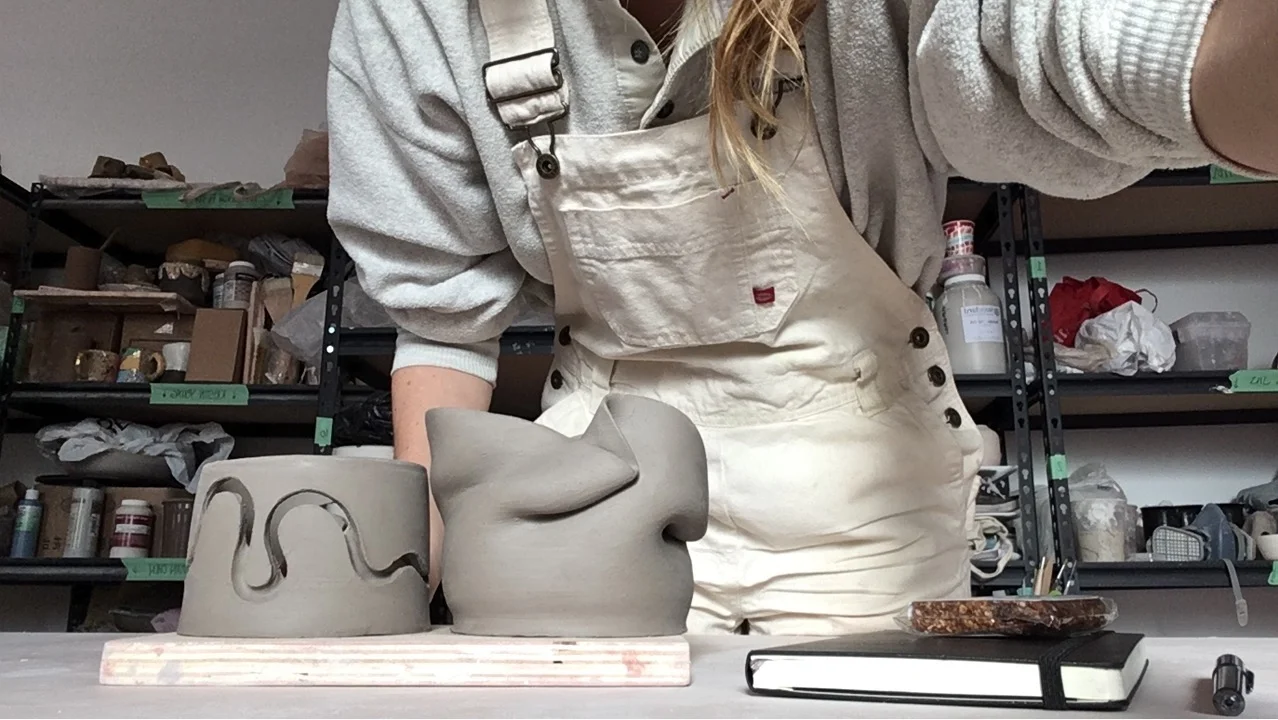
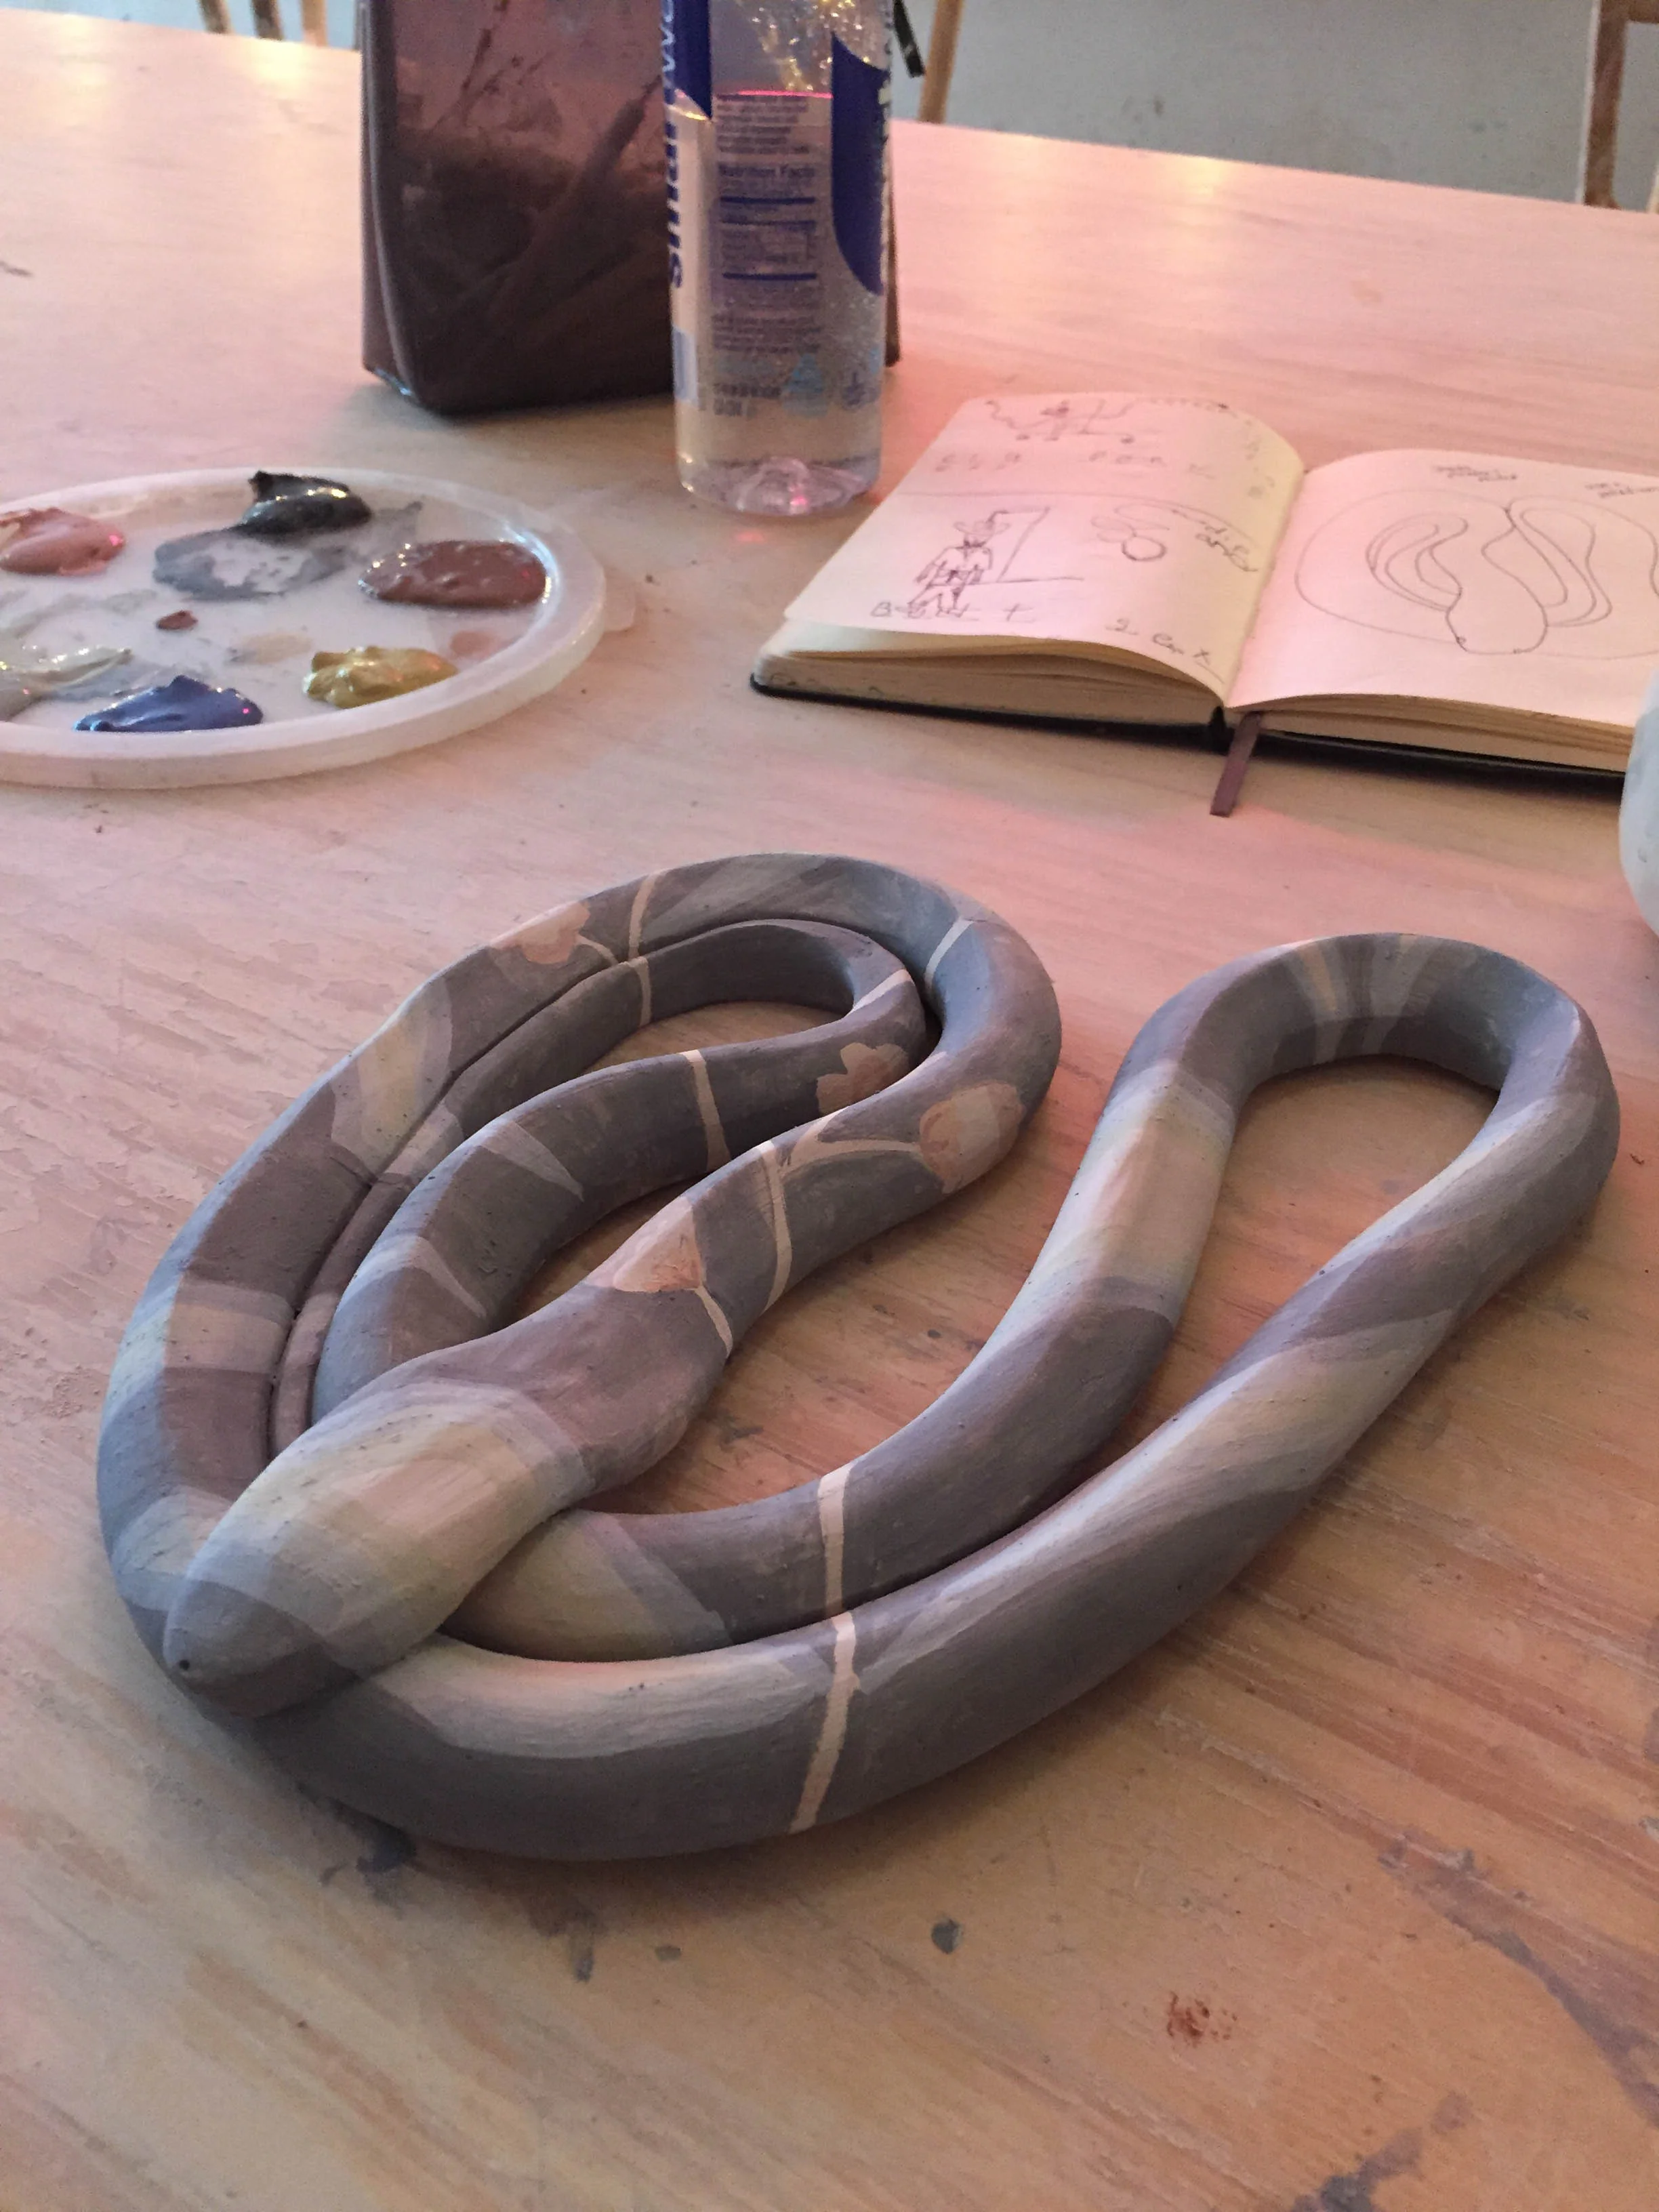
Studio Update
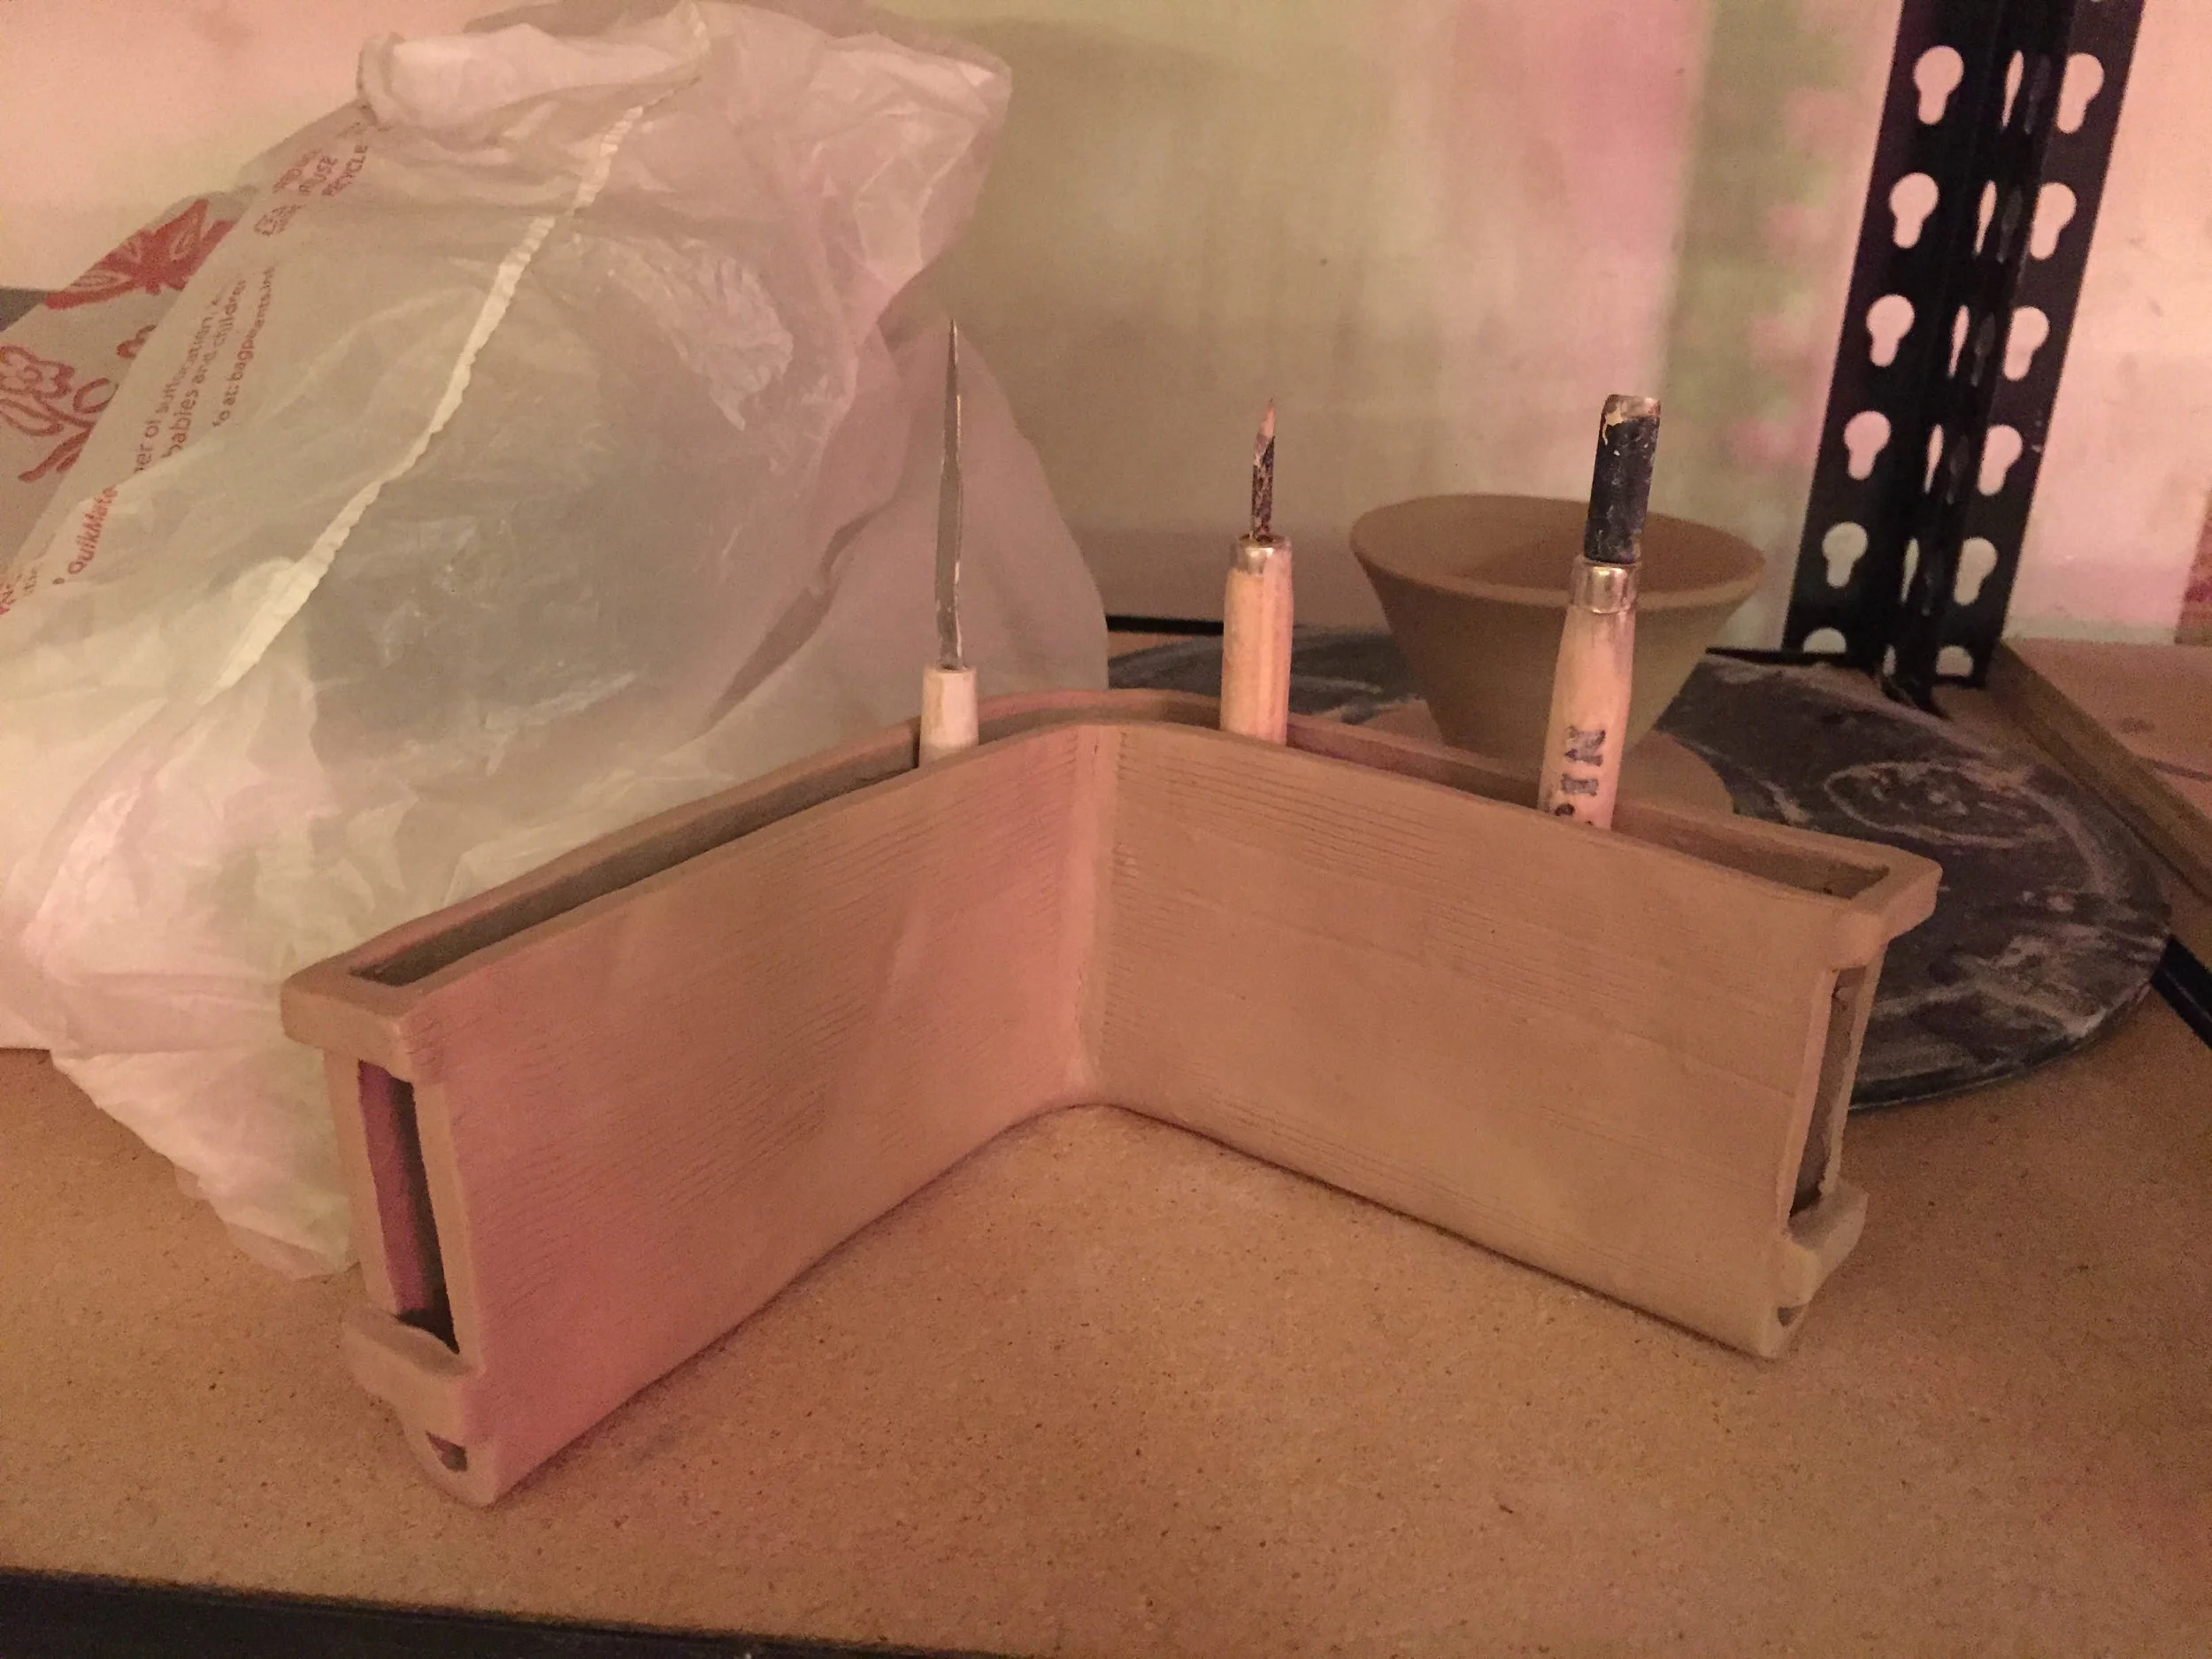
I've been playing with light and shadows through the snake form, cutting curvy shapes into clay vessels that I've handbuilt and made on the wheel. Also still making snakes :) I'm really looking forward to seeing these bisqued since I'm working with a new speckled clay. Cheers - sarah


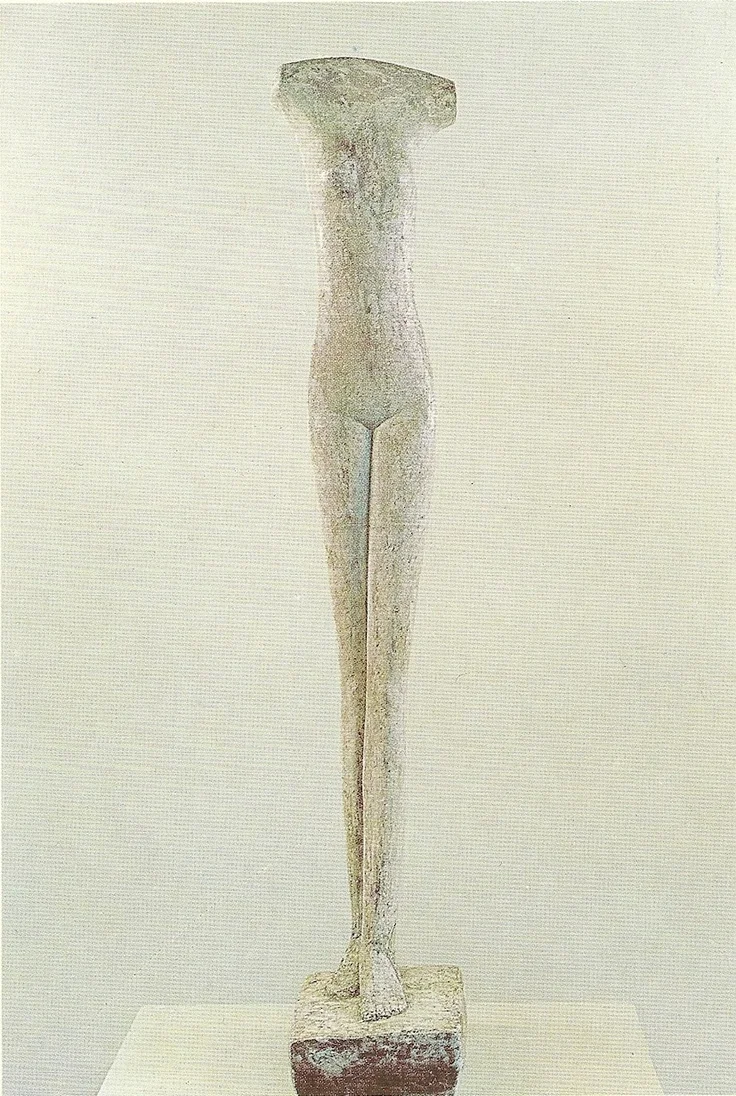
Cool in Ceramics | Angel Oloshove
I recently discovered the work of Angel Oloshove, a Texas based ceramics artist working with beautiful glazing techniques and sculpture. My personal ceramics journey began traditionally with throwing pots, plates and cups but as I started learning how the medium behaved and could be manipulated (and I let go of predefined outcomes), I started experimenting with form more and more, resulting in several series of somewhat functional sculptures. I'm inspired to experiment more with glazing techniques now that I've been introduced to Angel's fun work - check her out and read this great interview by Uprise Art!

MoMA & Me
I'm excited to announce that I've accepted a digital design role at MoMA for the next few months. I'm honored and grateful to be part of such a renowned art institute and can't wait to launch the new MoMA Design Store website in the next few months. In the meantime, stalk me on Instagram to see what I'm up to :-)
Cheers!
SES Ceramics now for Sale
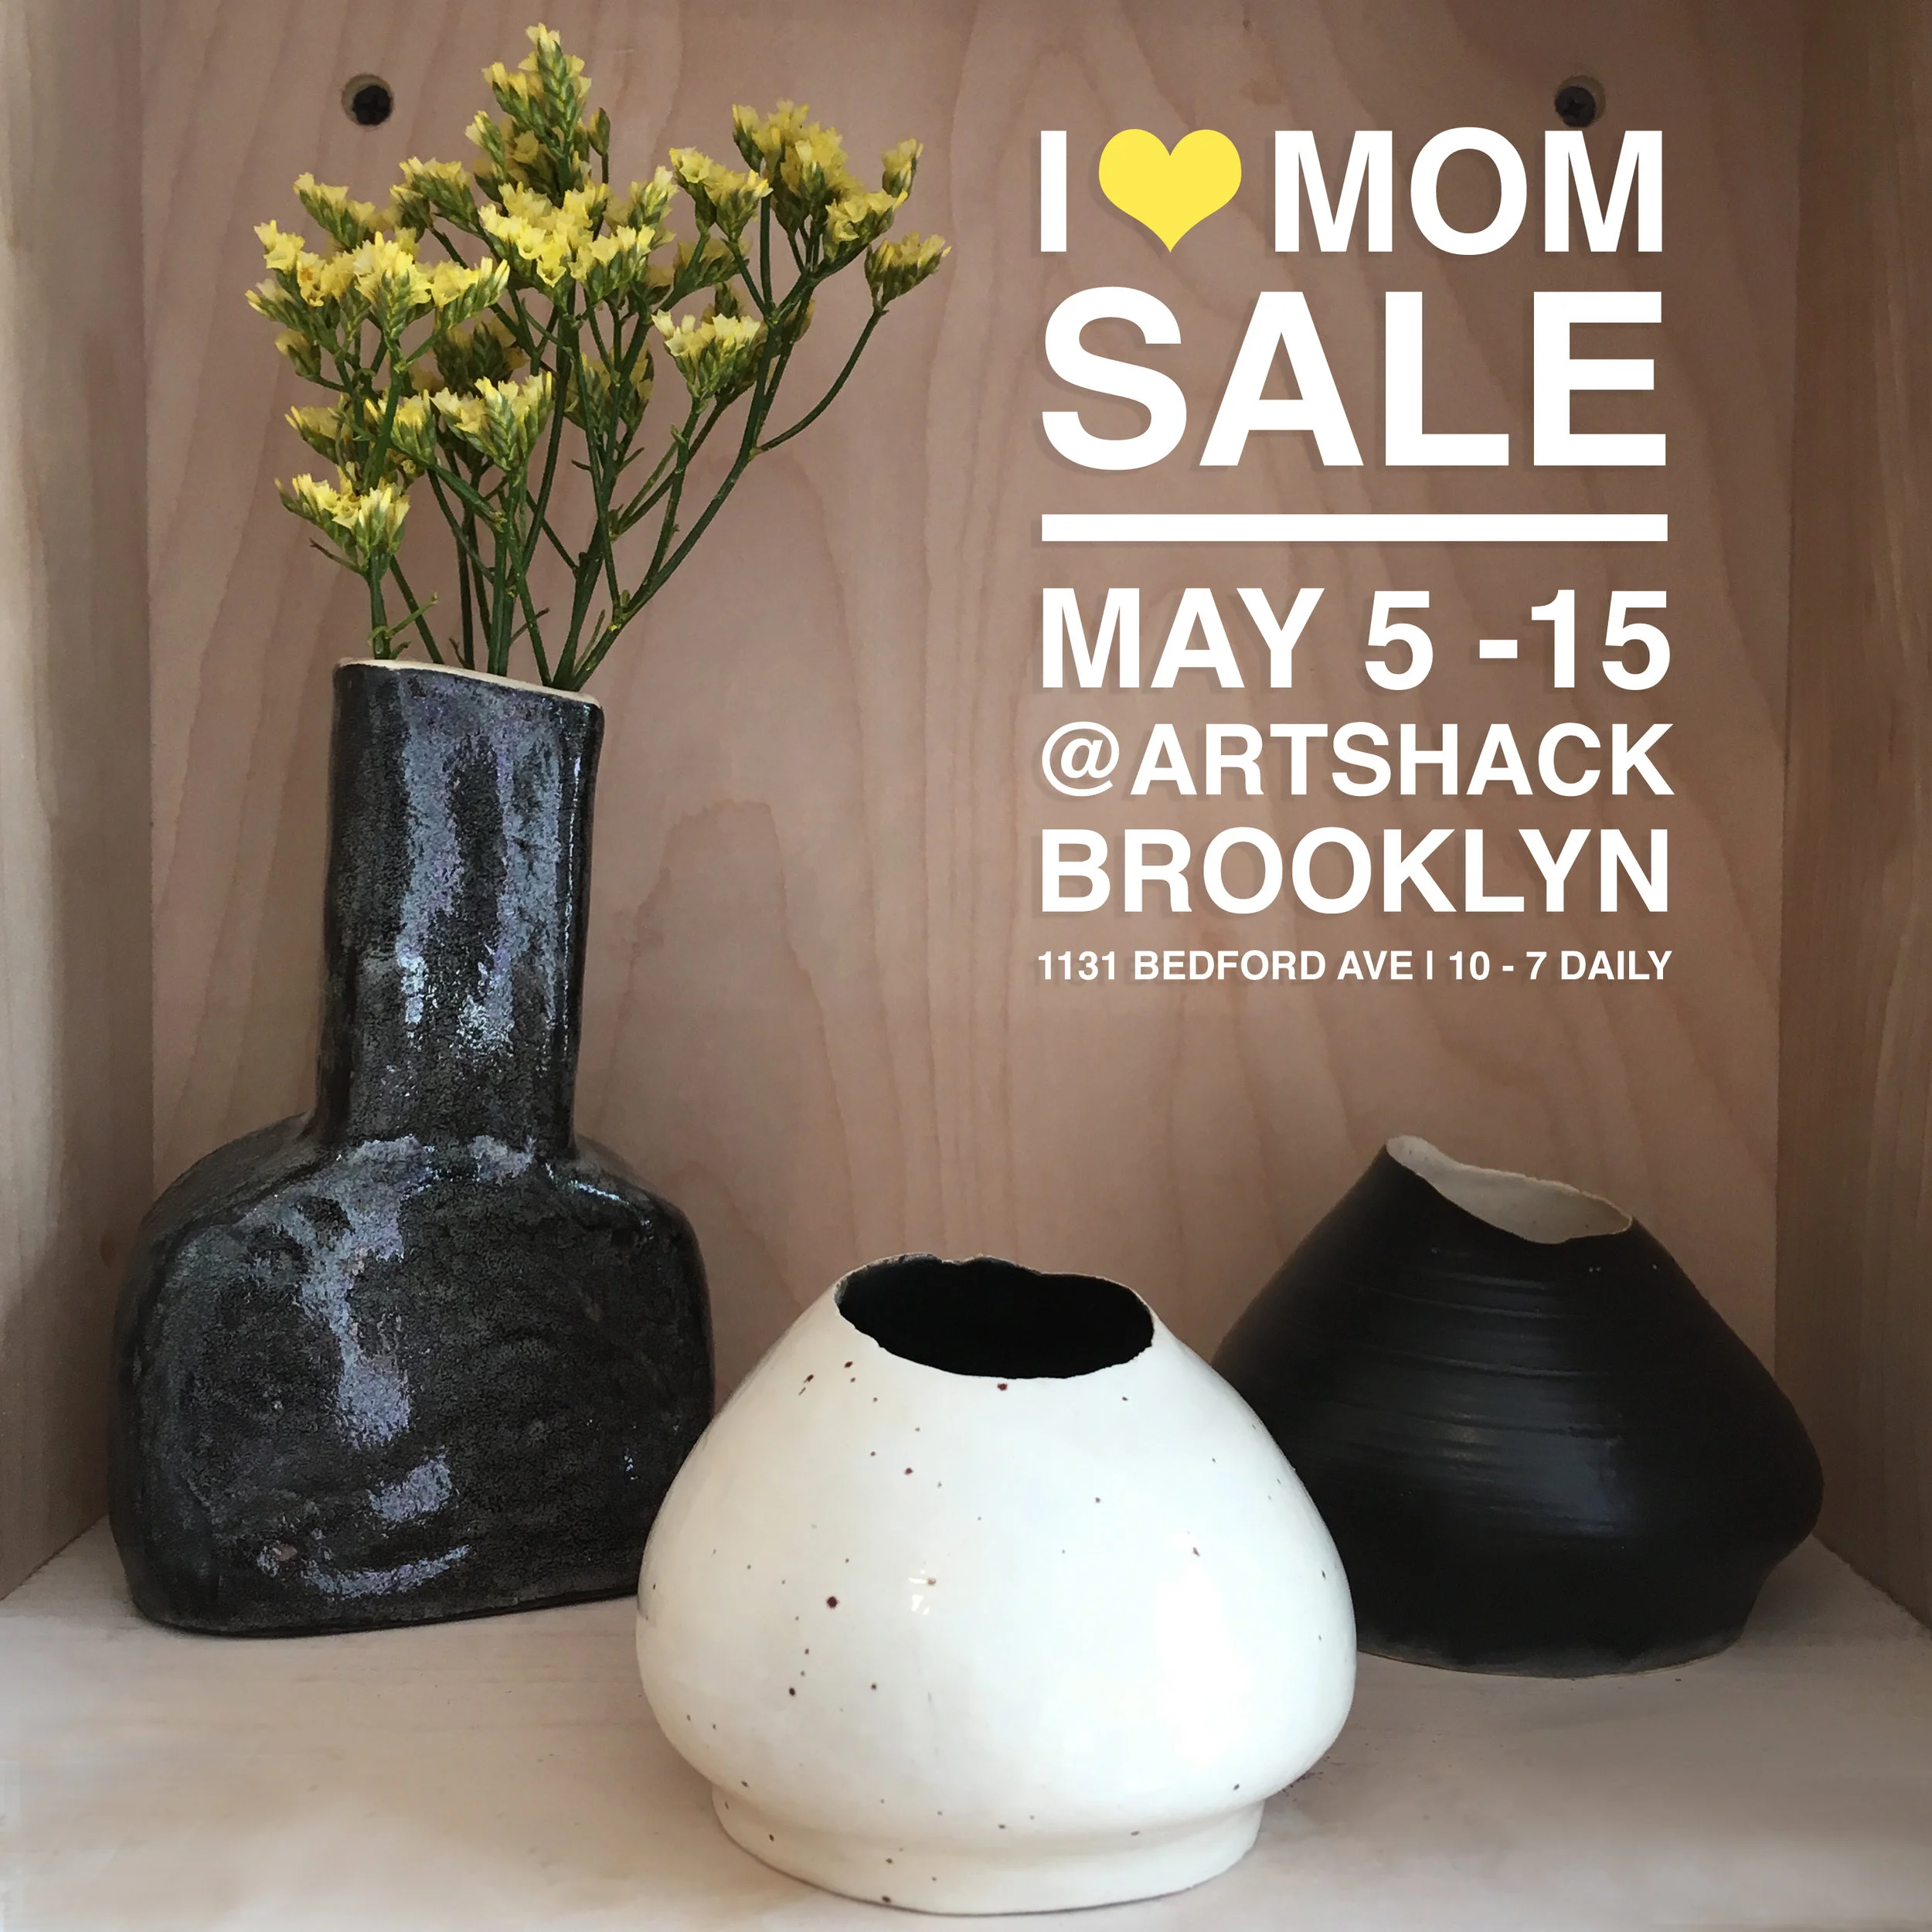
I've been asked to sell my products at my studio's shop for this upcoming Mother's Day, so I spent yesterday morning designing the layout with my partner in crime, Marci LeBrun (another amazing ceramacist at Artshack). The shop is open 10-7 daily - come get your momma something special!
- sarah
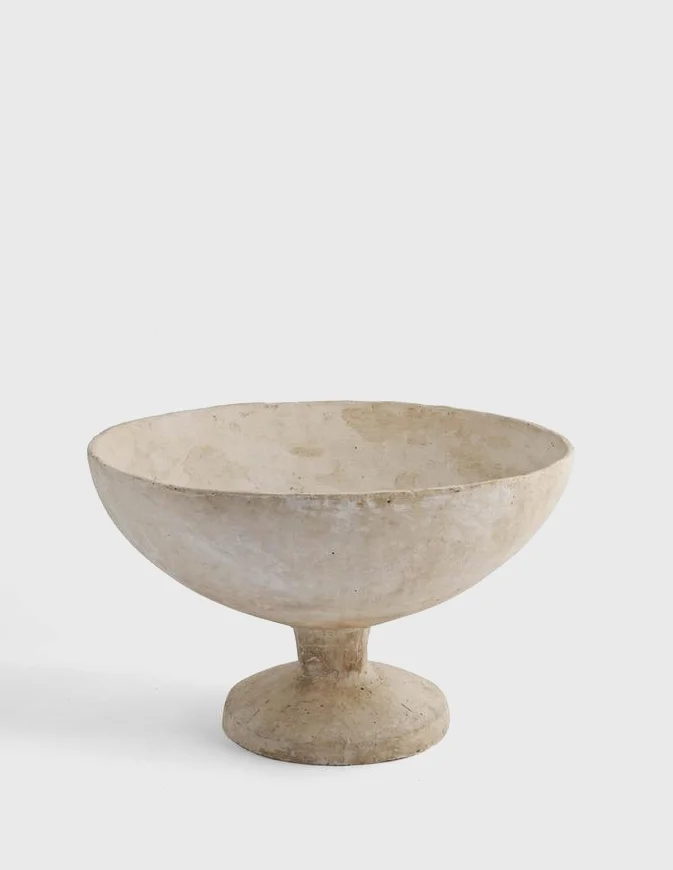
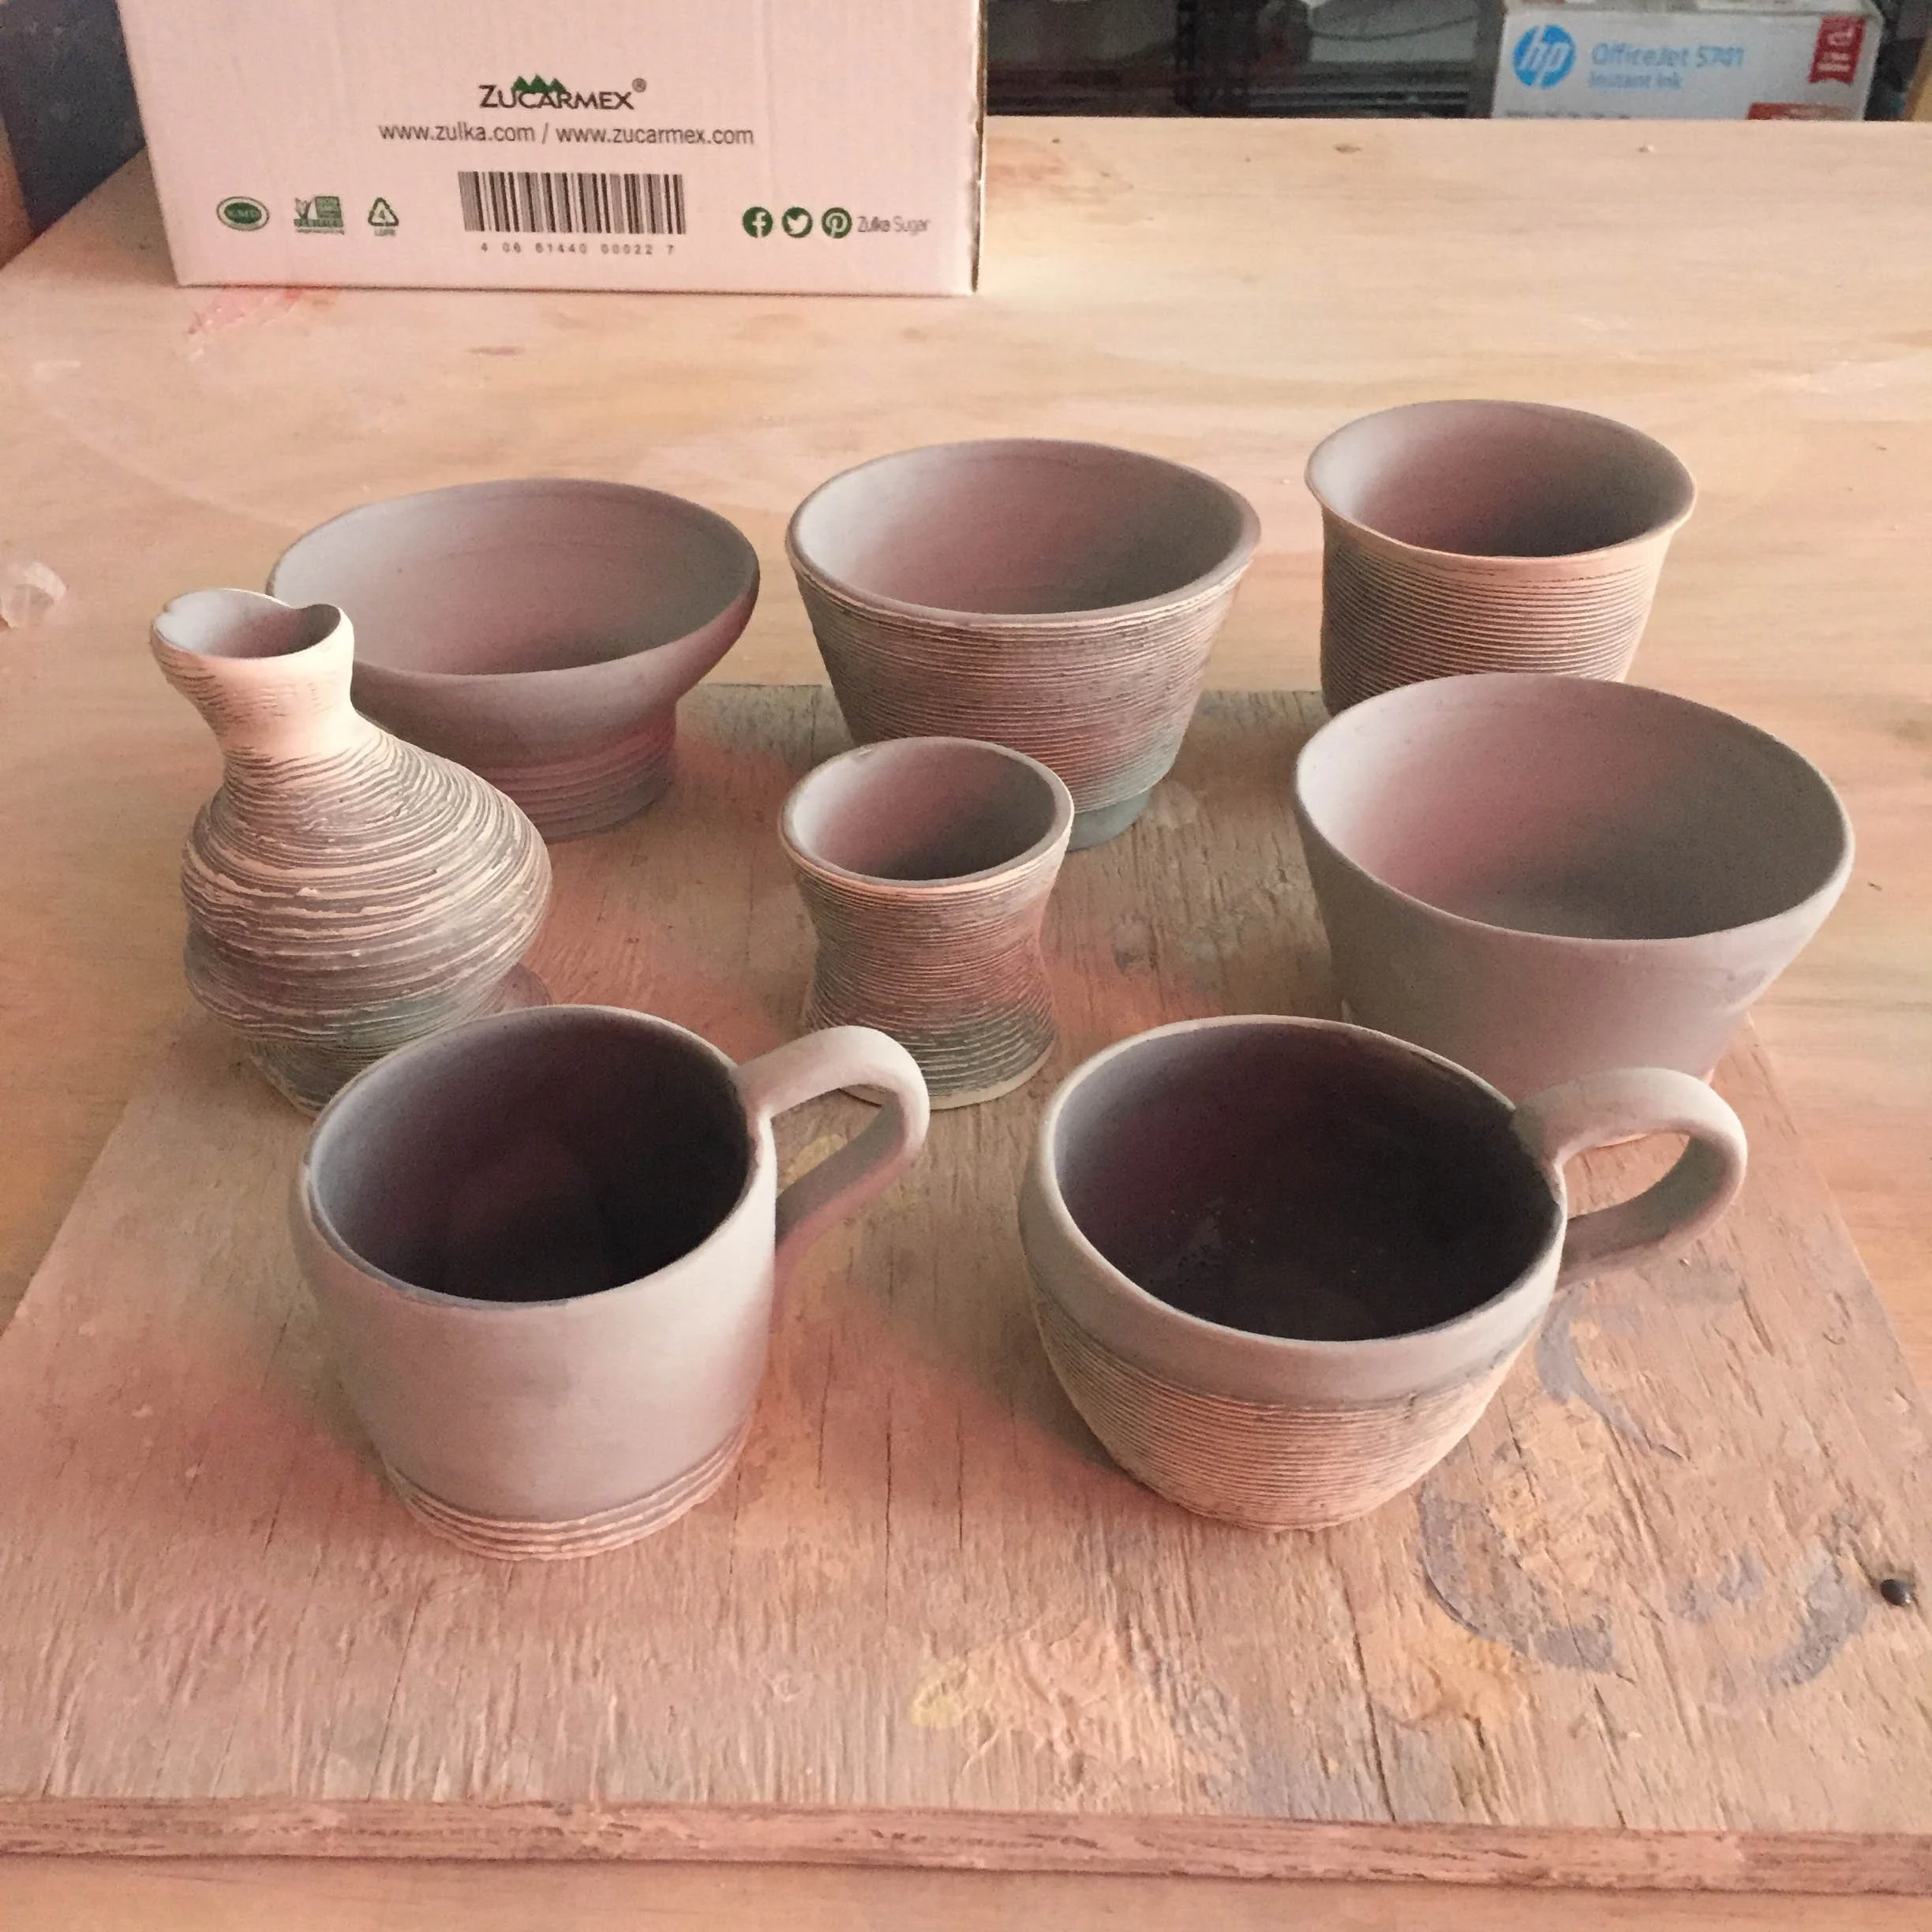
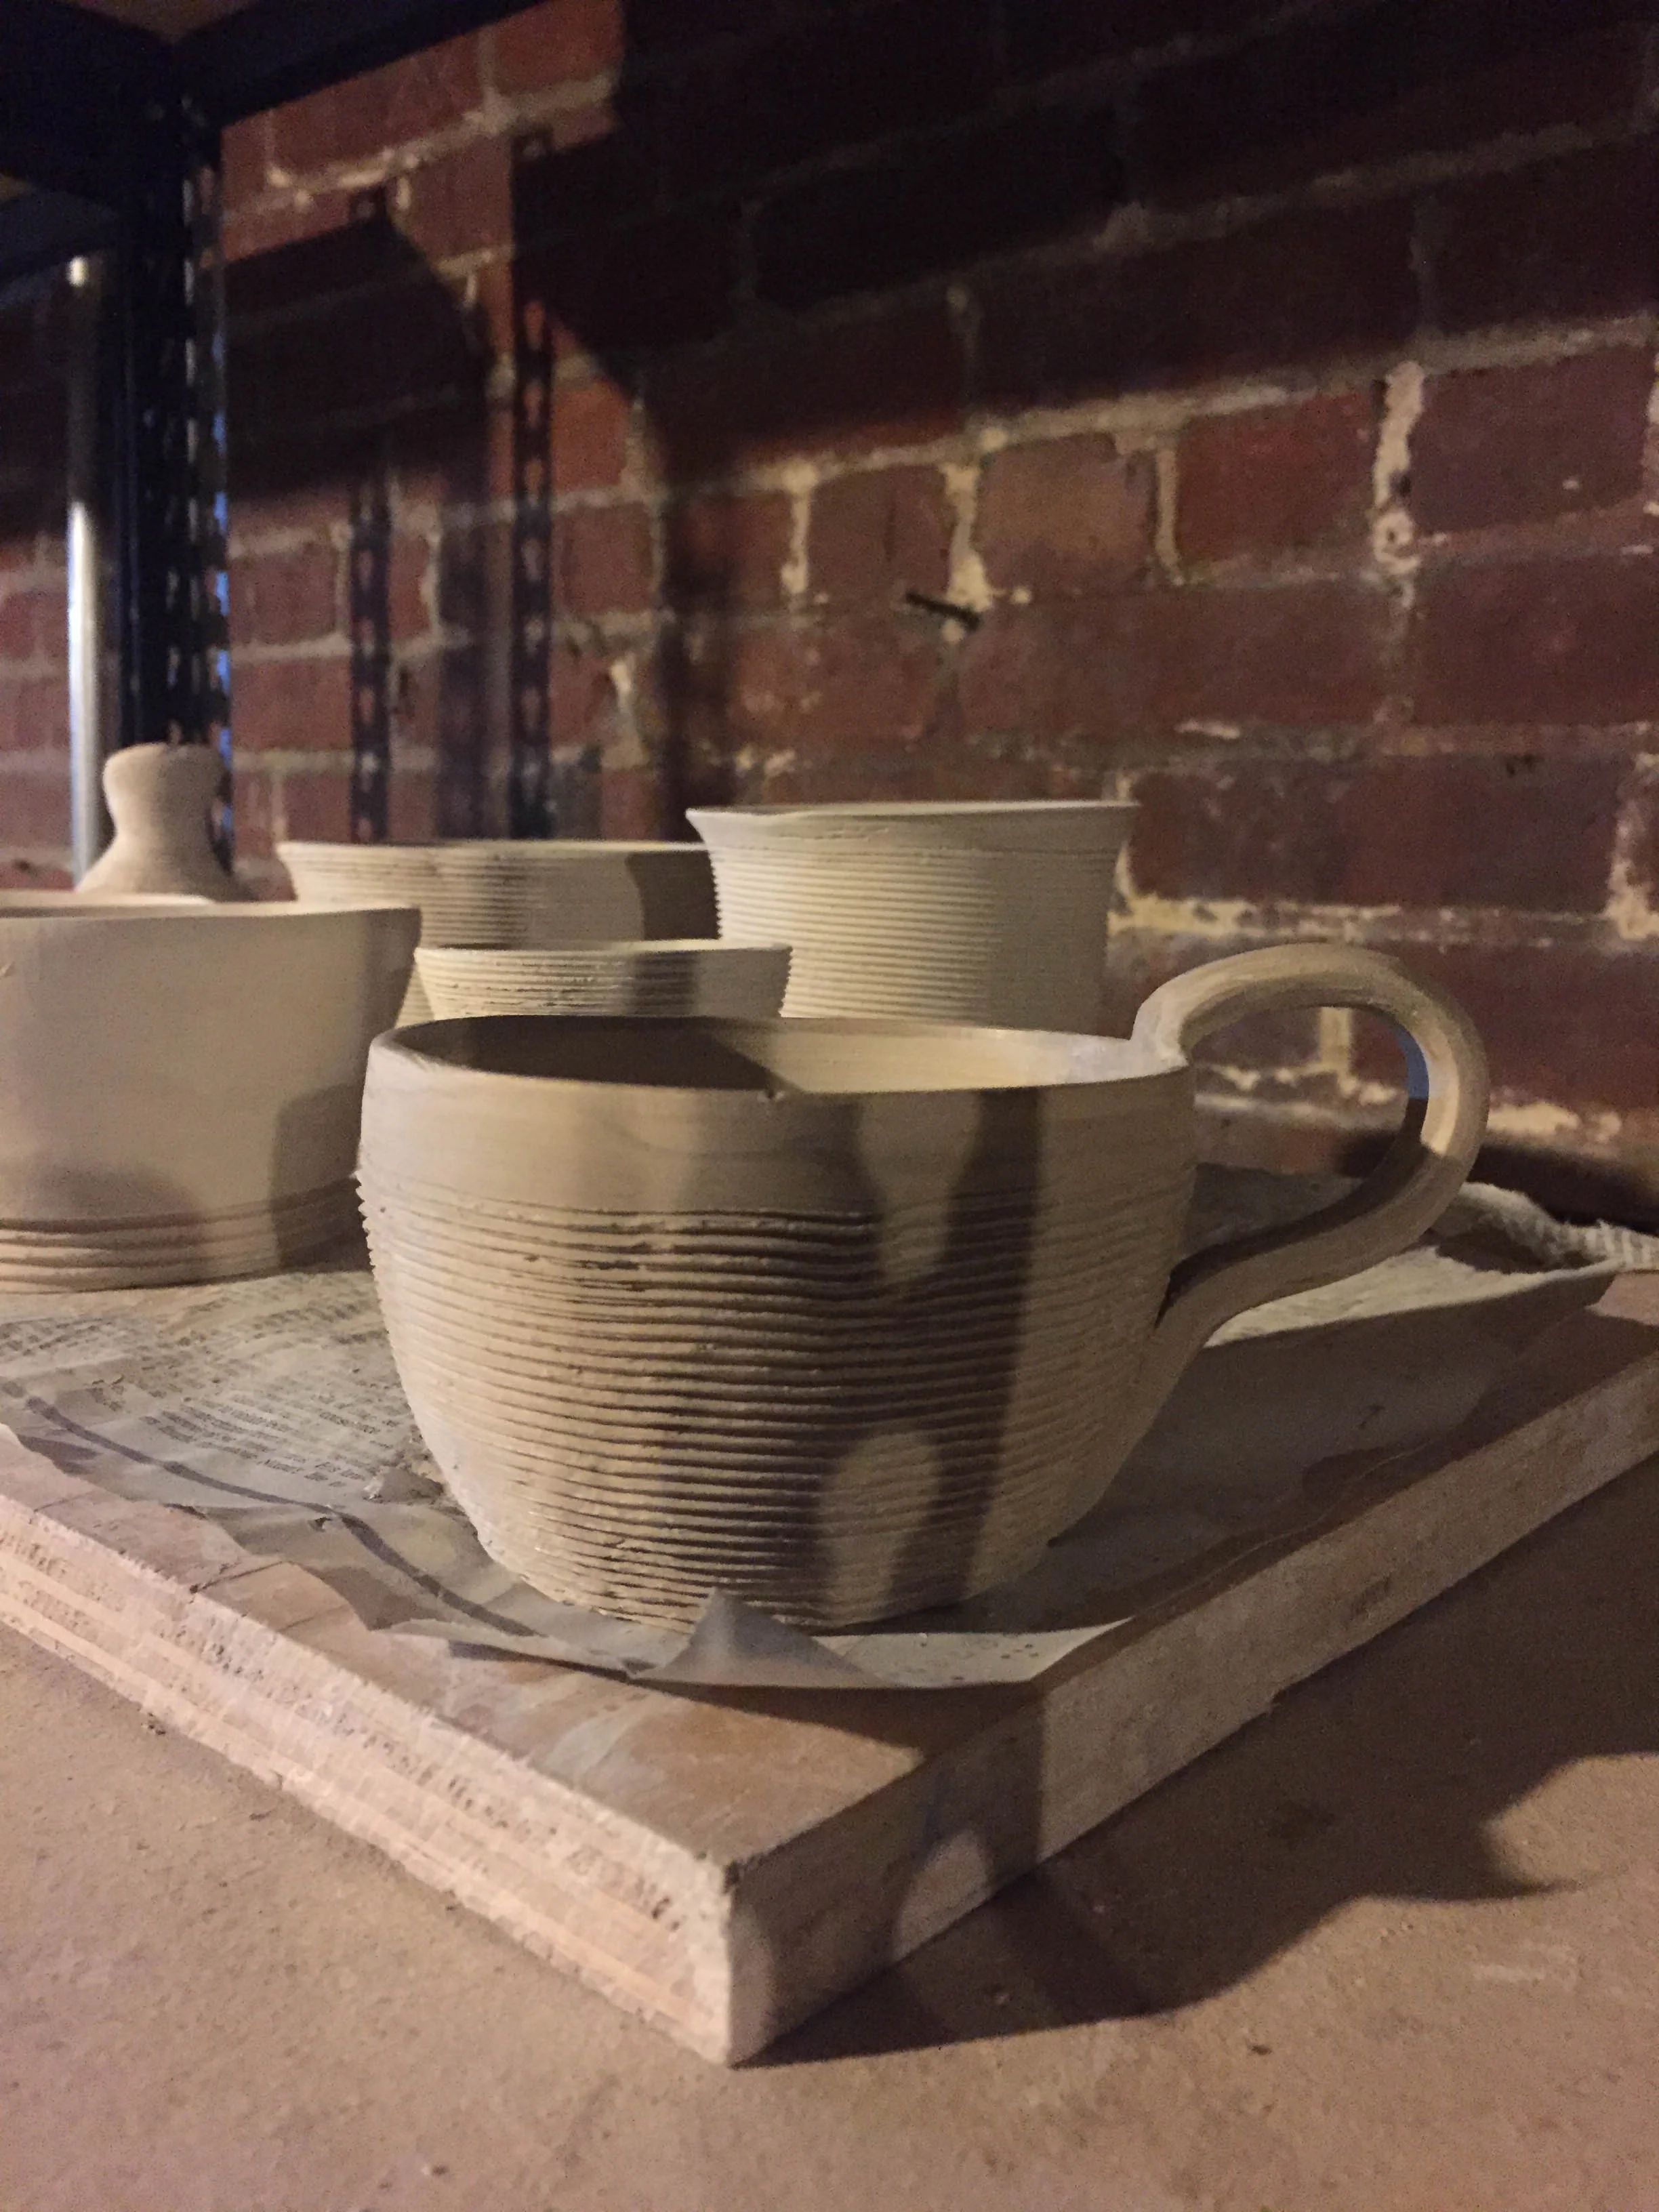
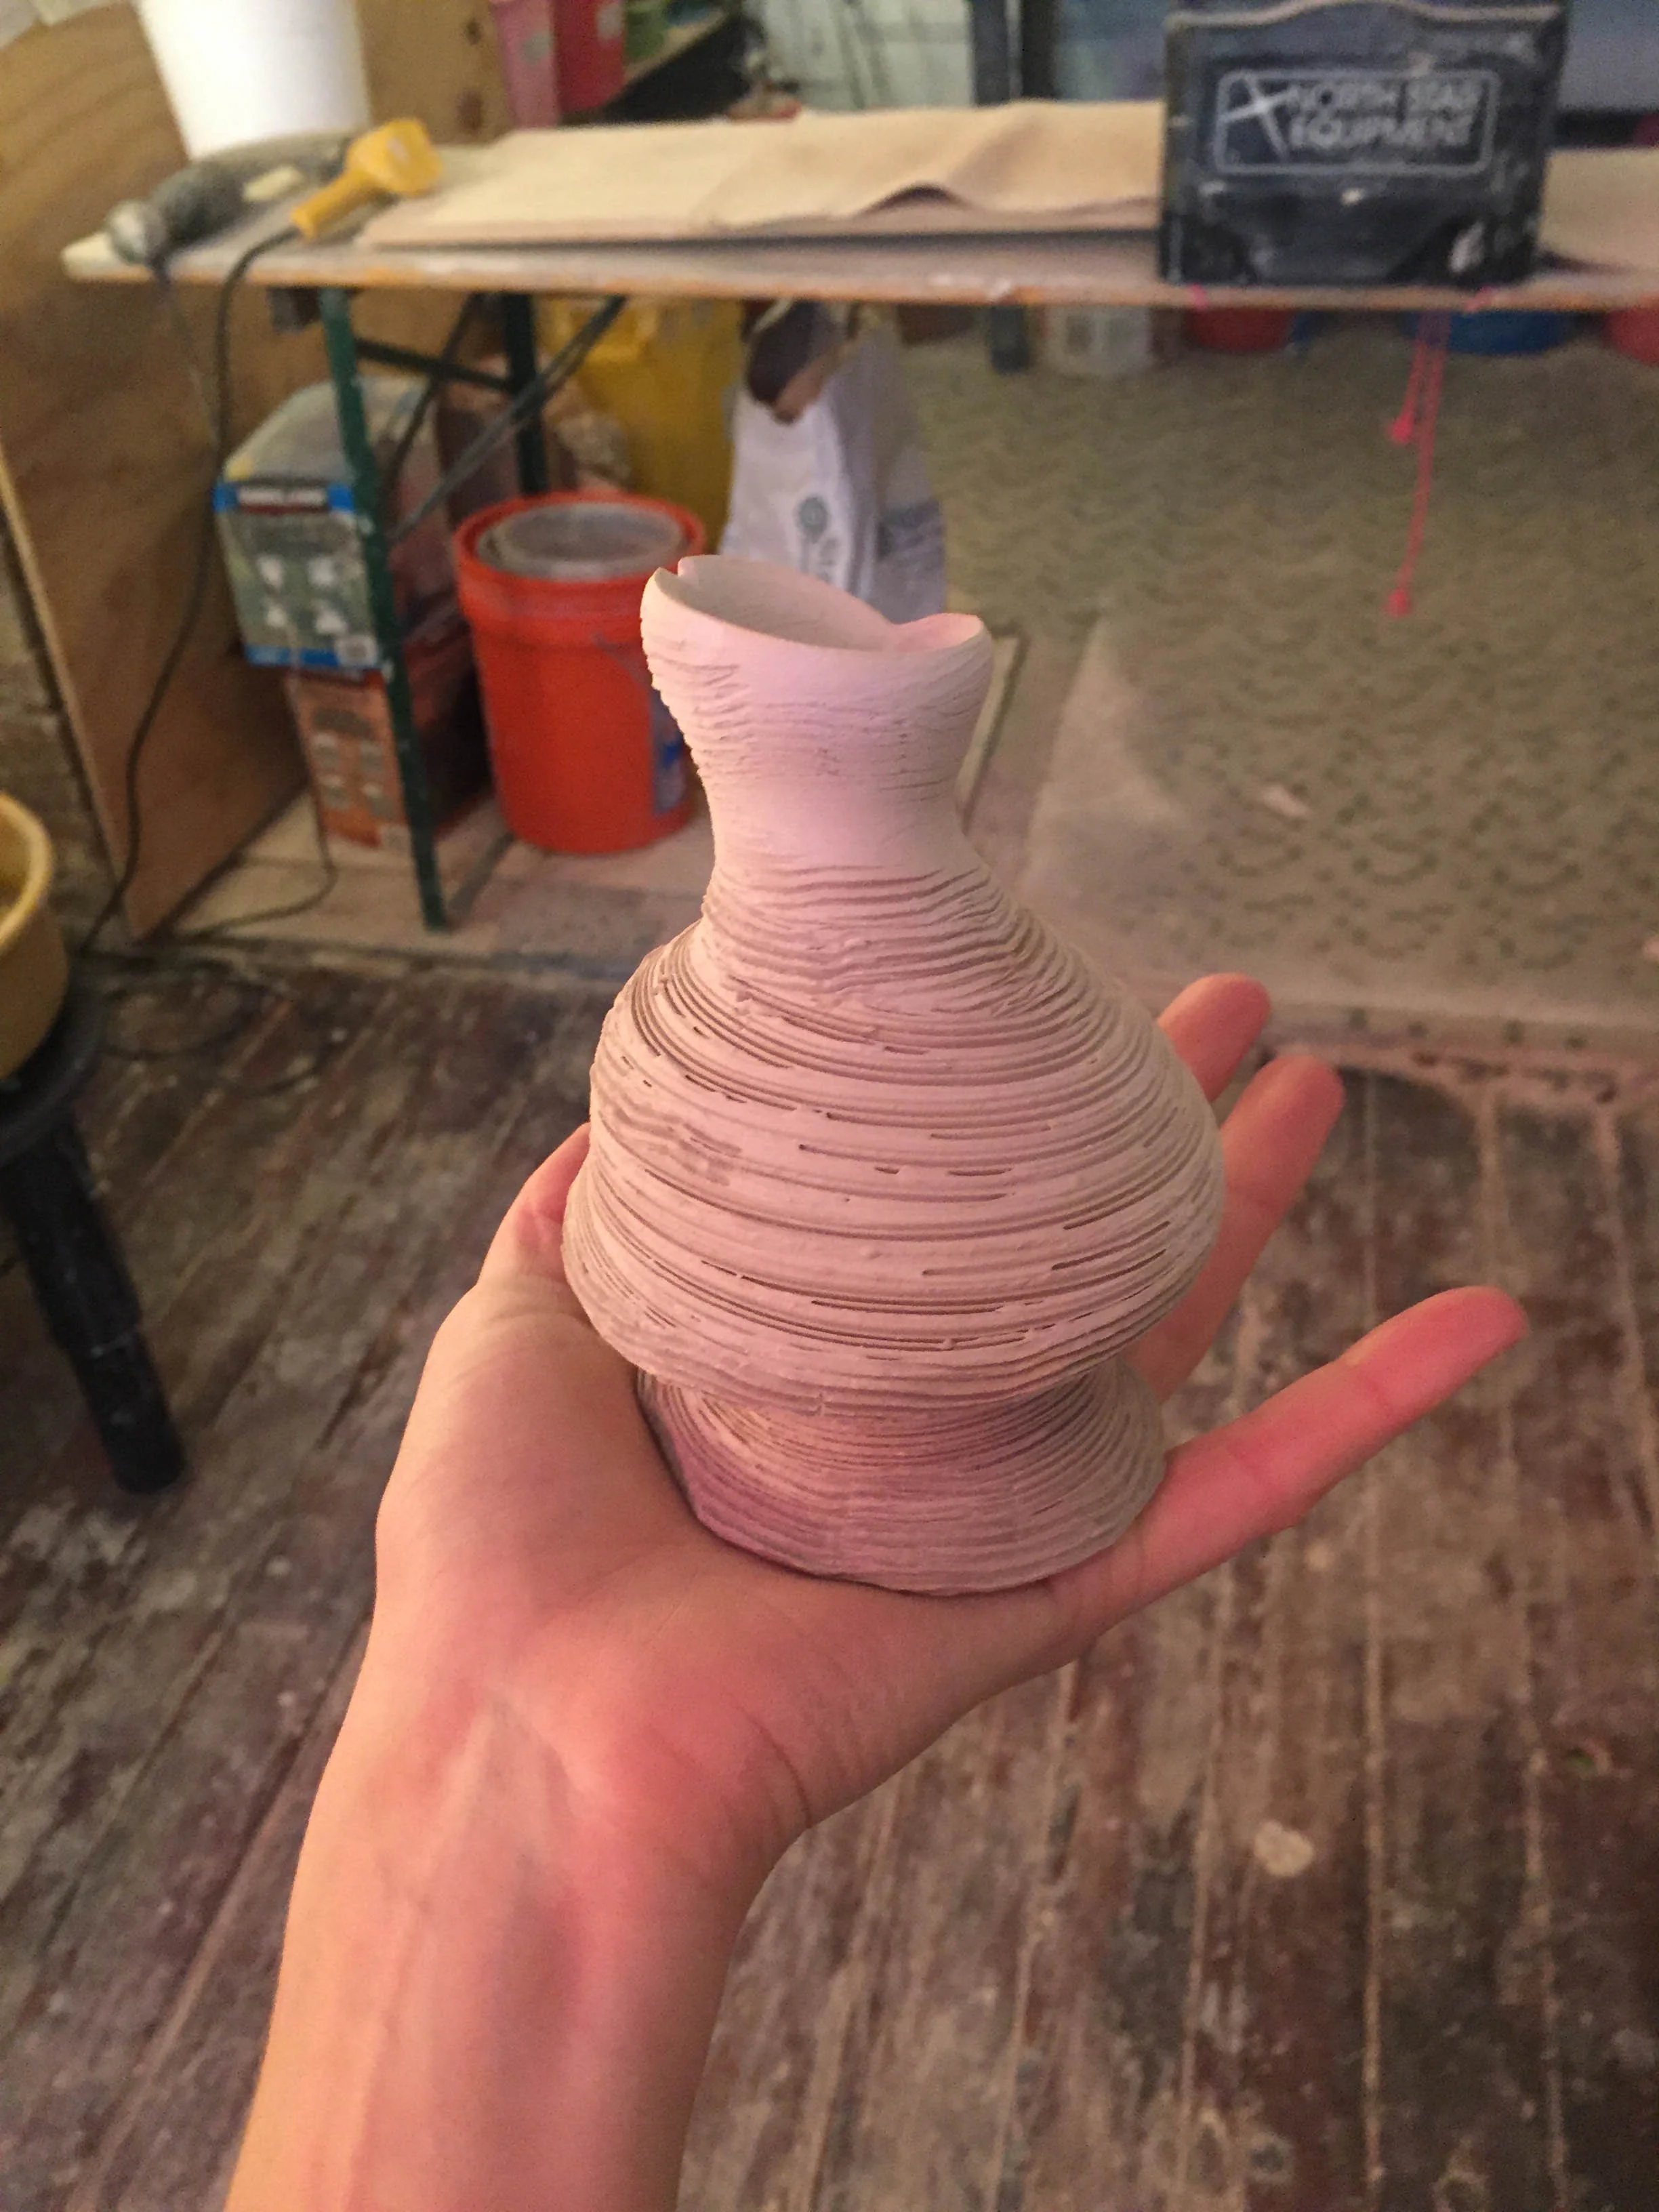
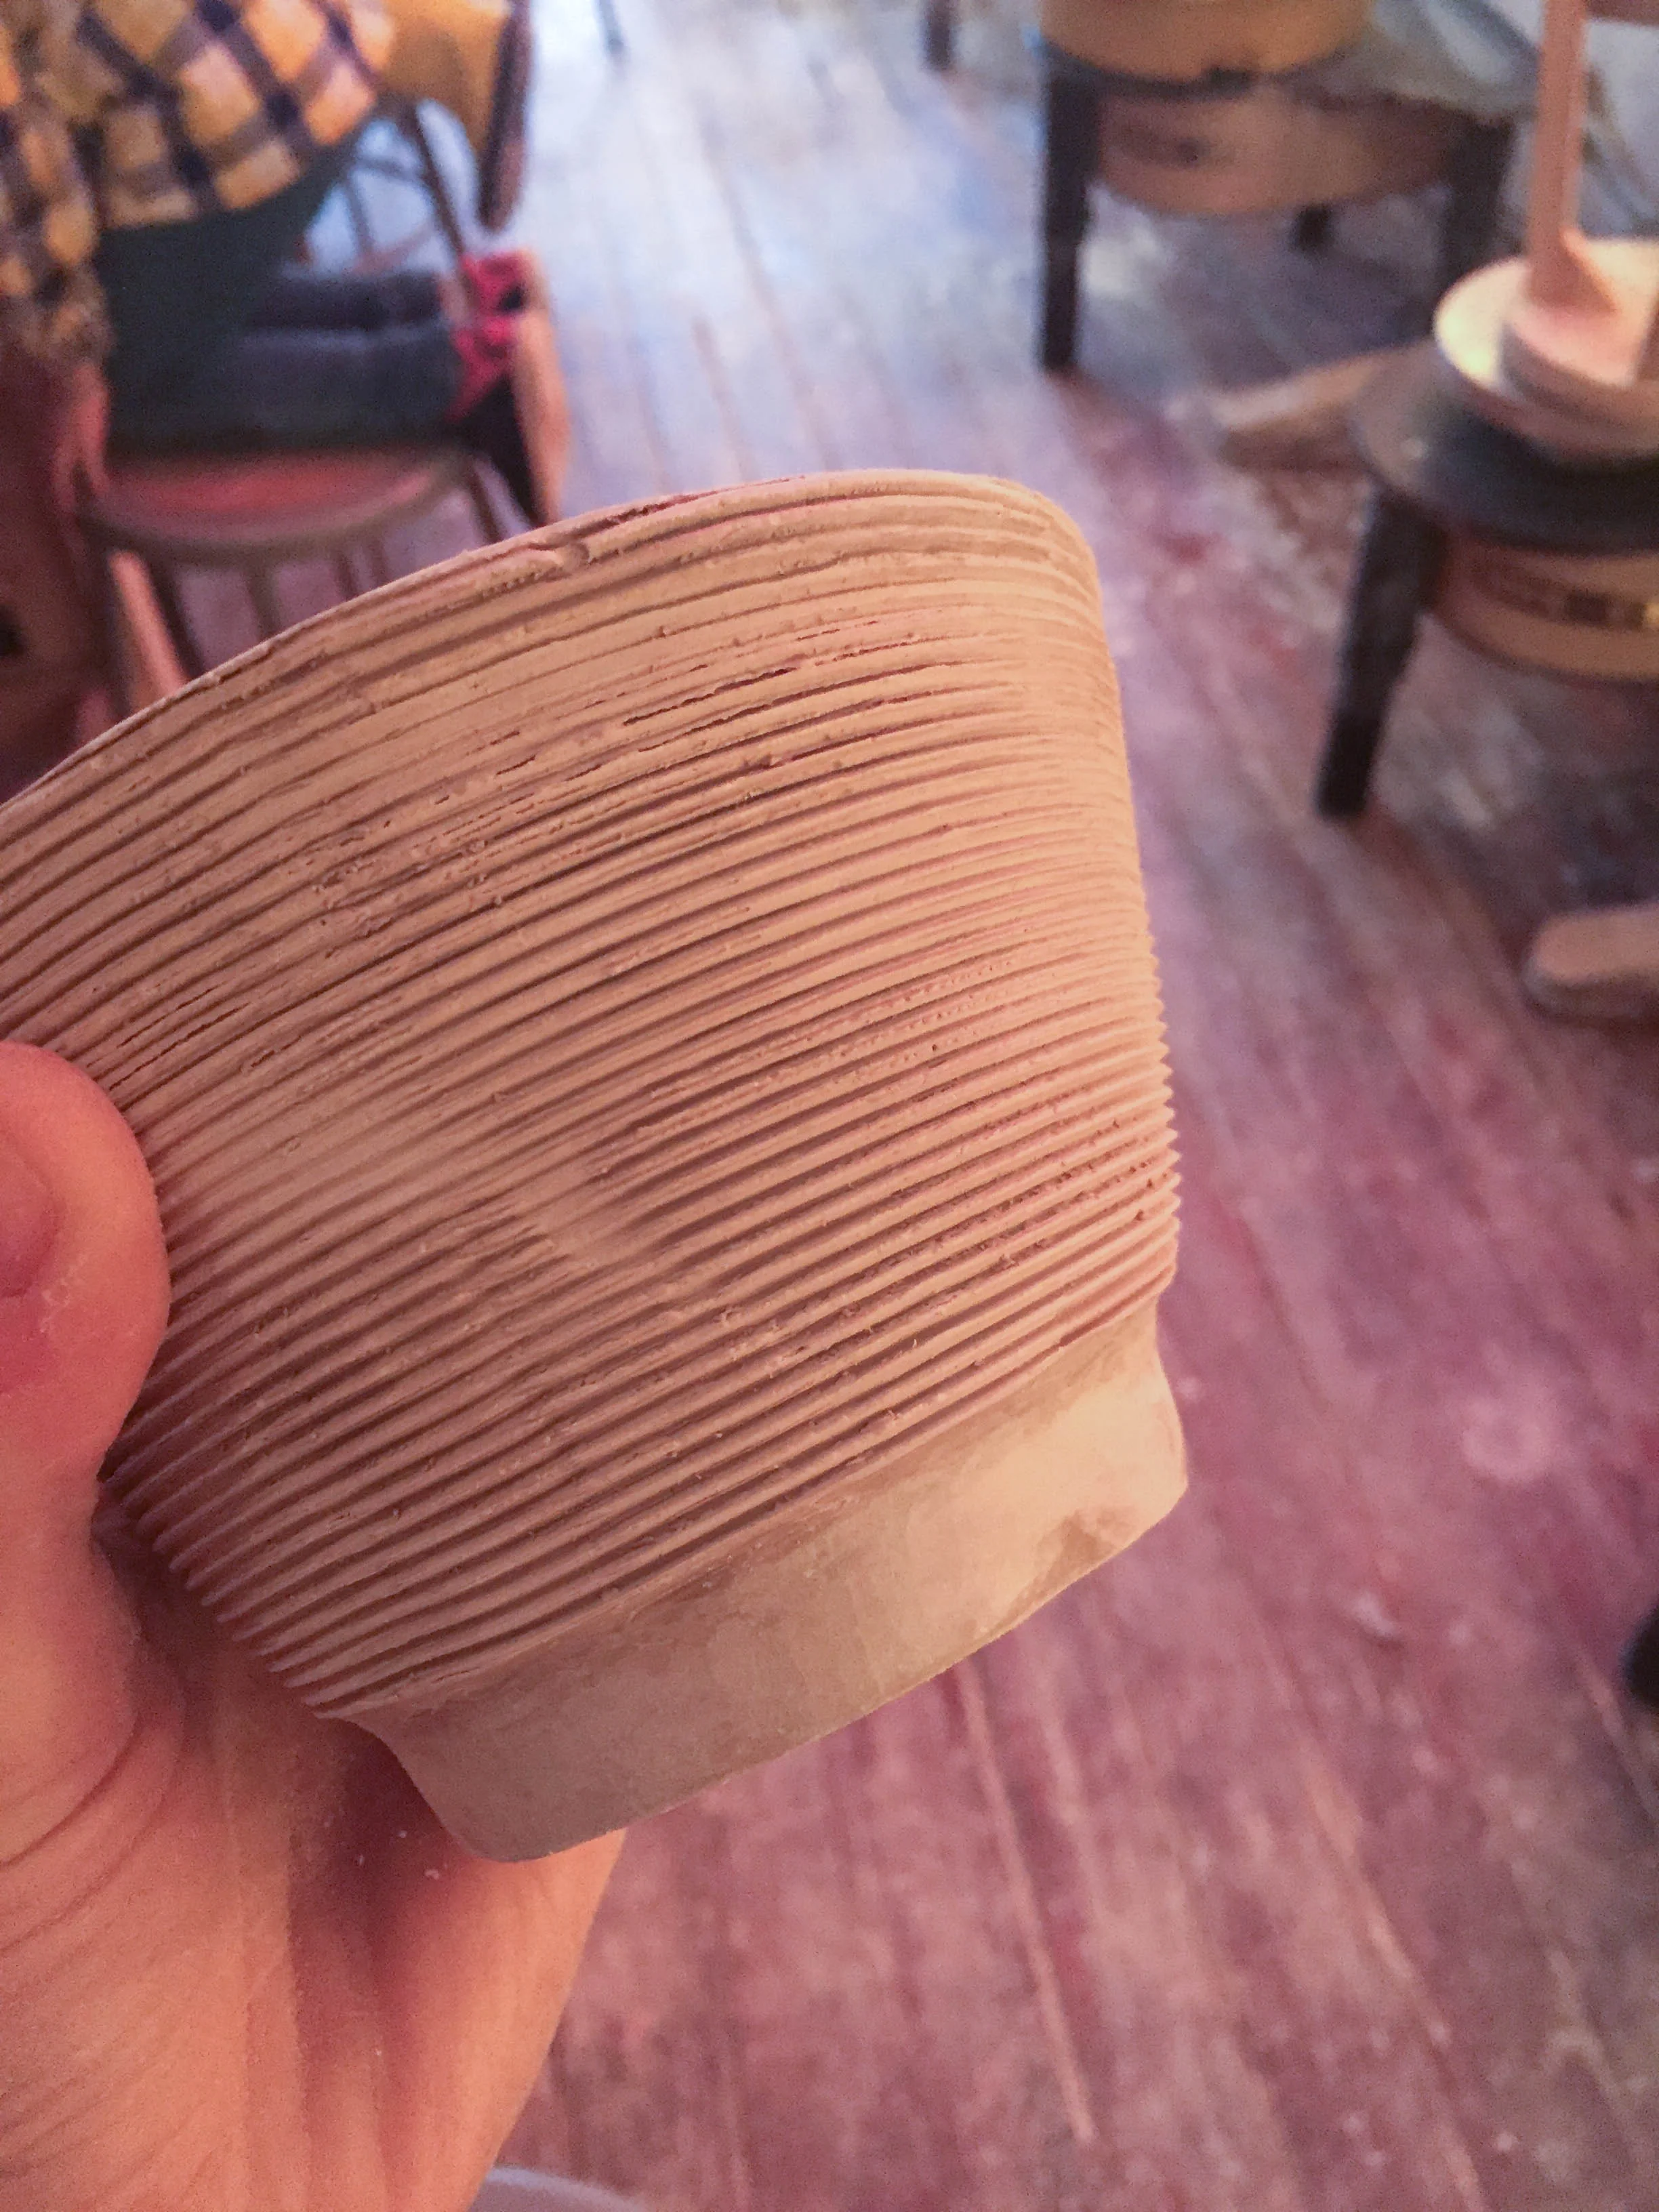
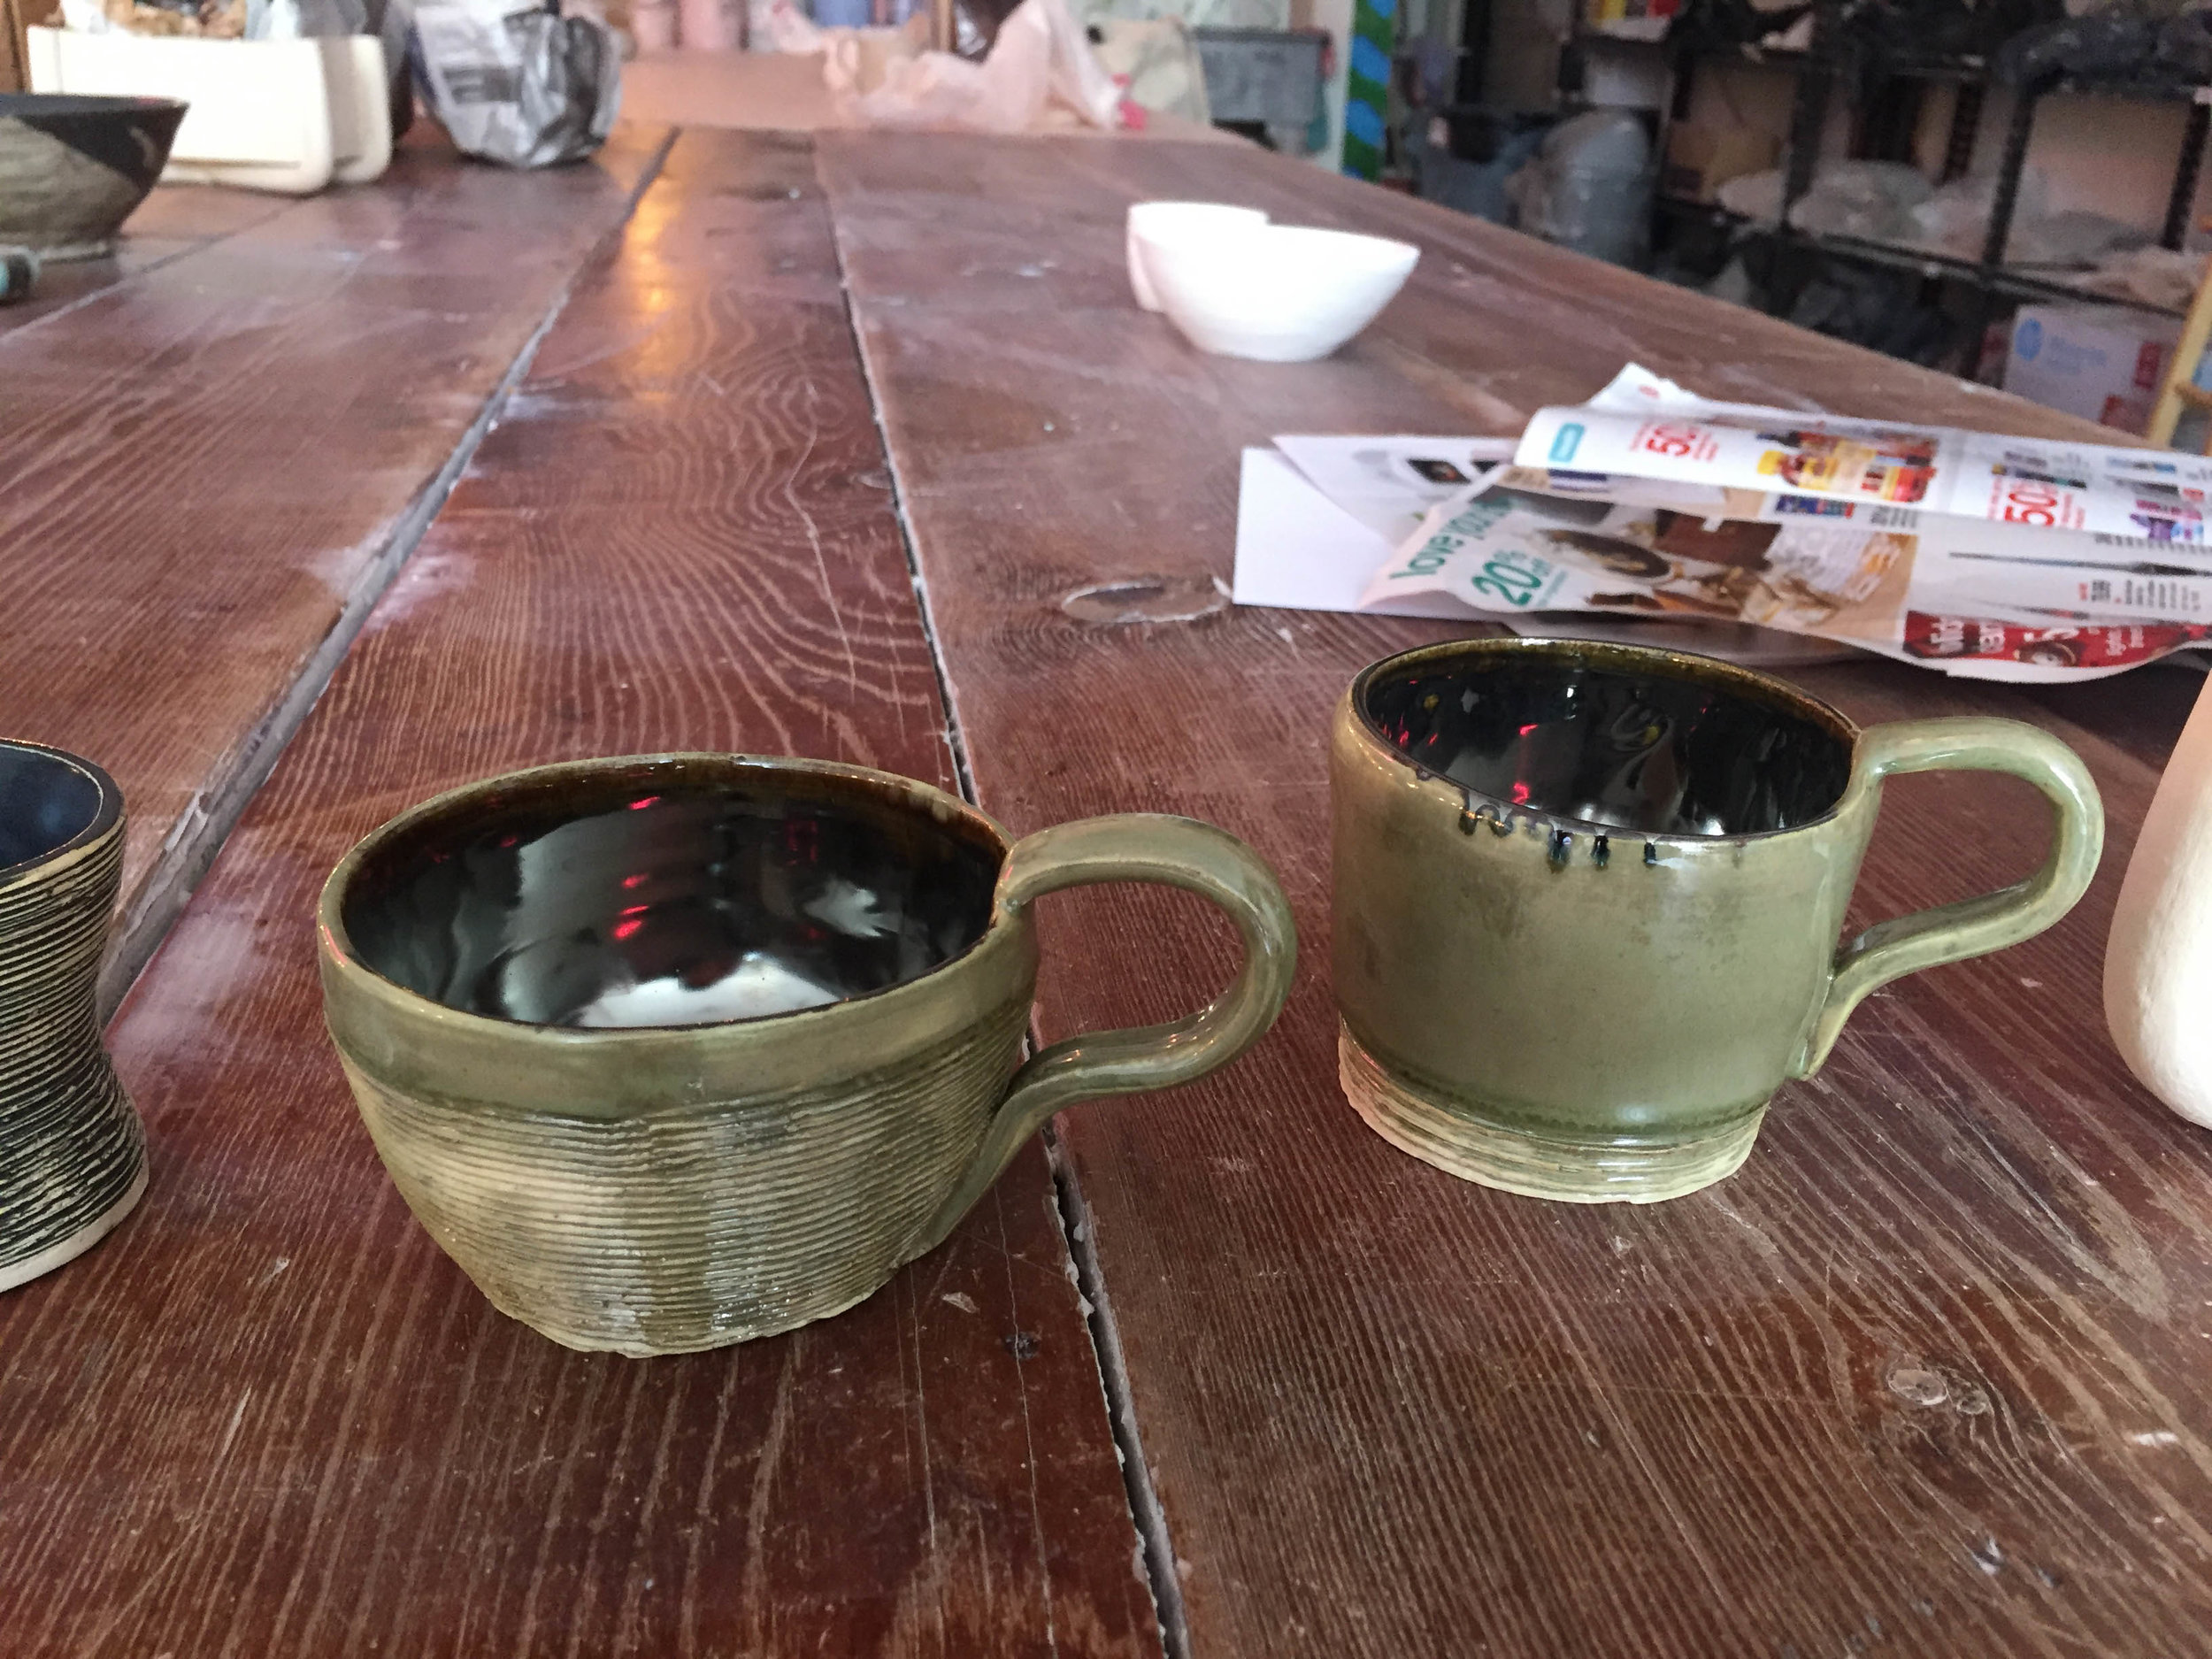
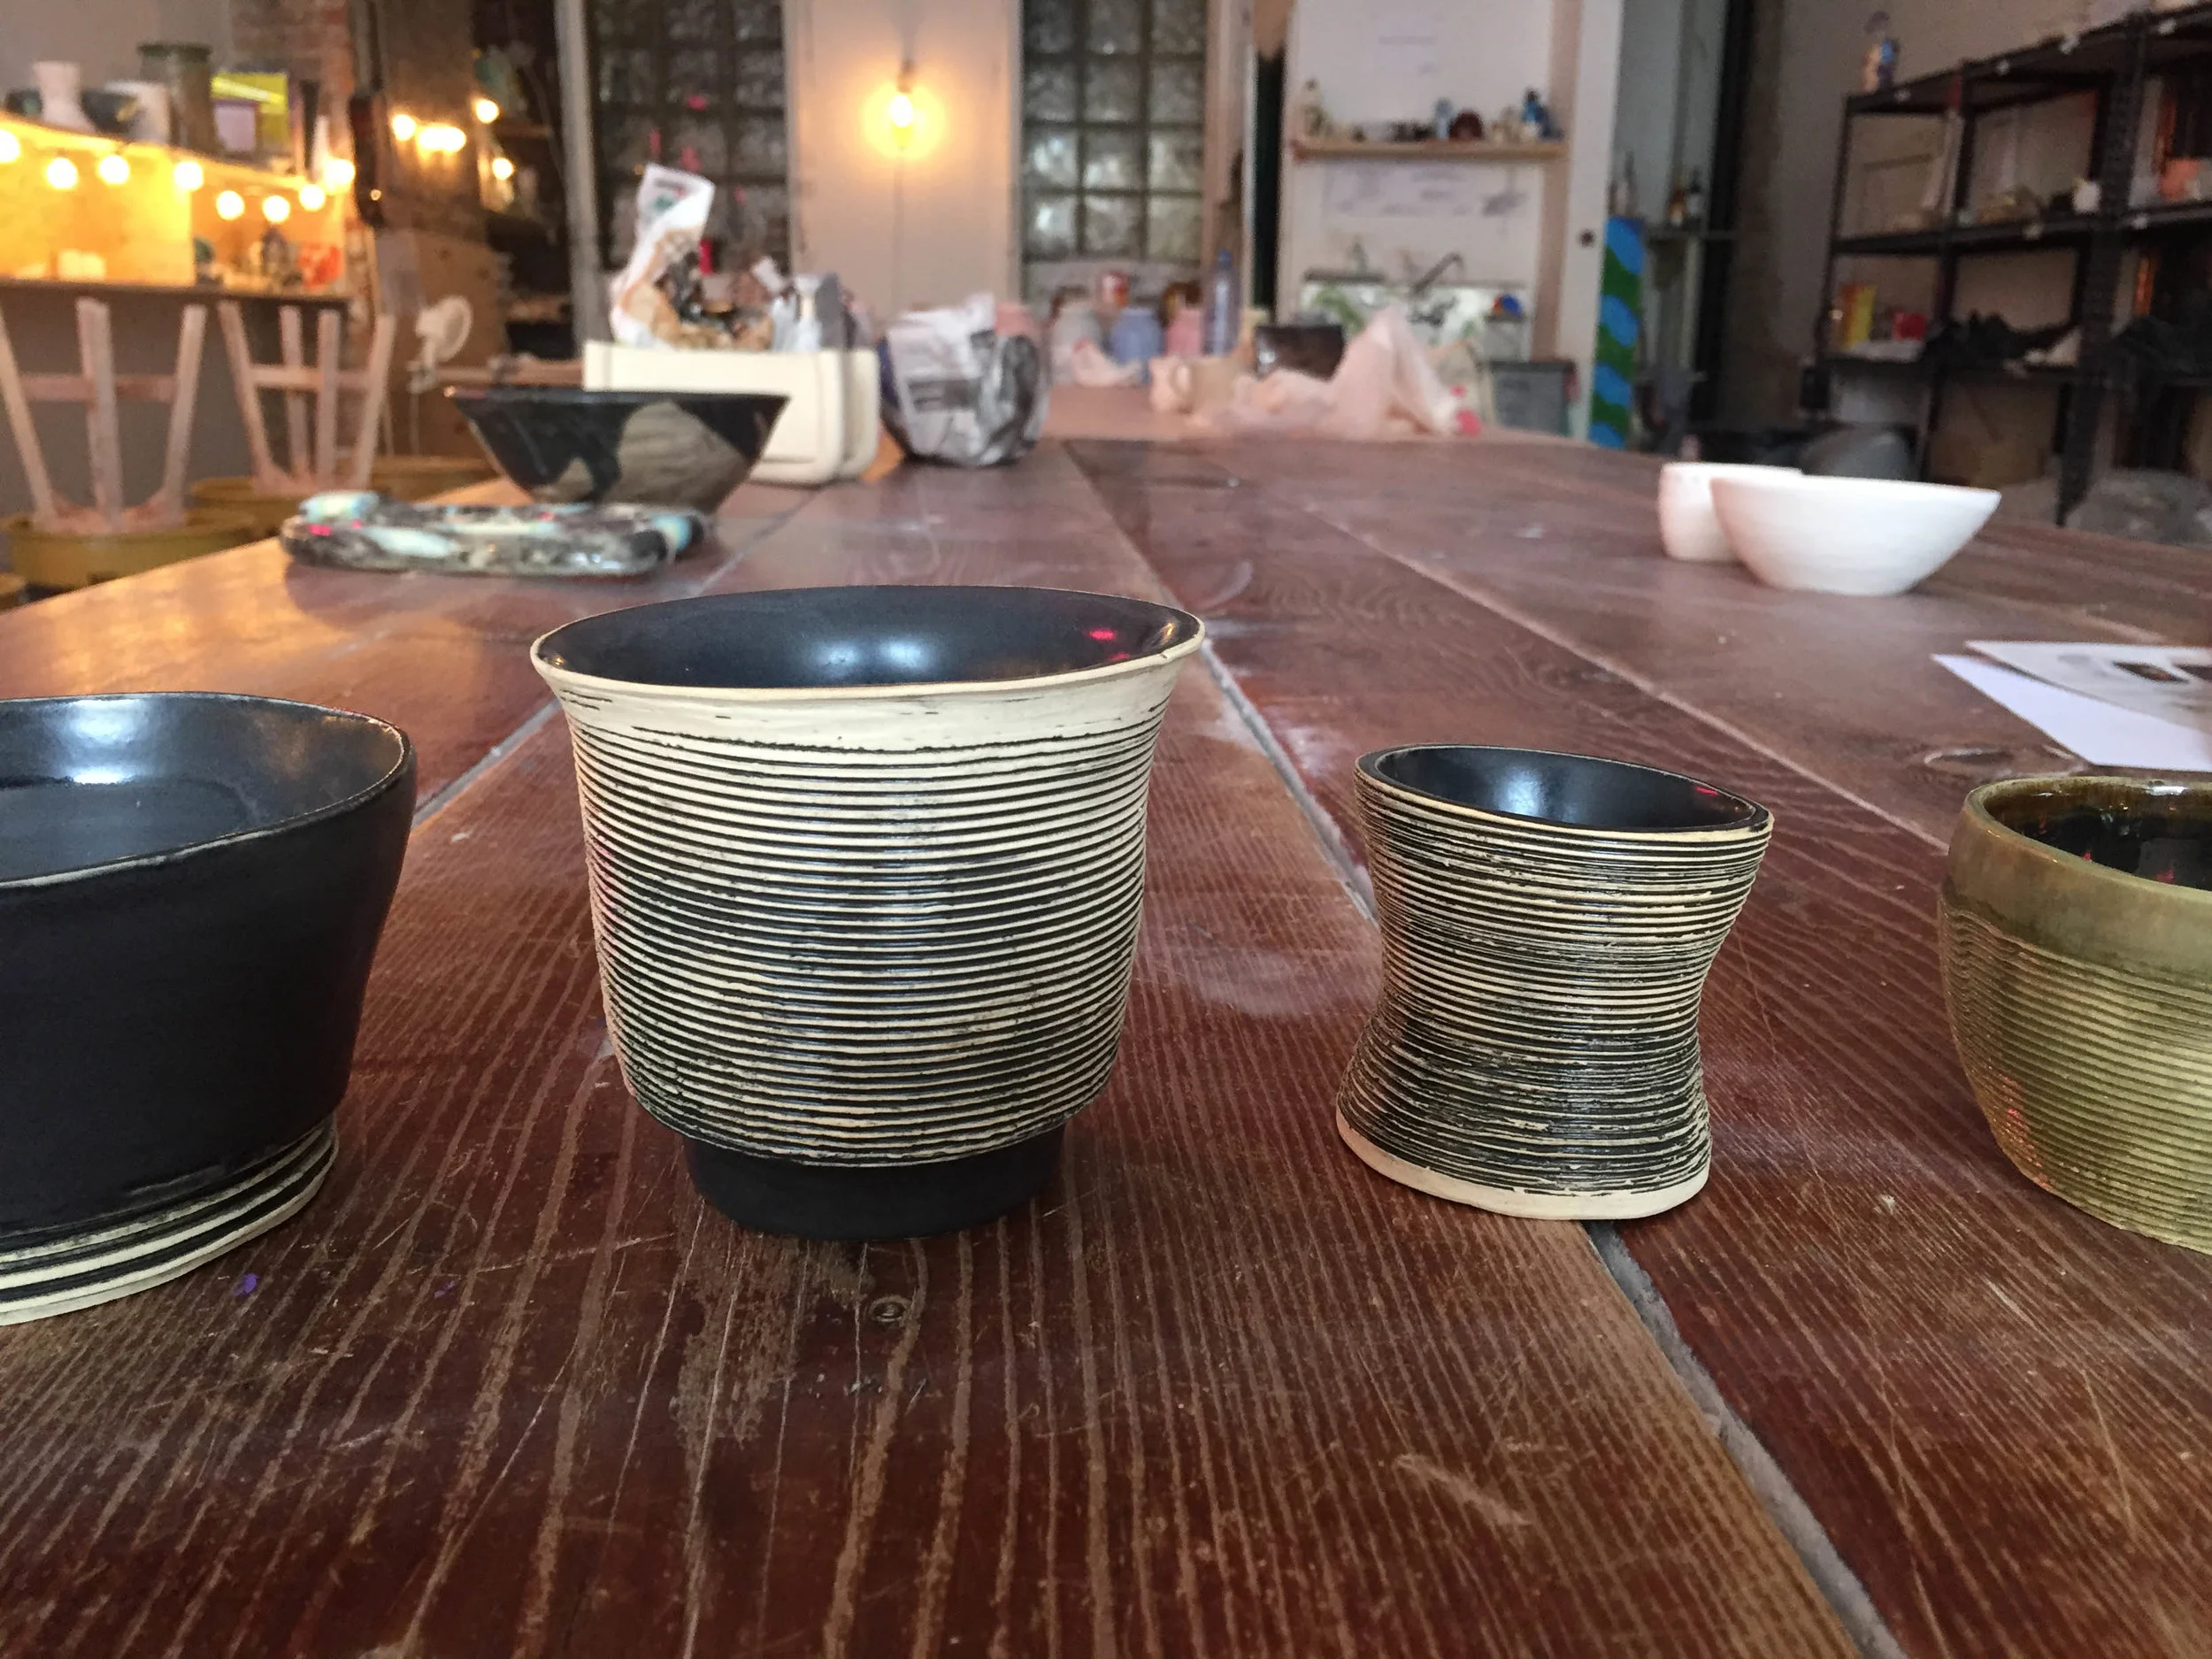
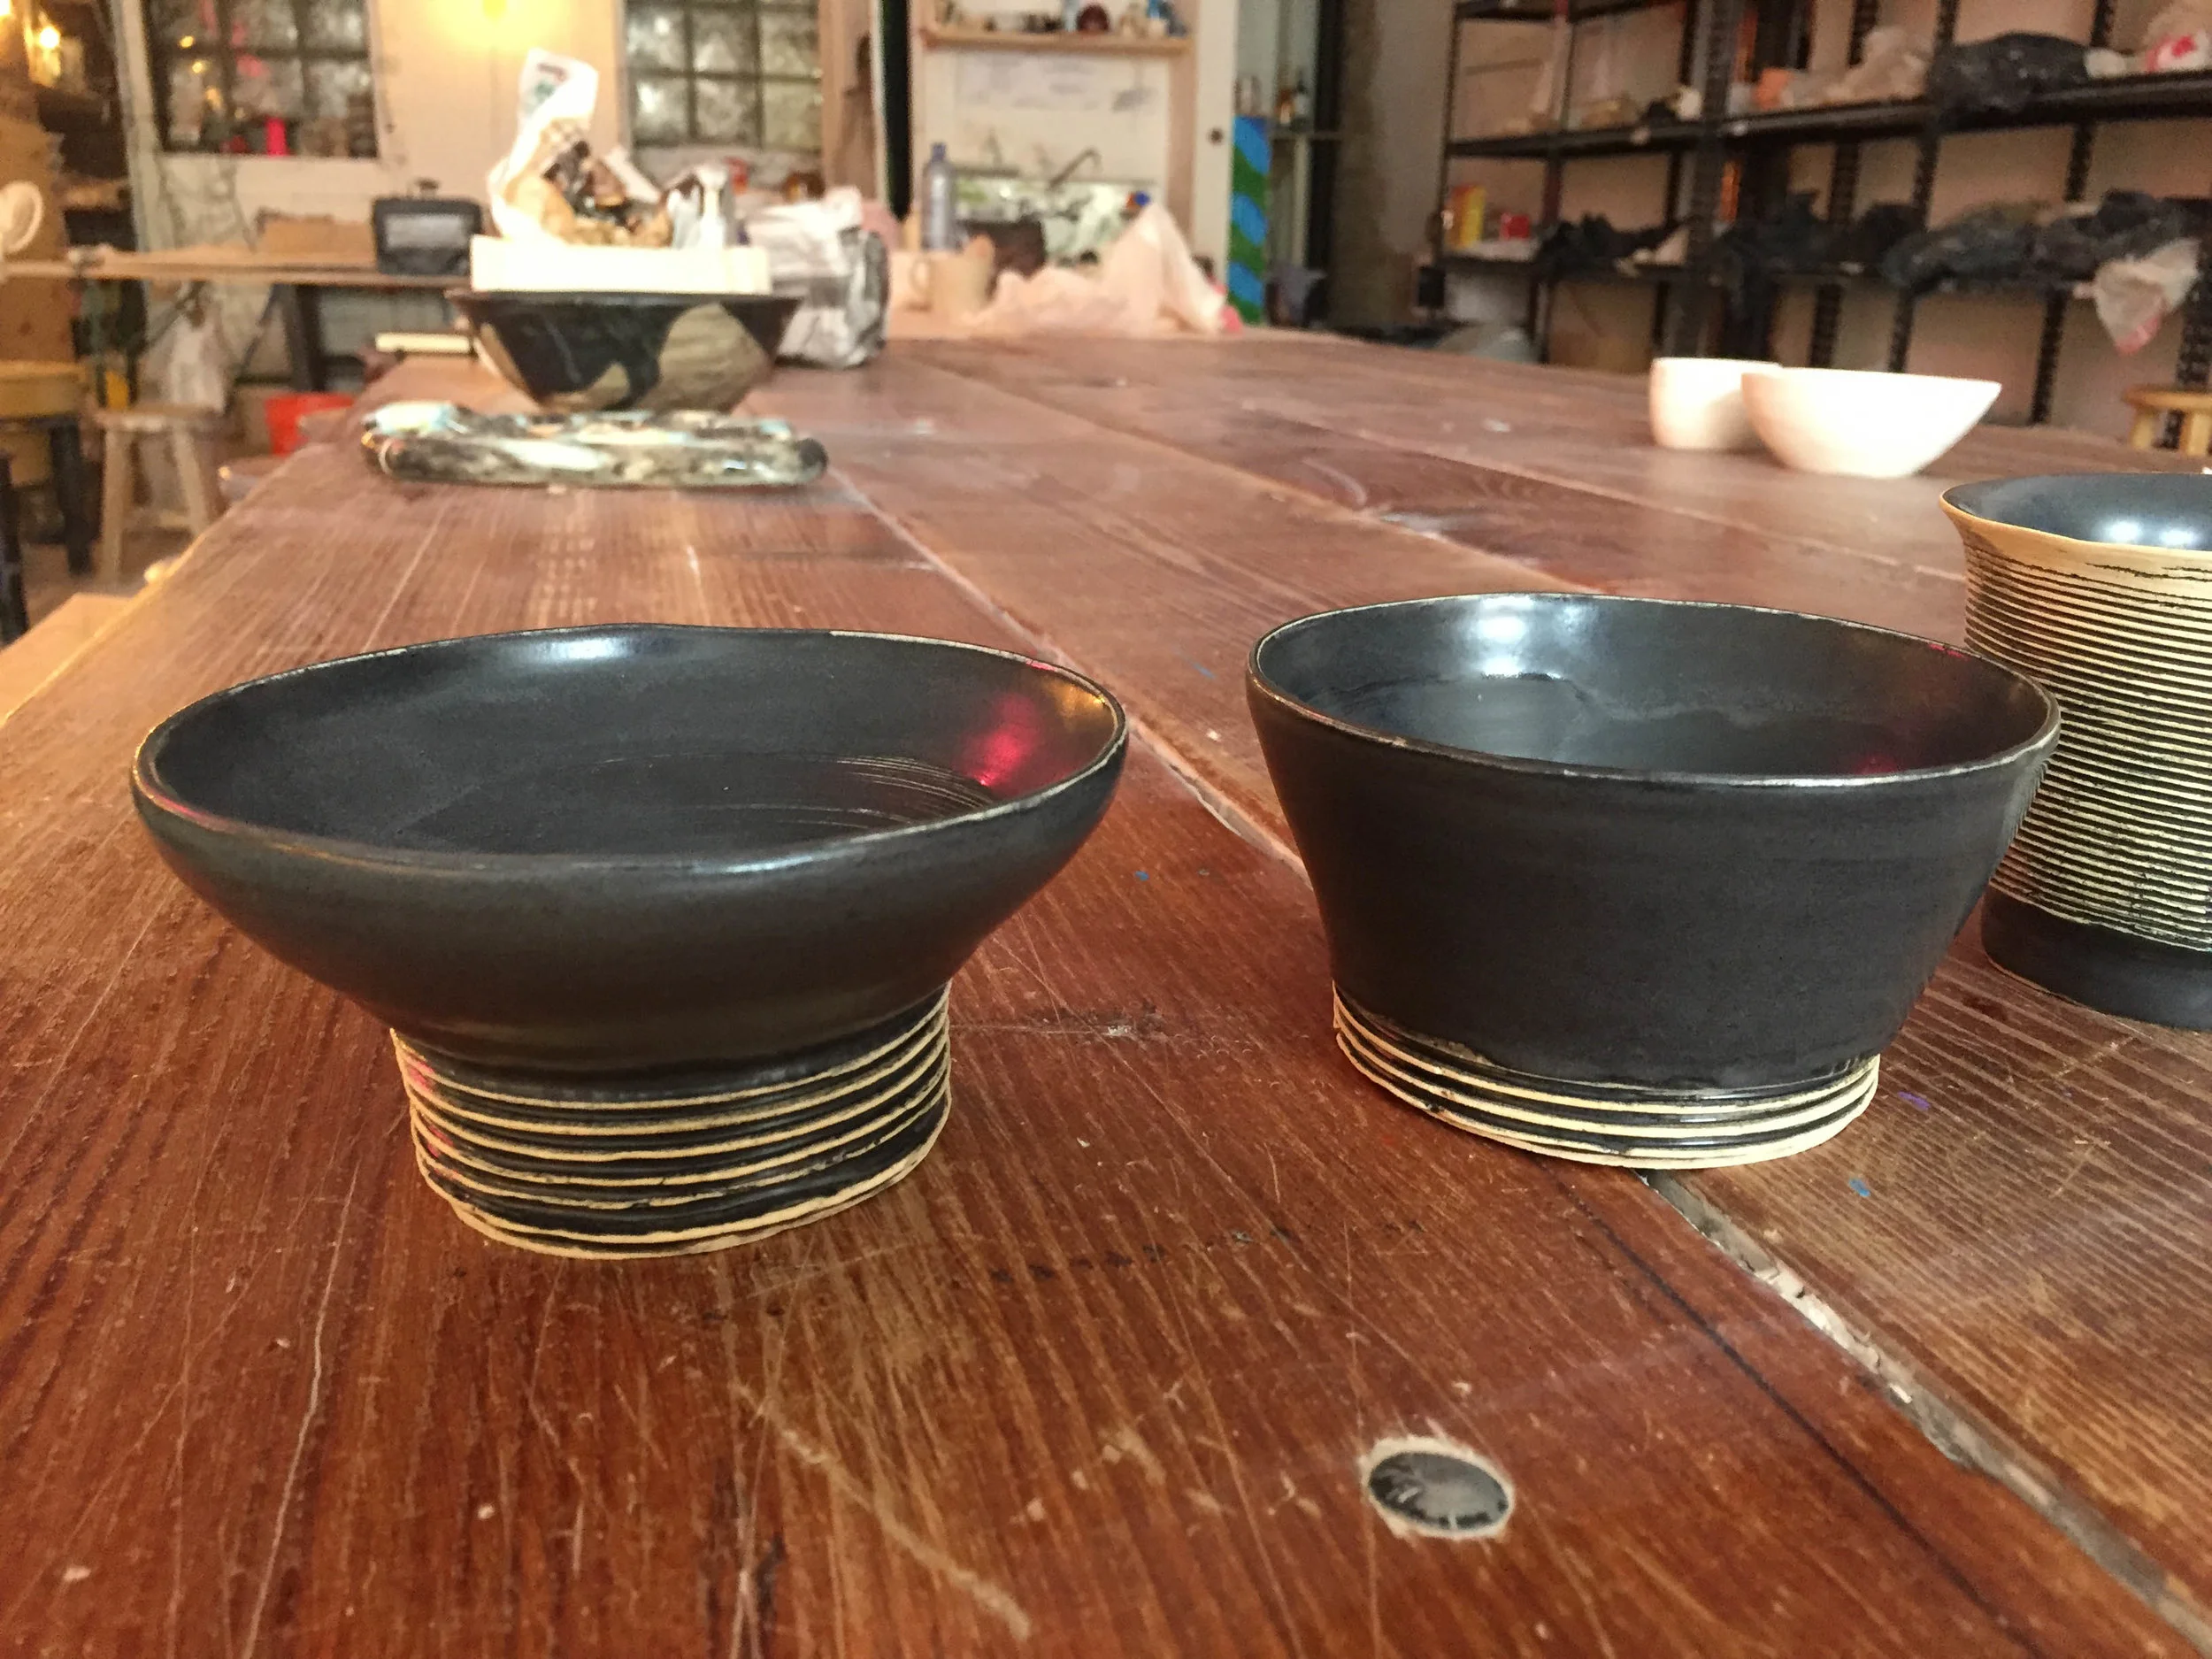
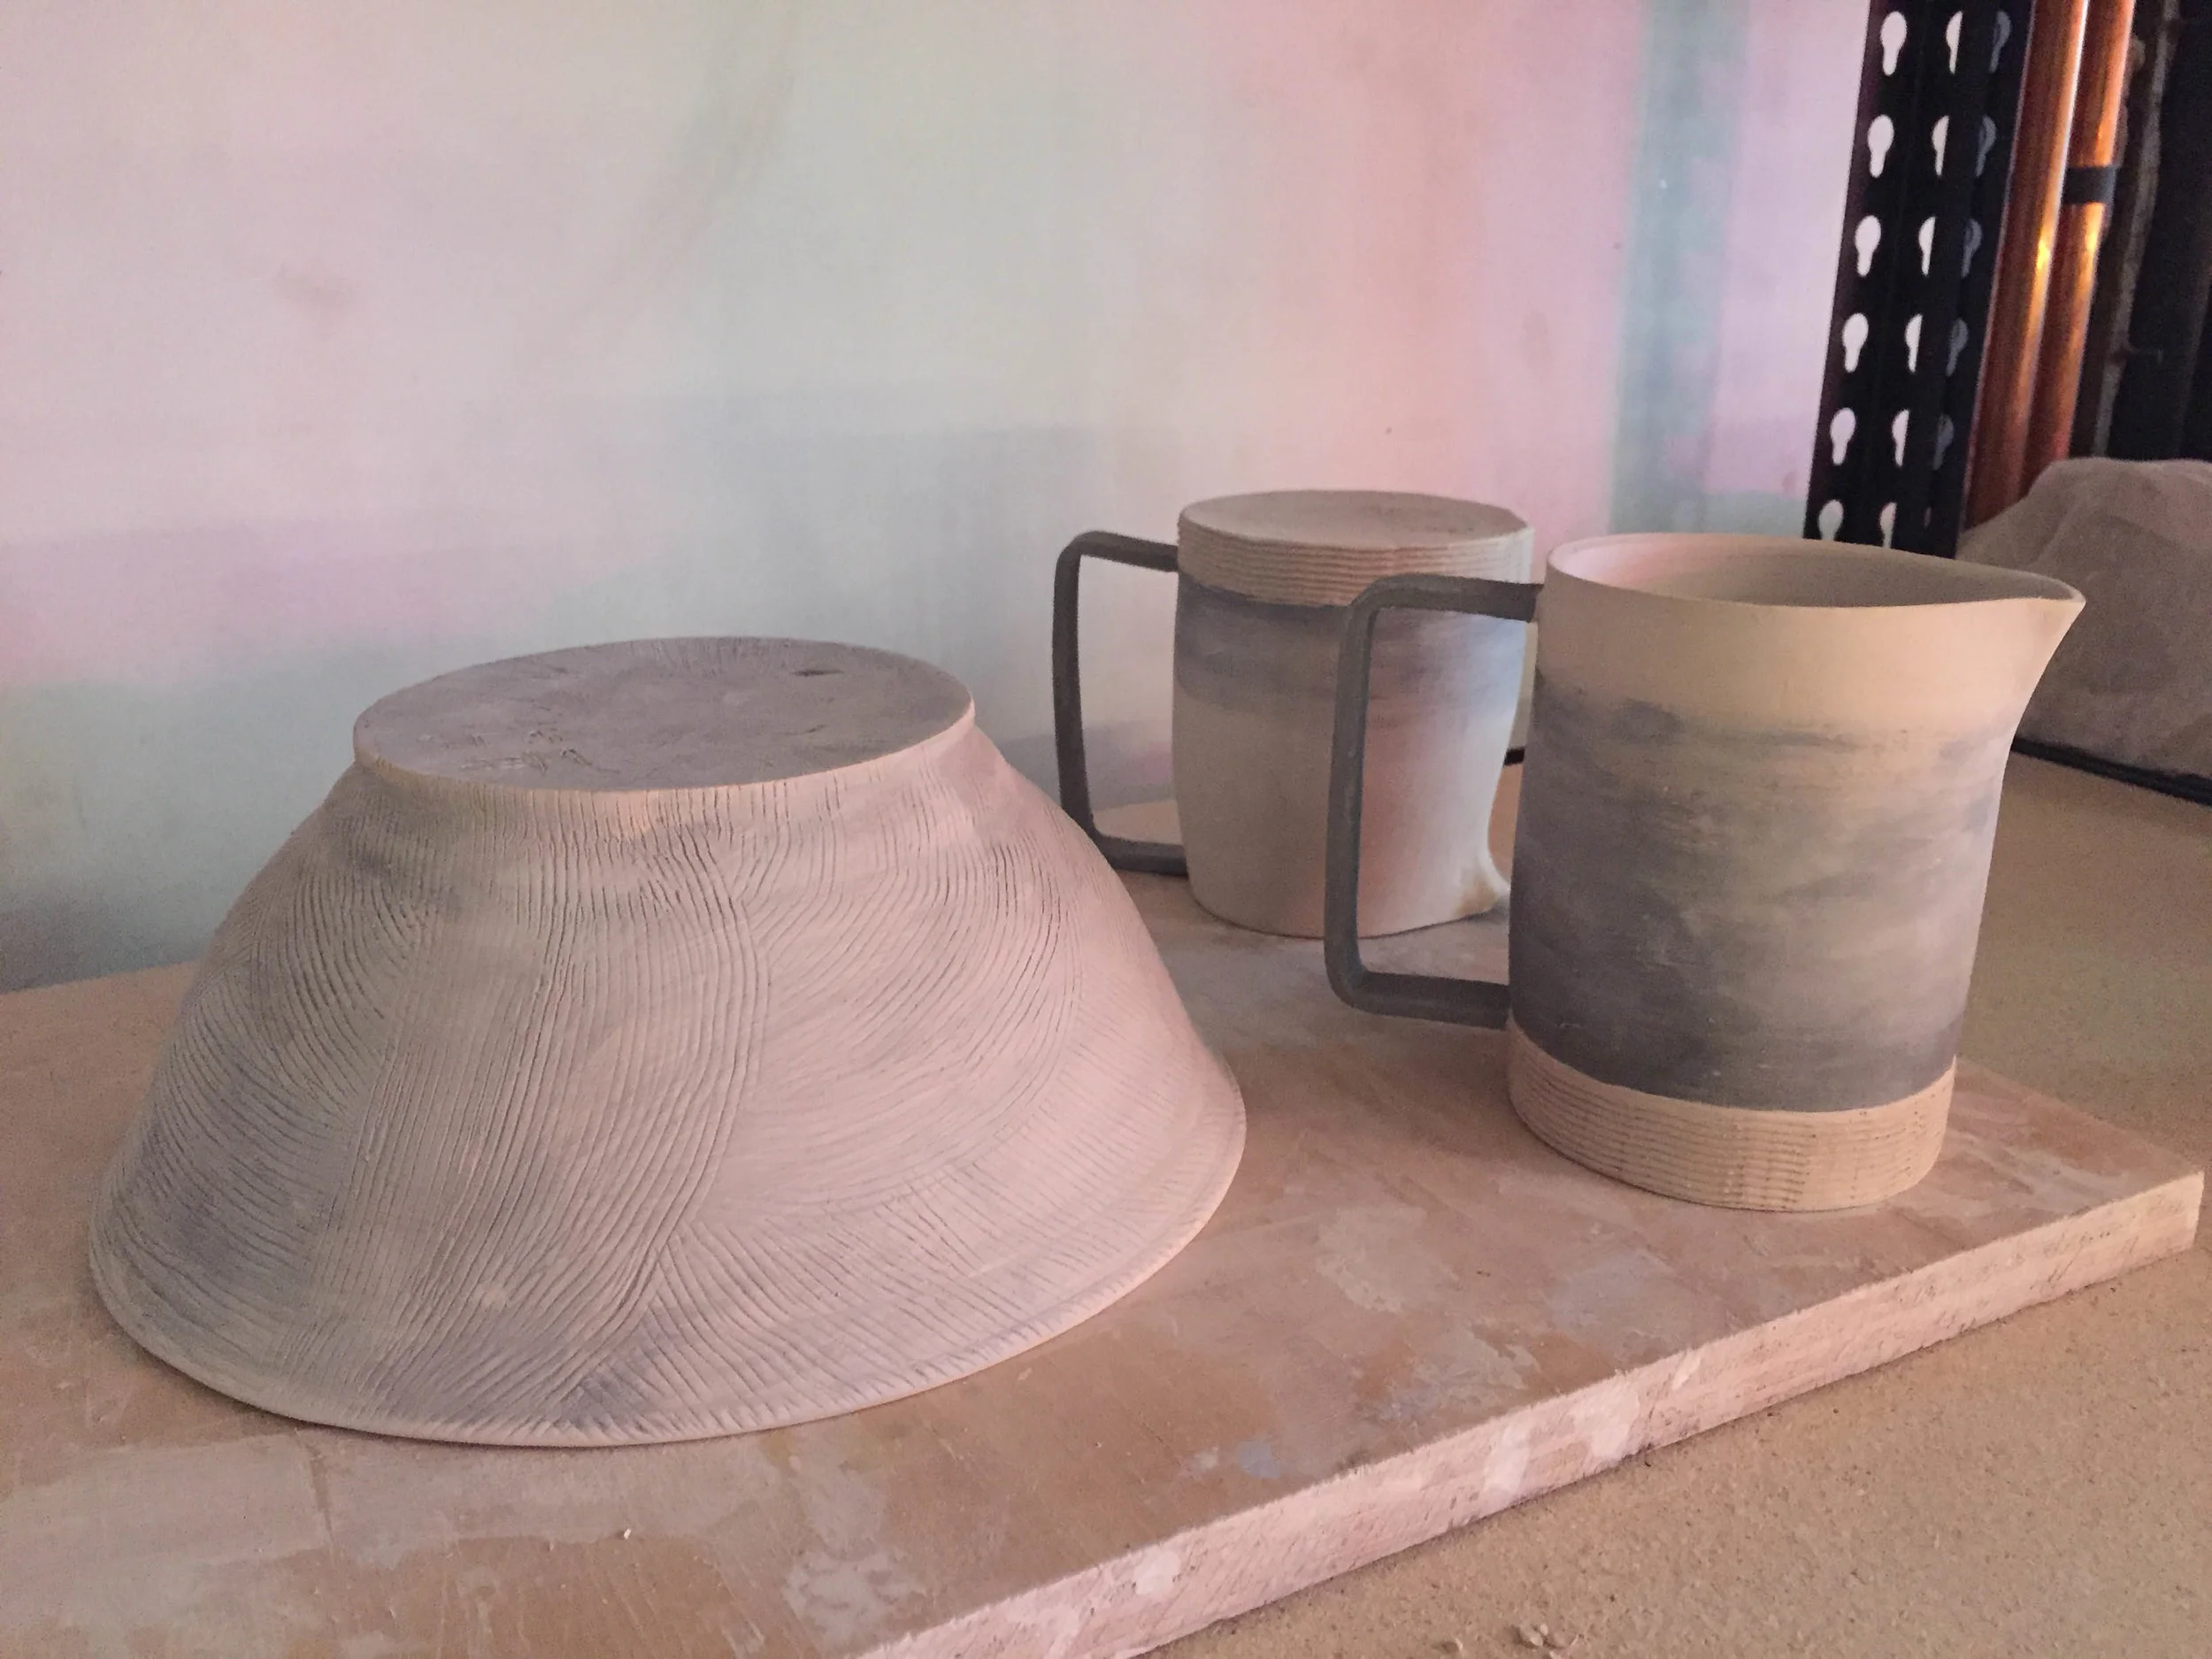
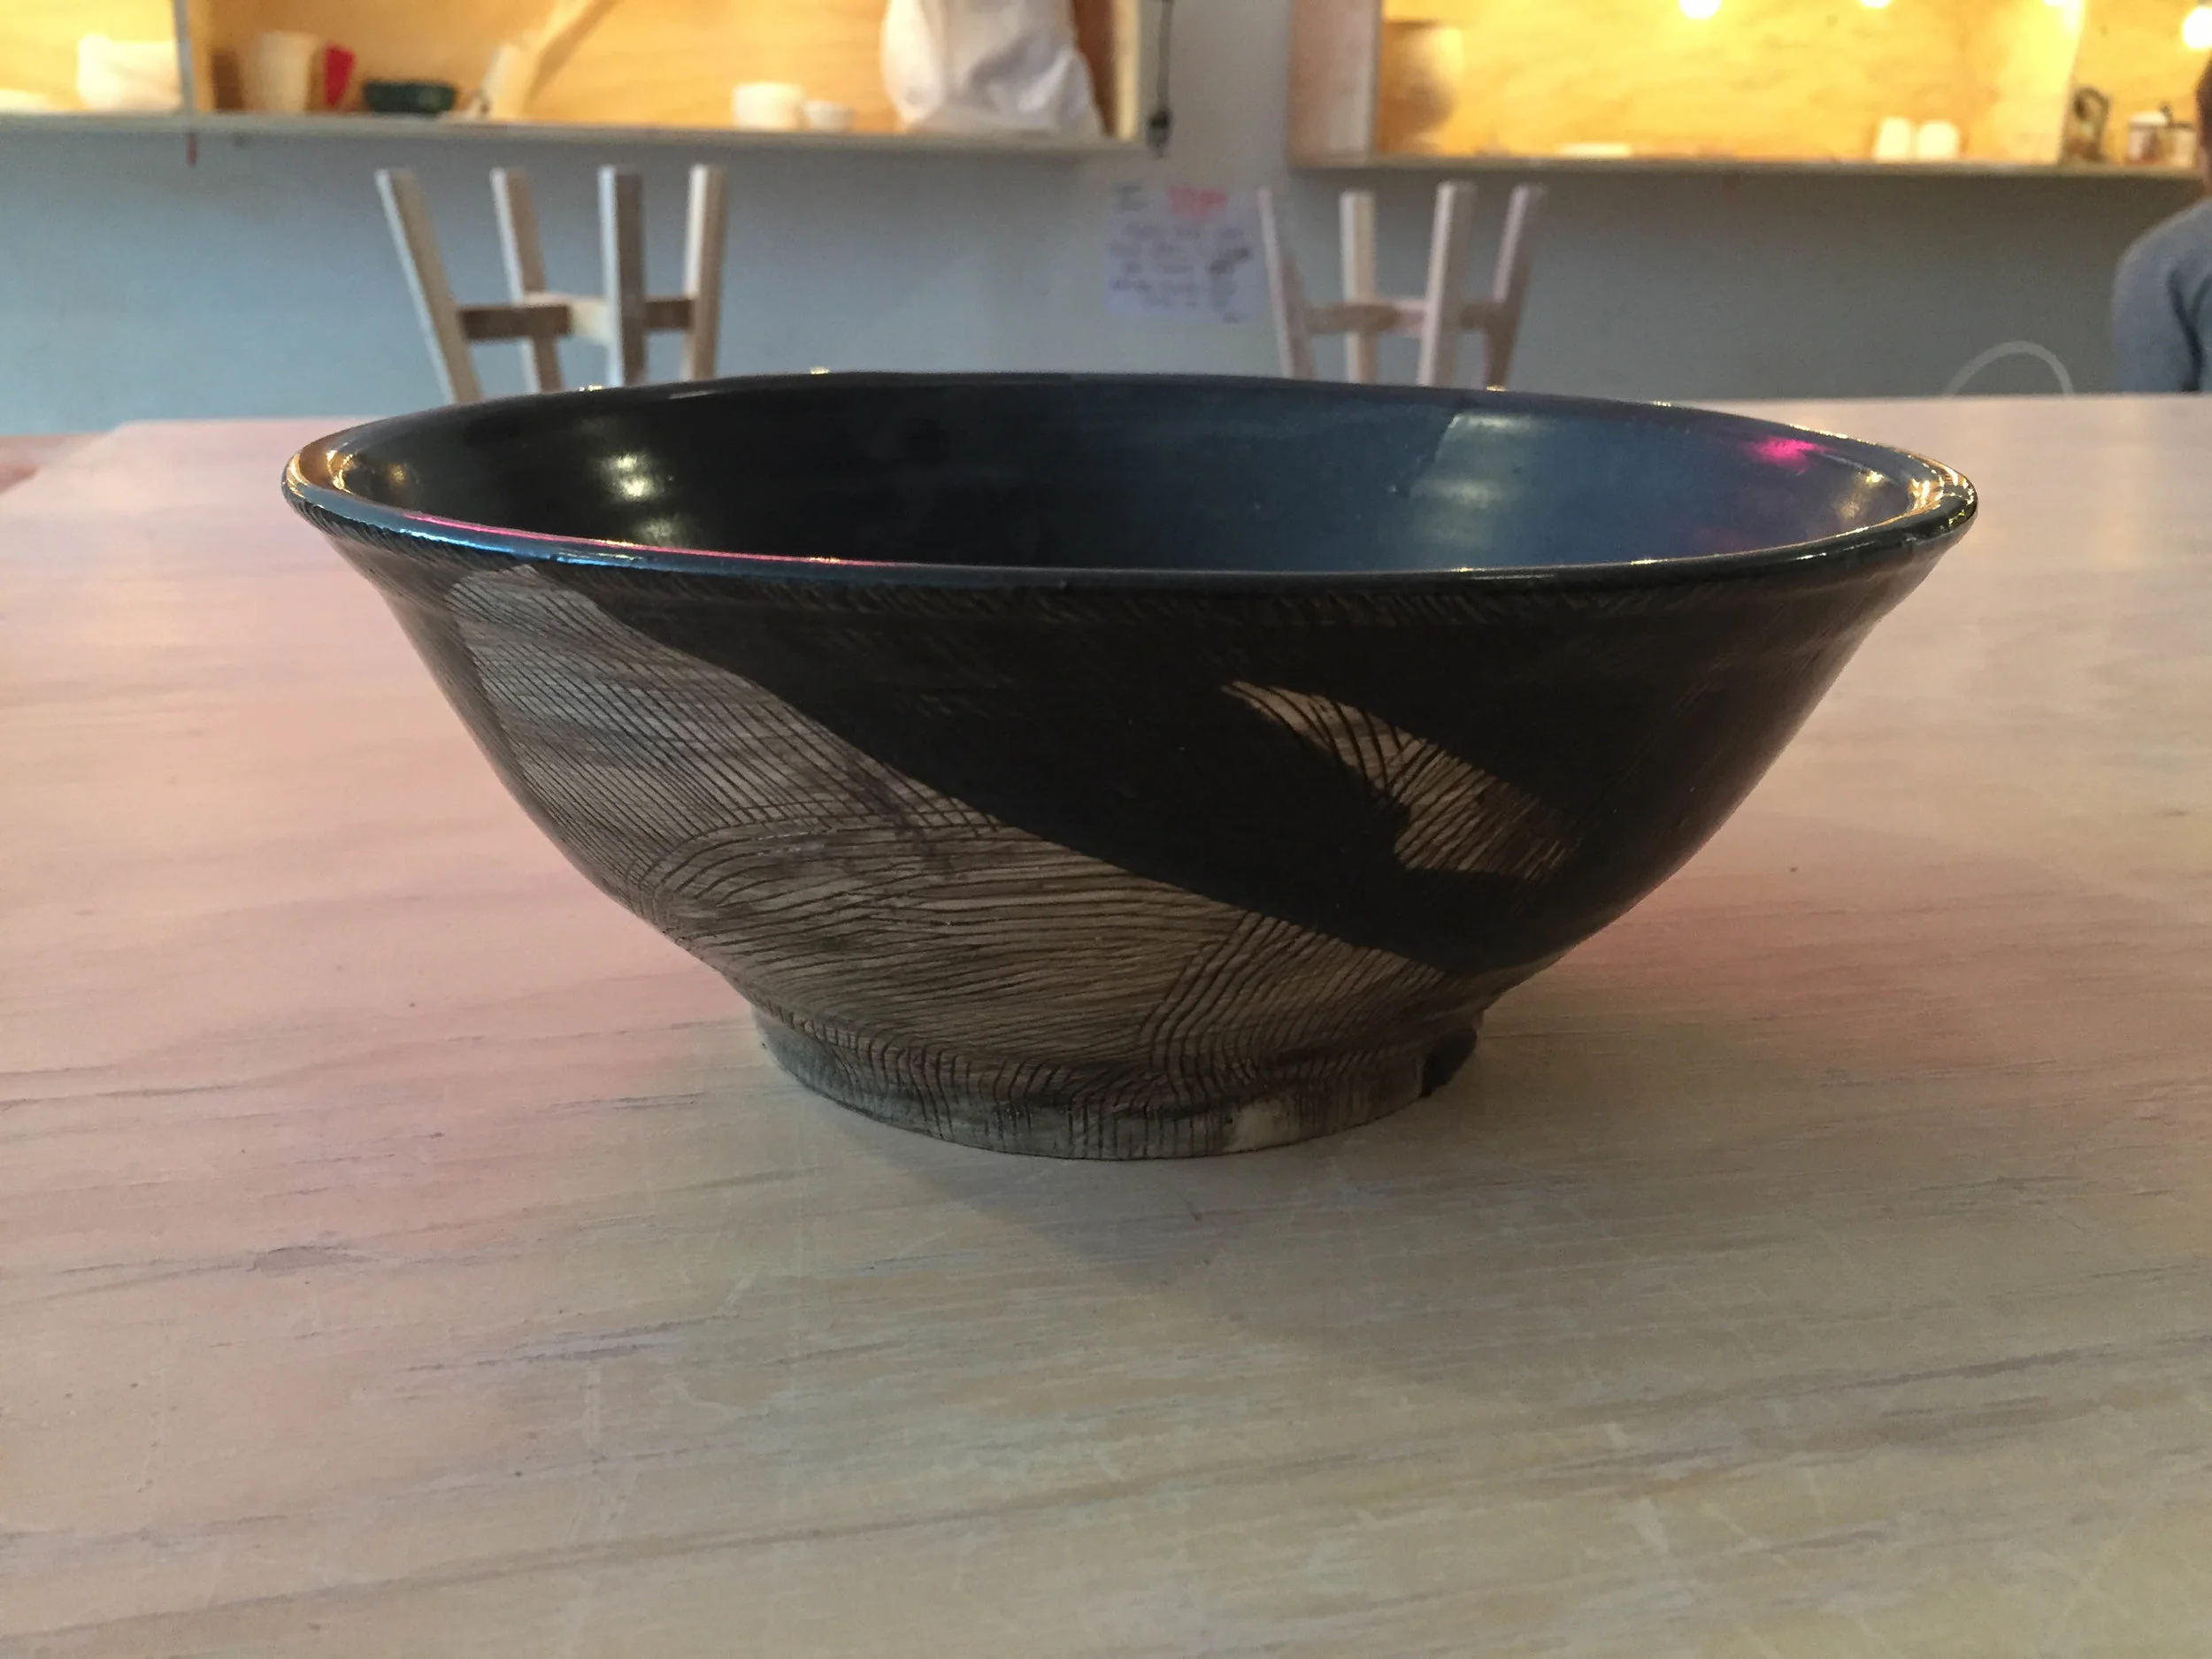
Monday Update | Groovy new series
Super groovy. I've been using a metal comb to make tight lines on a series of cups, bowls and vases. I really enjoy the texture in hand and the color contrasting. There's an element of Wabi Sabi, too, which I've been inspired by since I began in ceramics last September. Wabi Sabi is a Japanese view that appreciates the beauty of transience and imperfections in all objects. This is a great read for anyone interested in learning more about the basic understandings of Wabi Sabi.
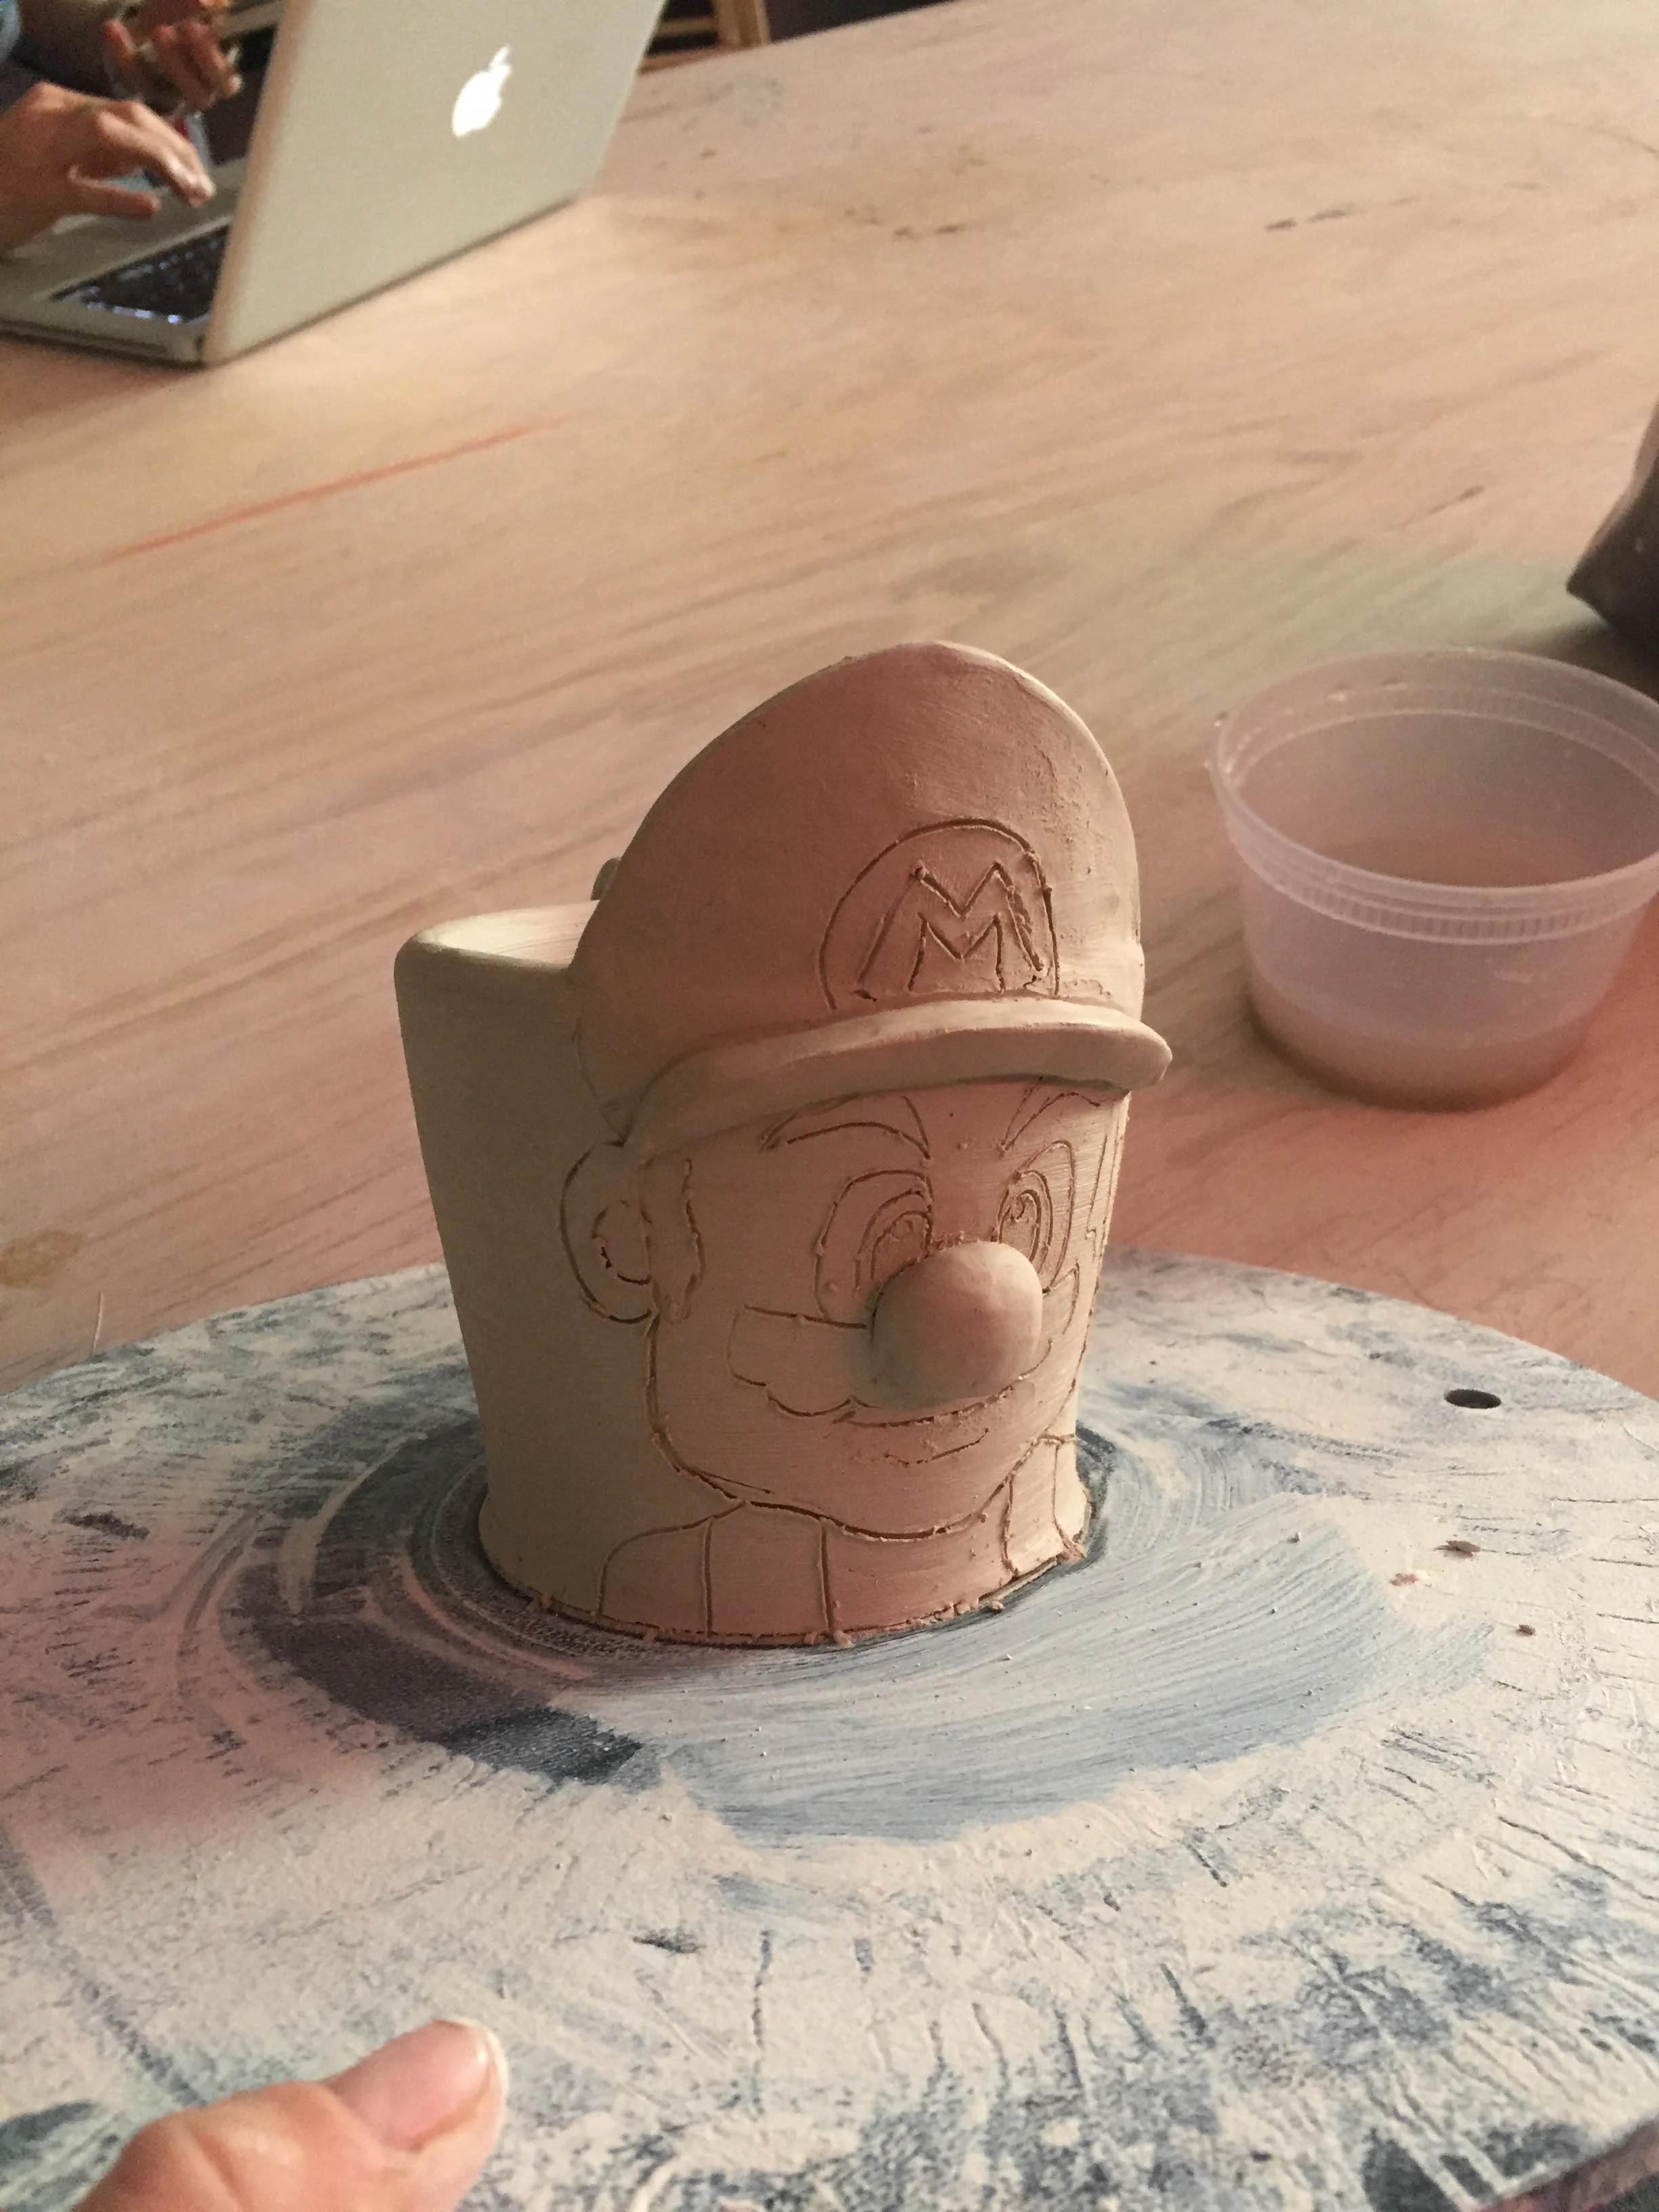
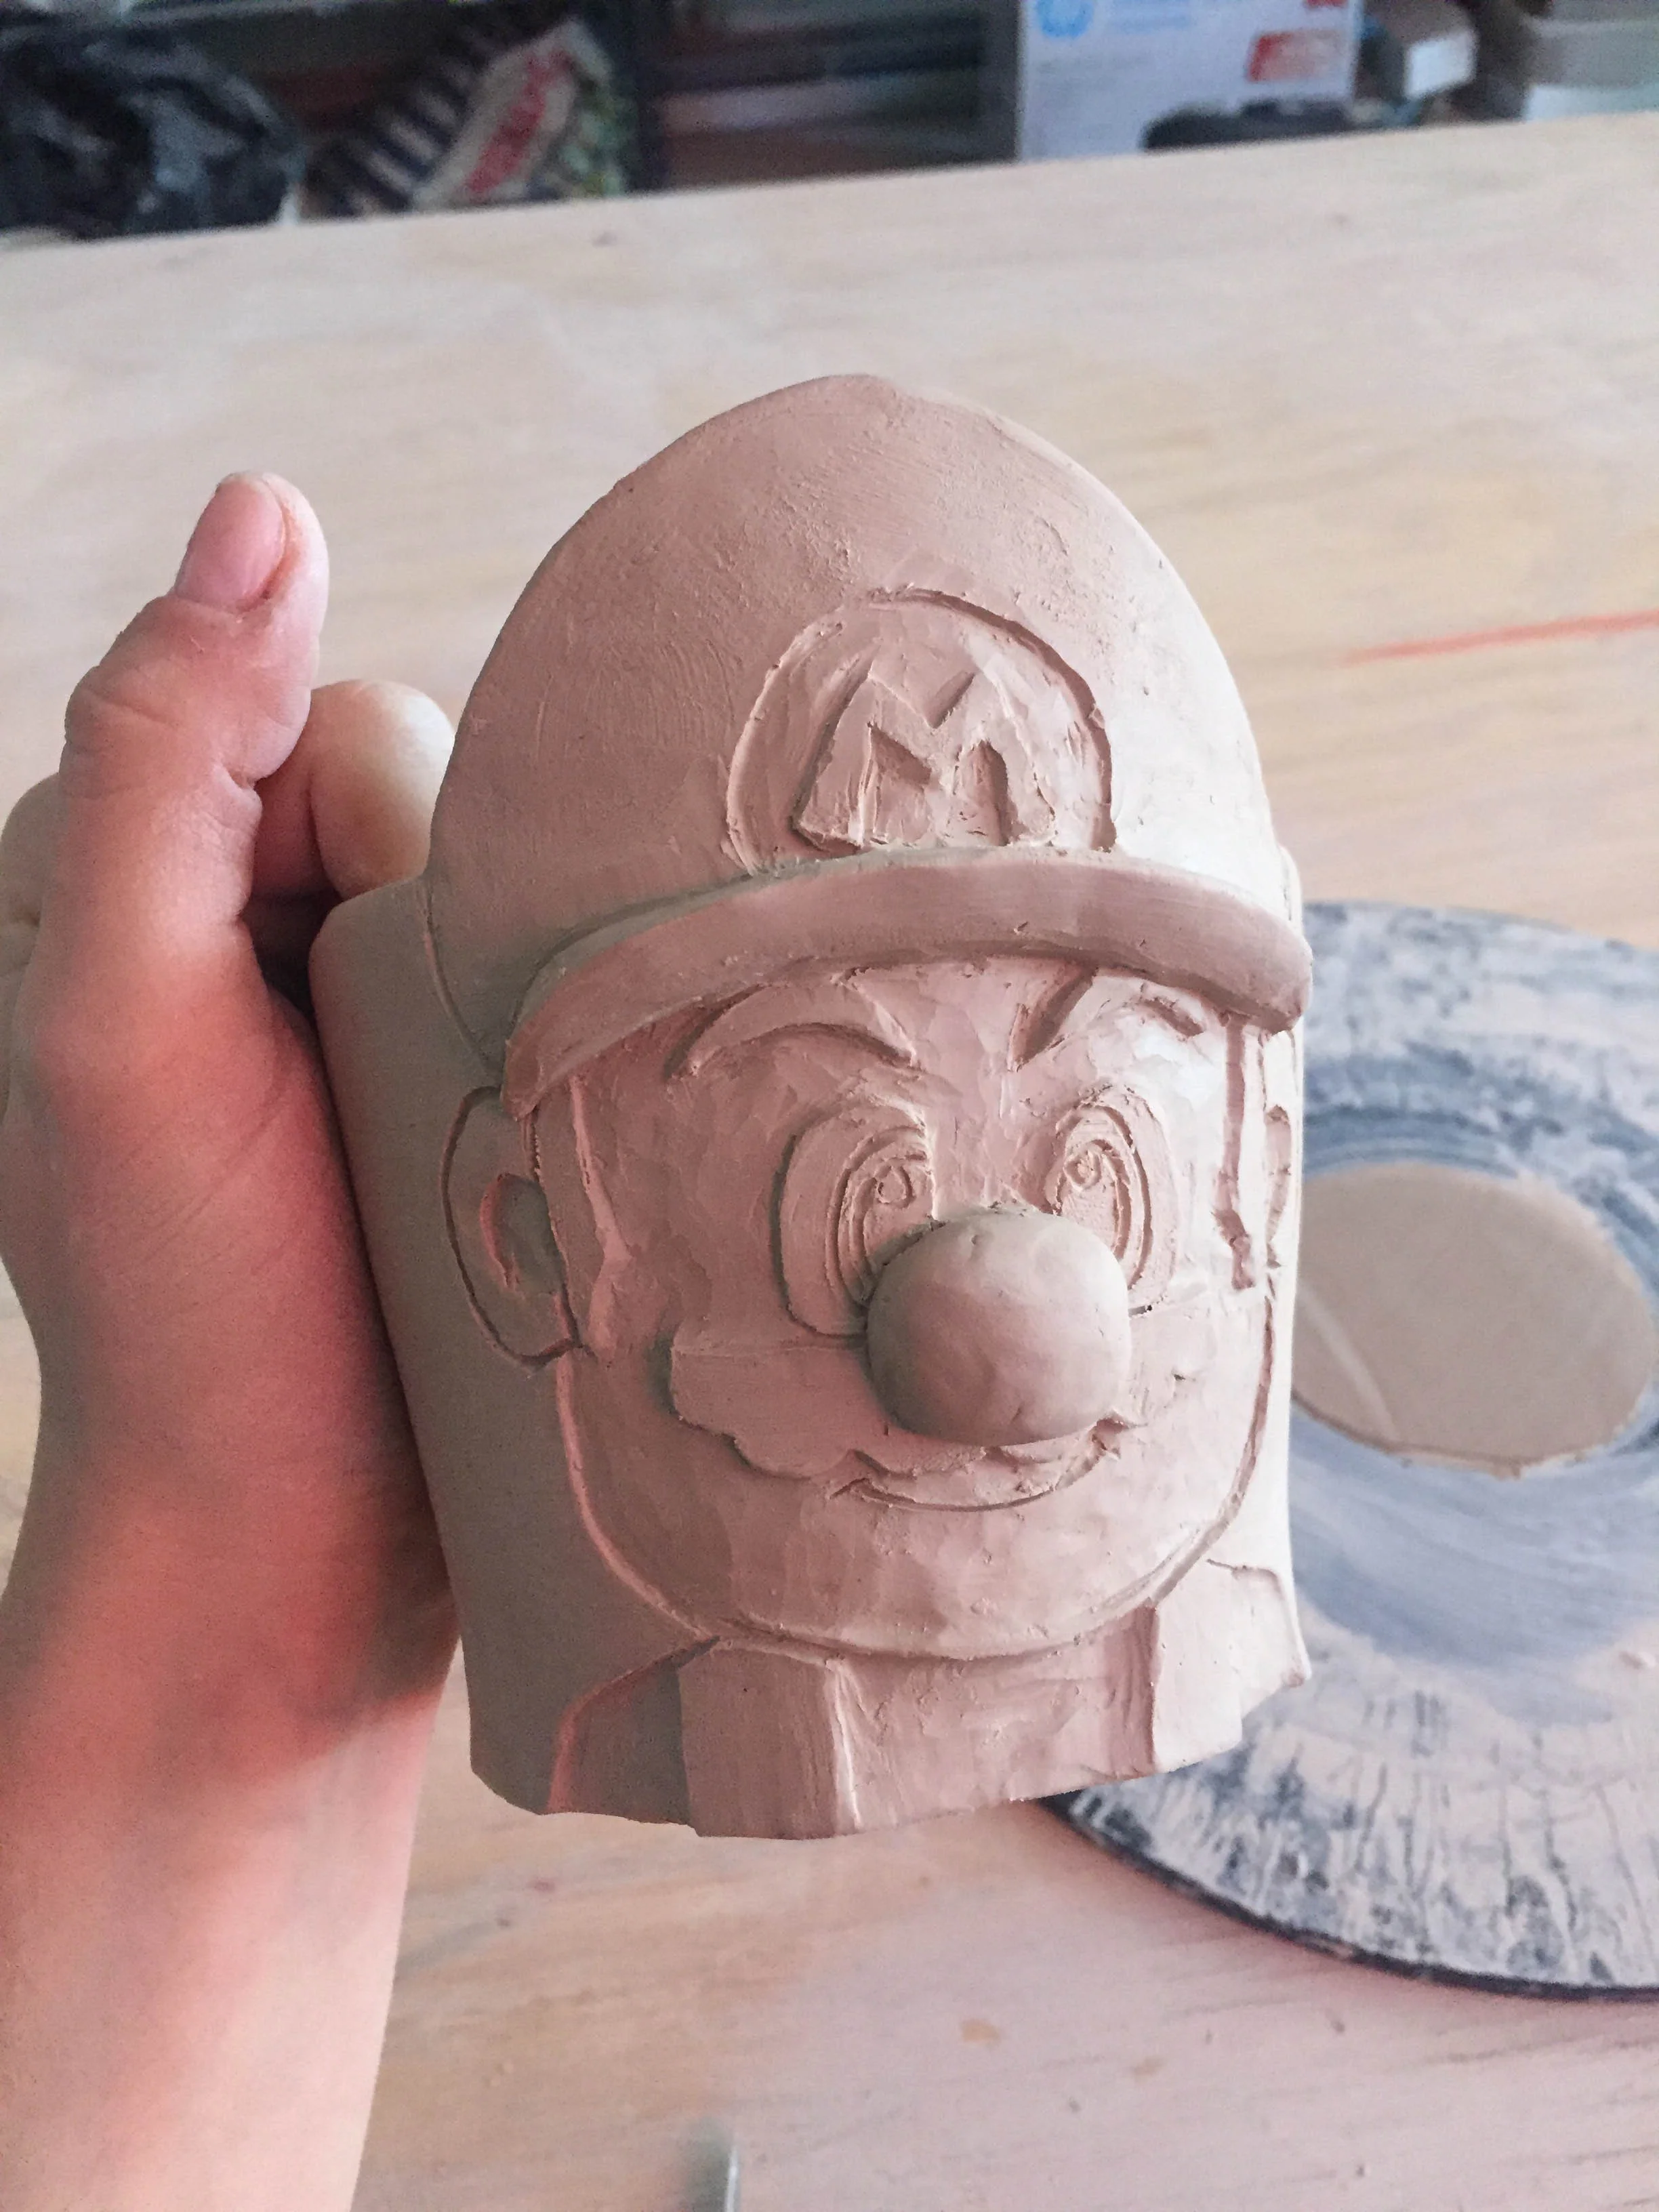
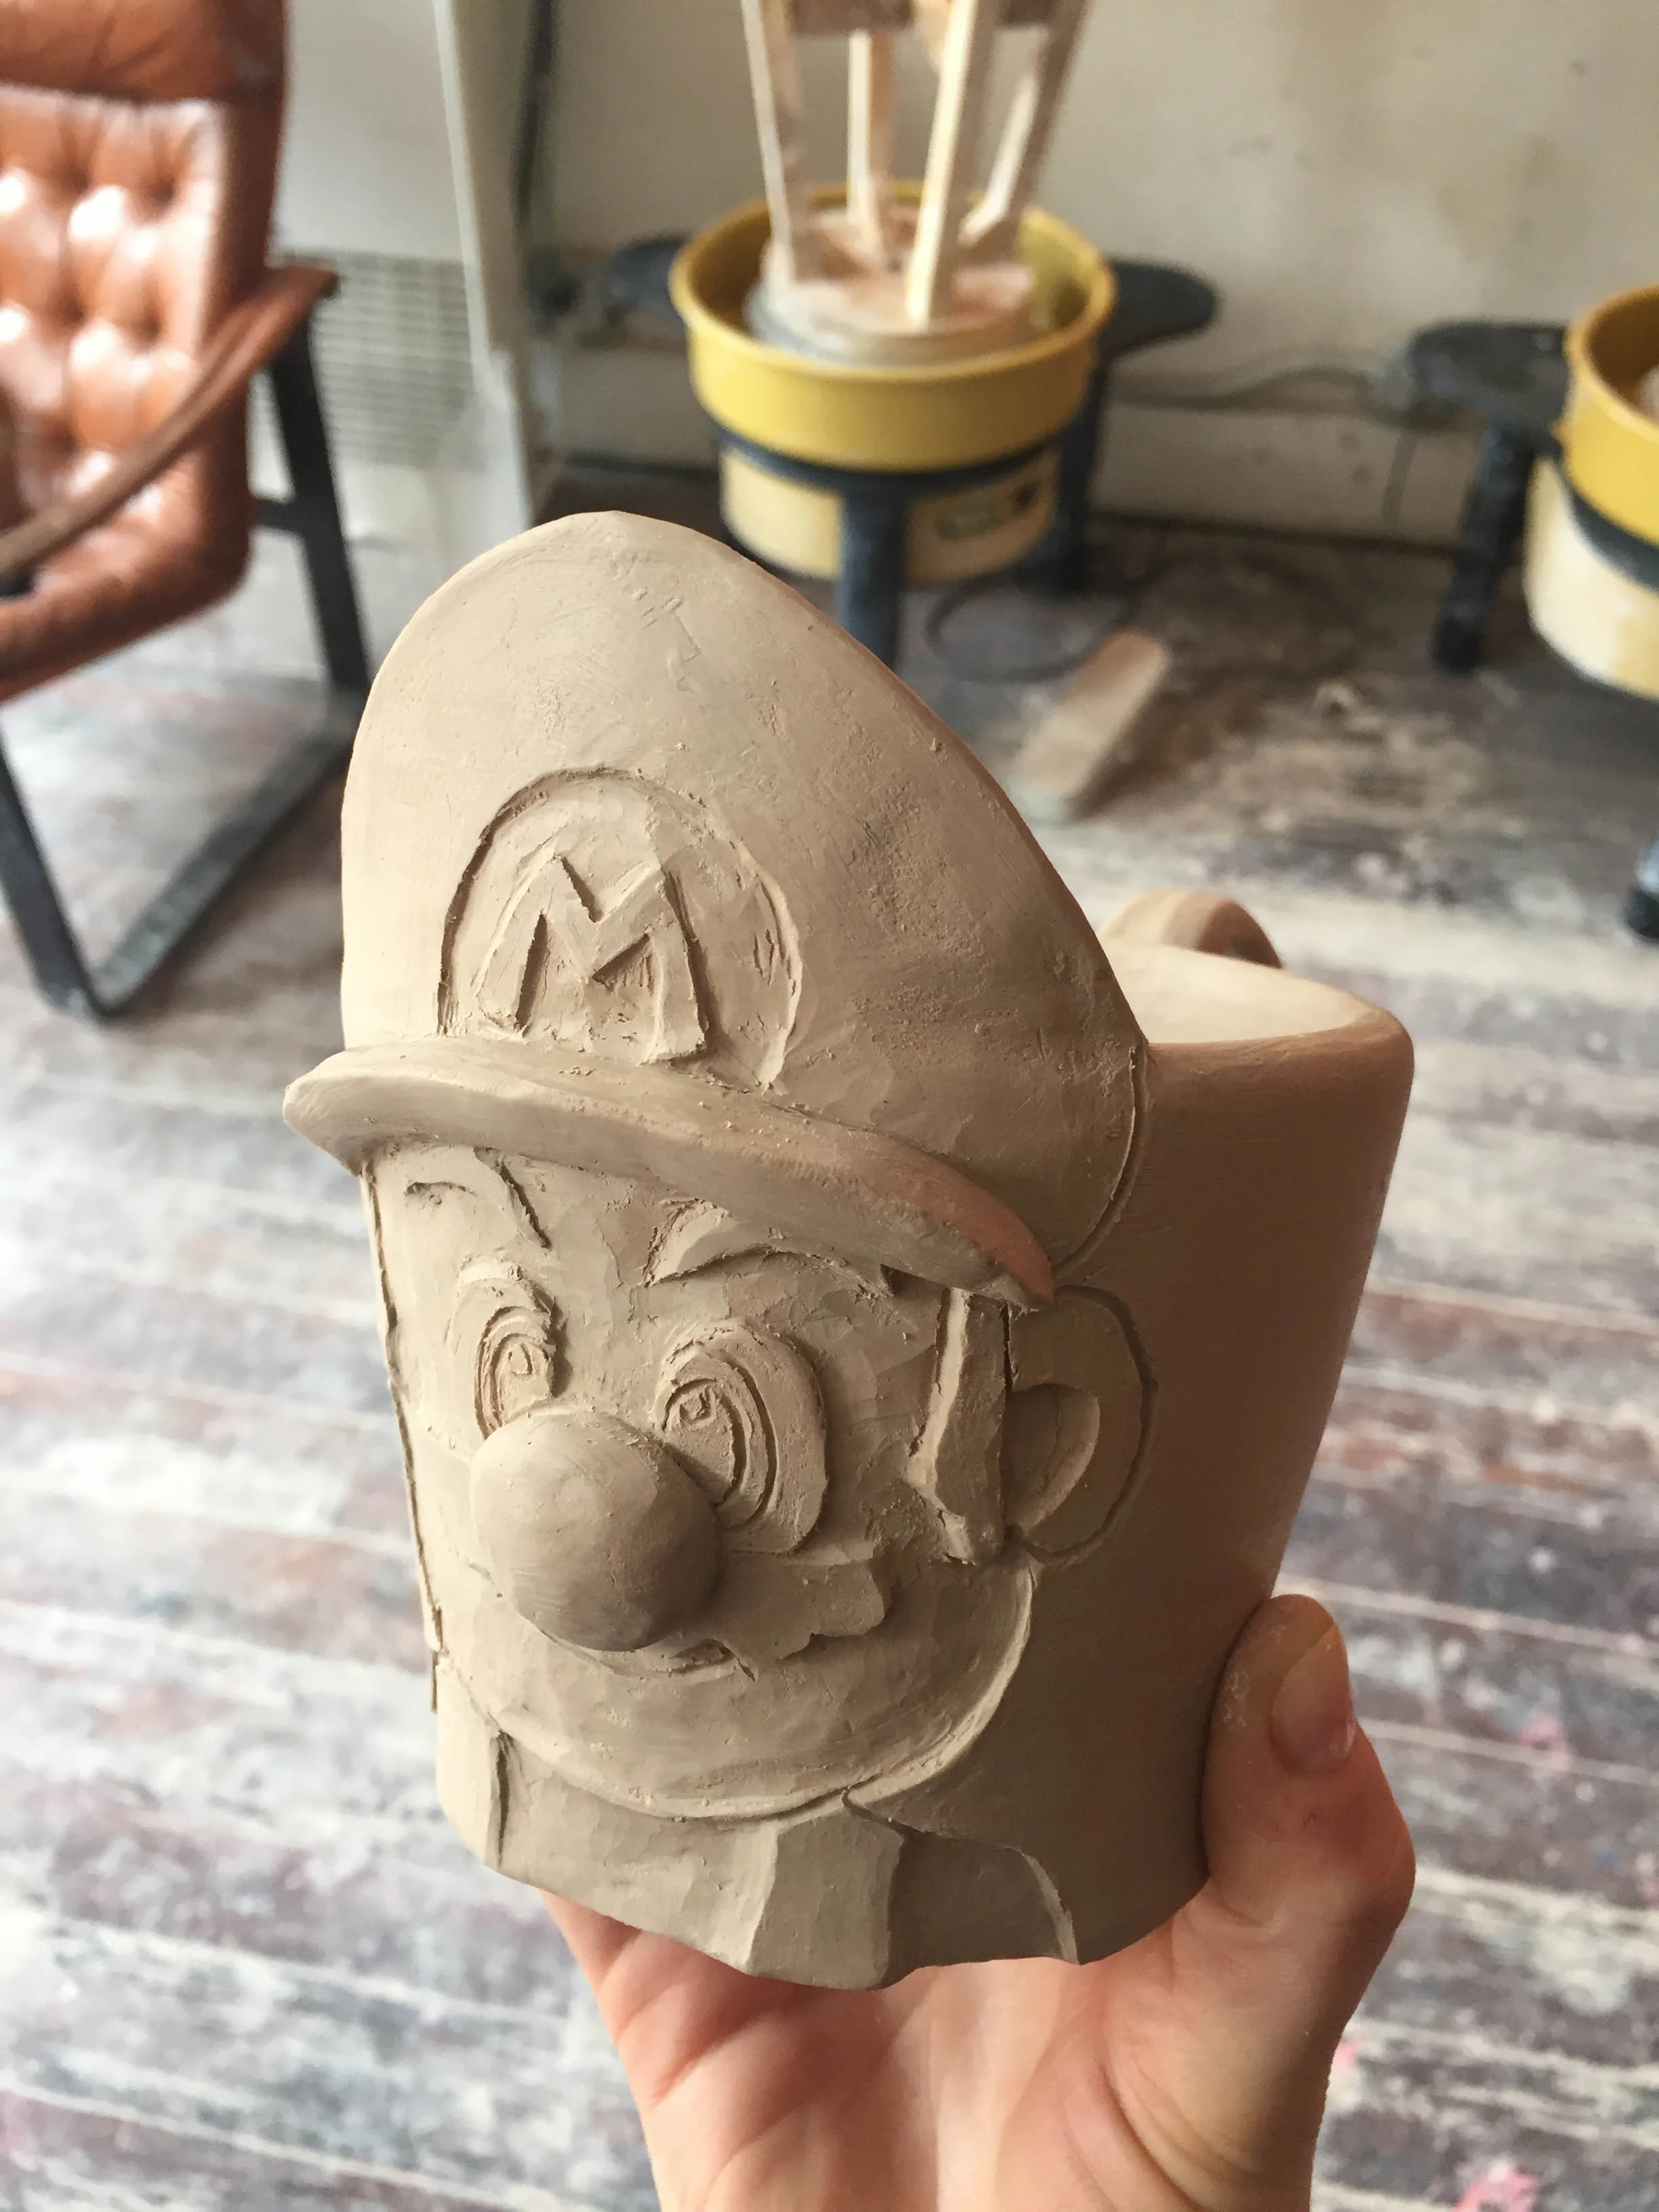
Custom Orders | The client vision vs The artist vision
I was recently commissioned to create a Mario mug for a good friend and as a good friend, obliged, though I knew it would be a departure from my current aesthetic. I decided it could also be a learning experience in applying my voice while still keep the customer happy. There's always something to learn and I'm all about progressing, so here are some progress photos. Stay tuned for the glazing, which I'm planning to apply in a nonconventional way.
- sarah
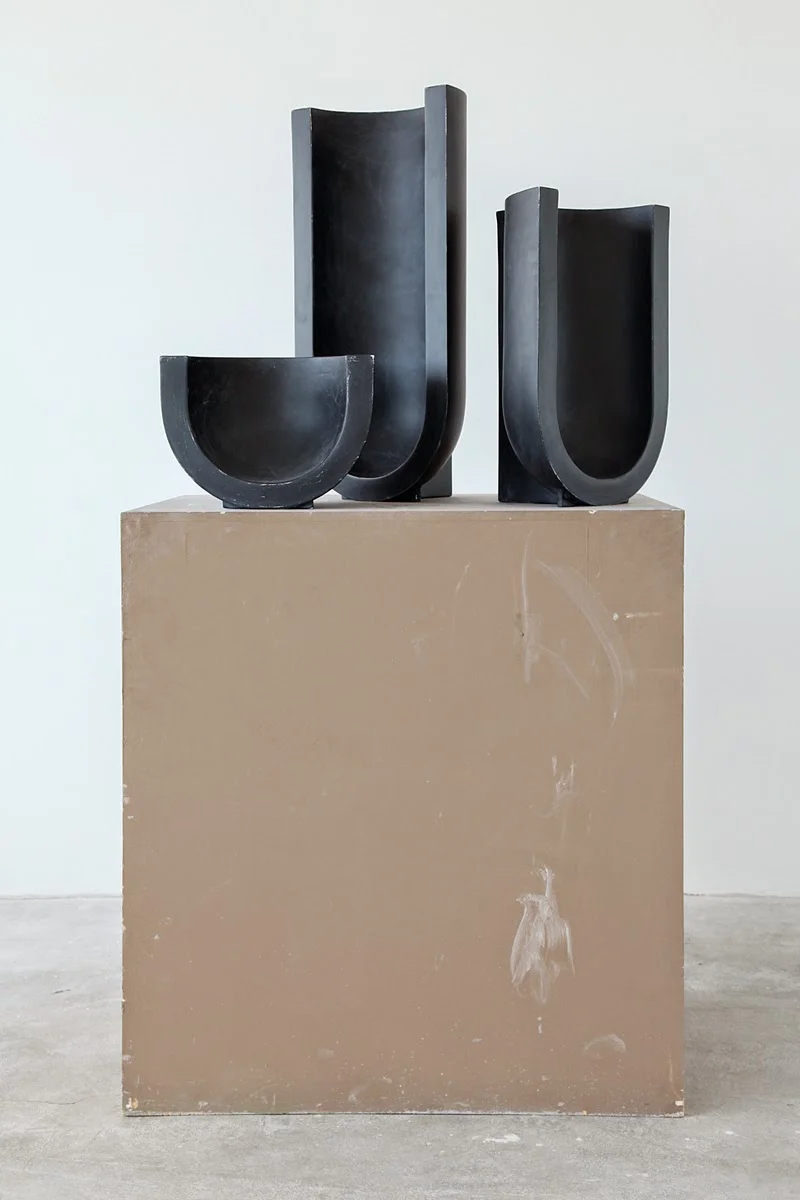
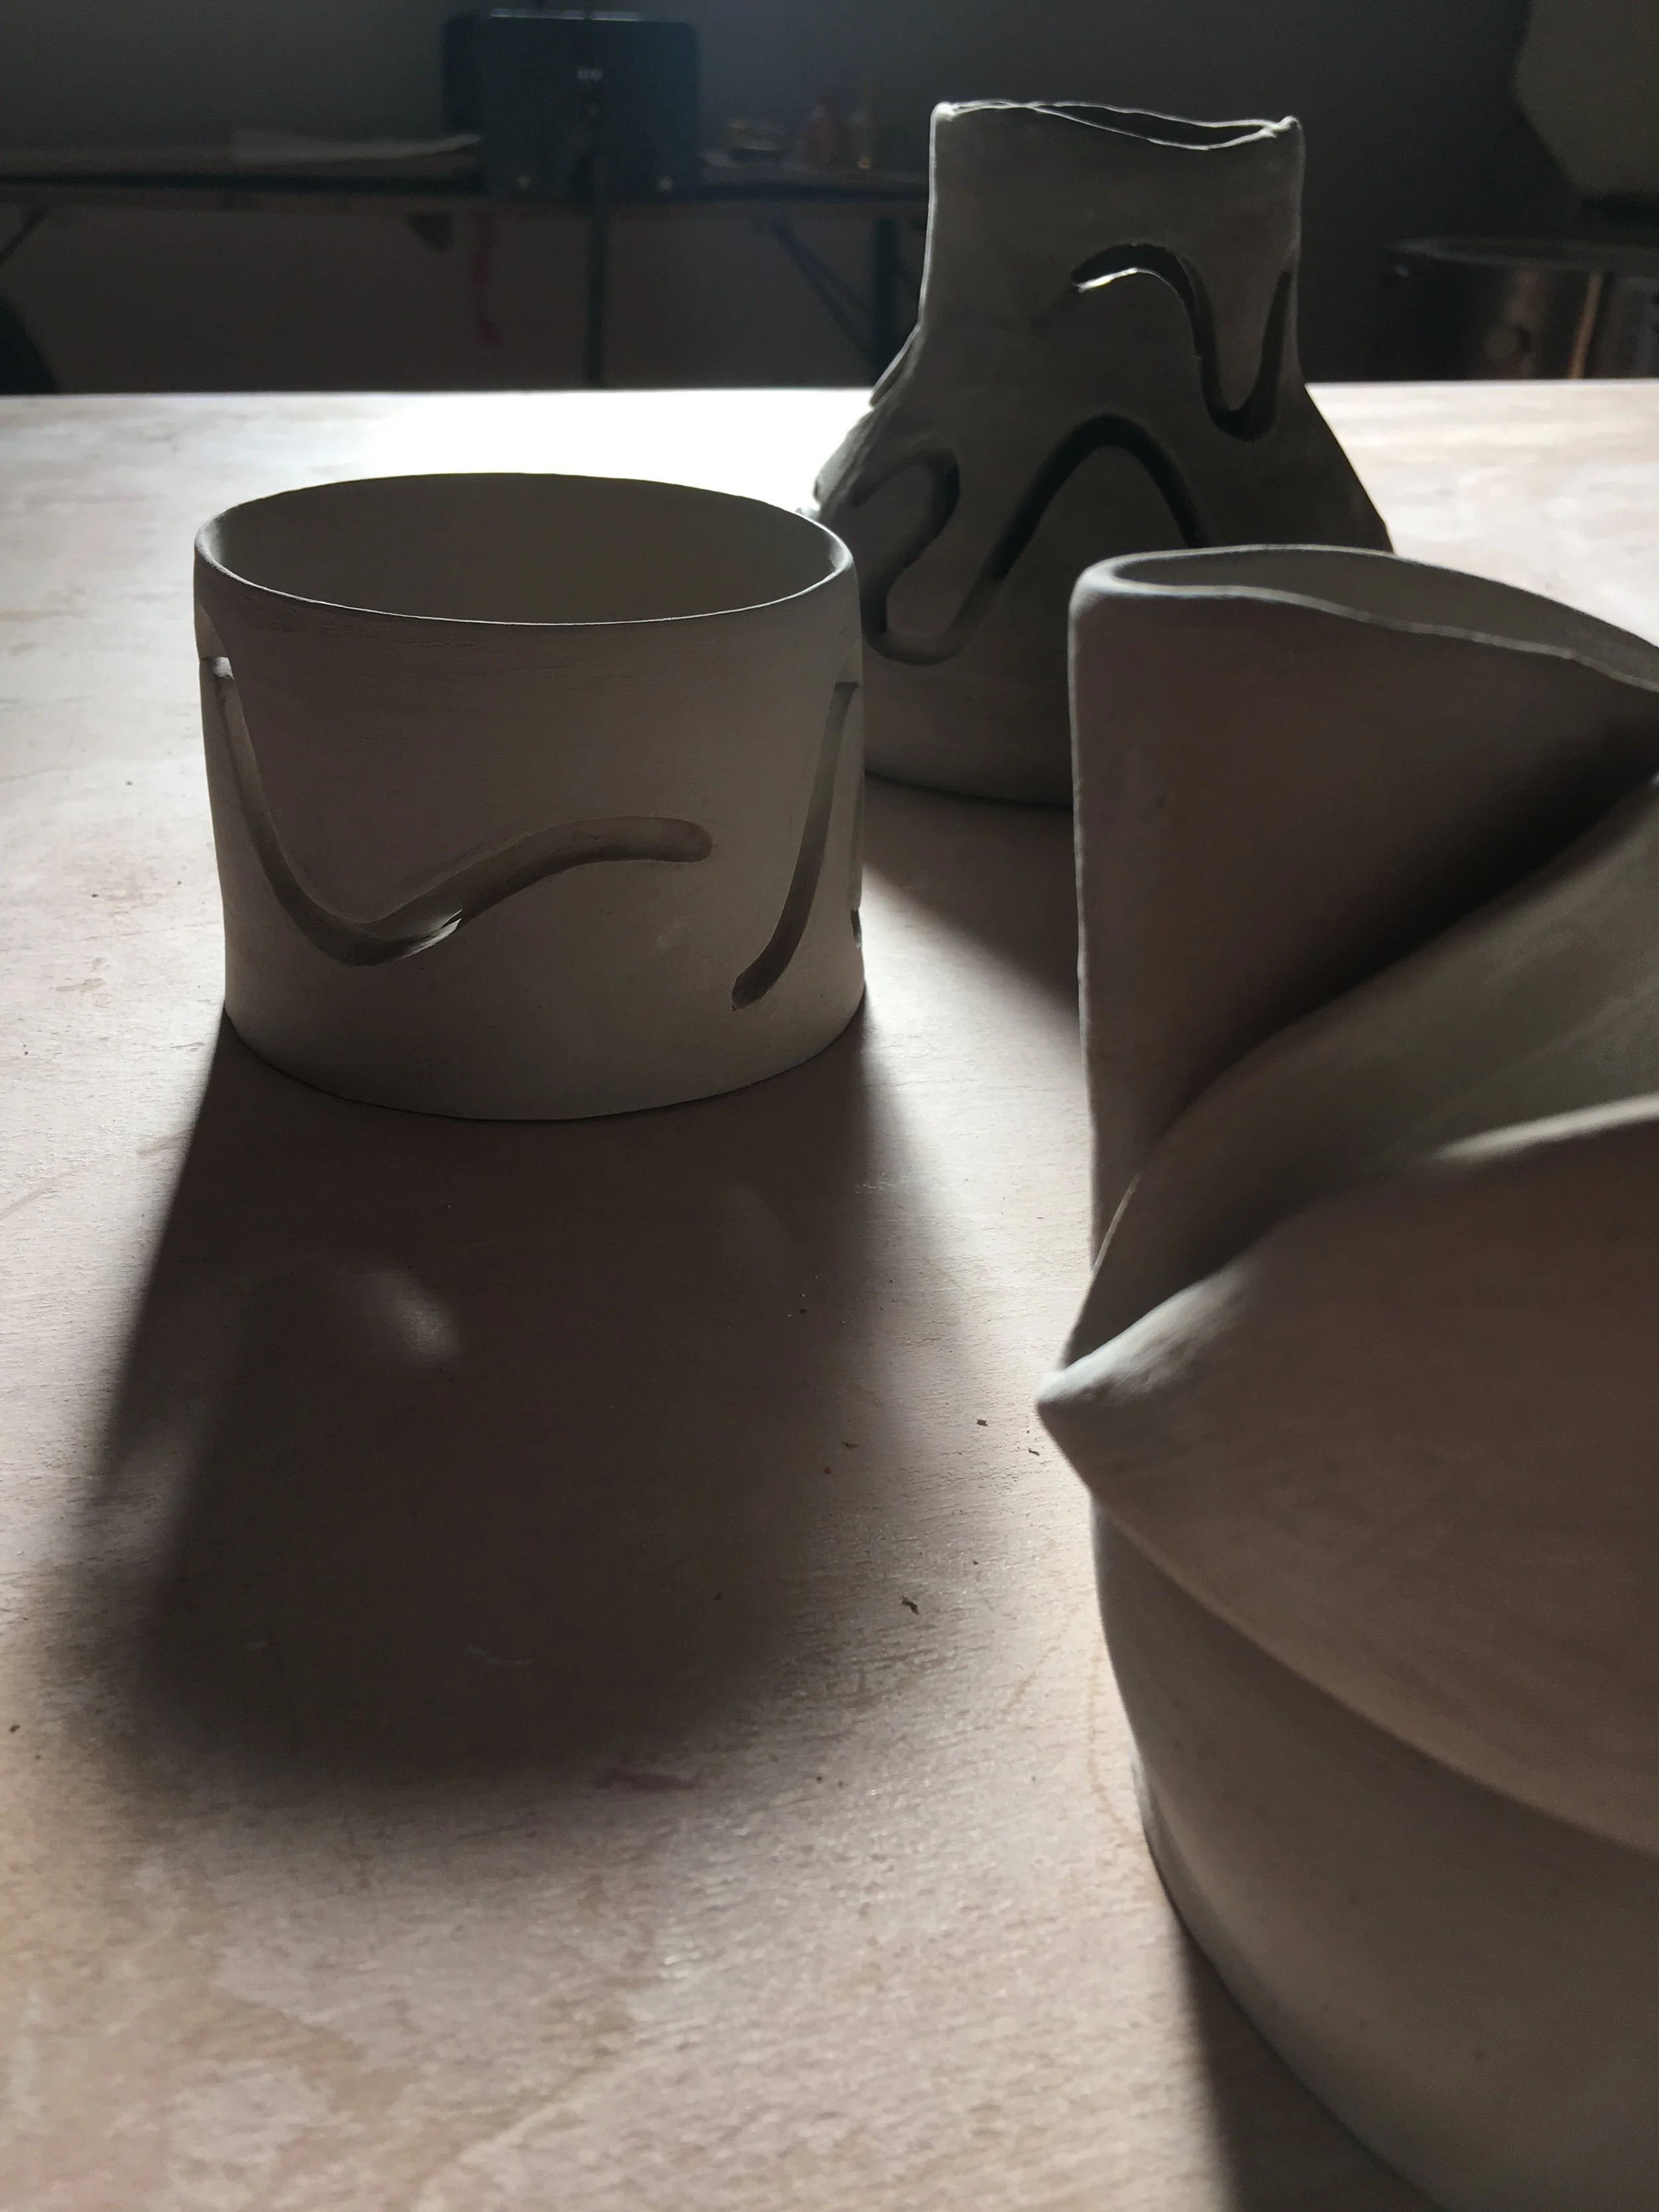
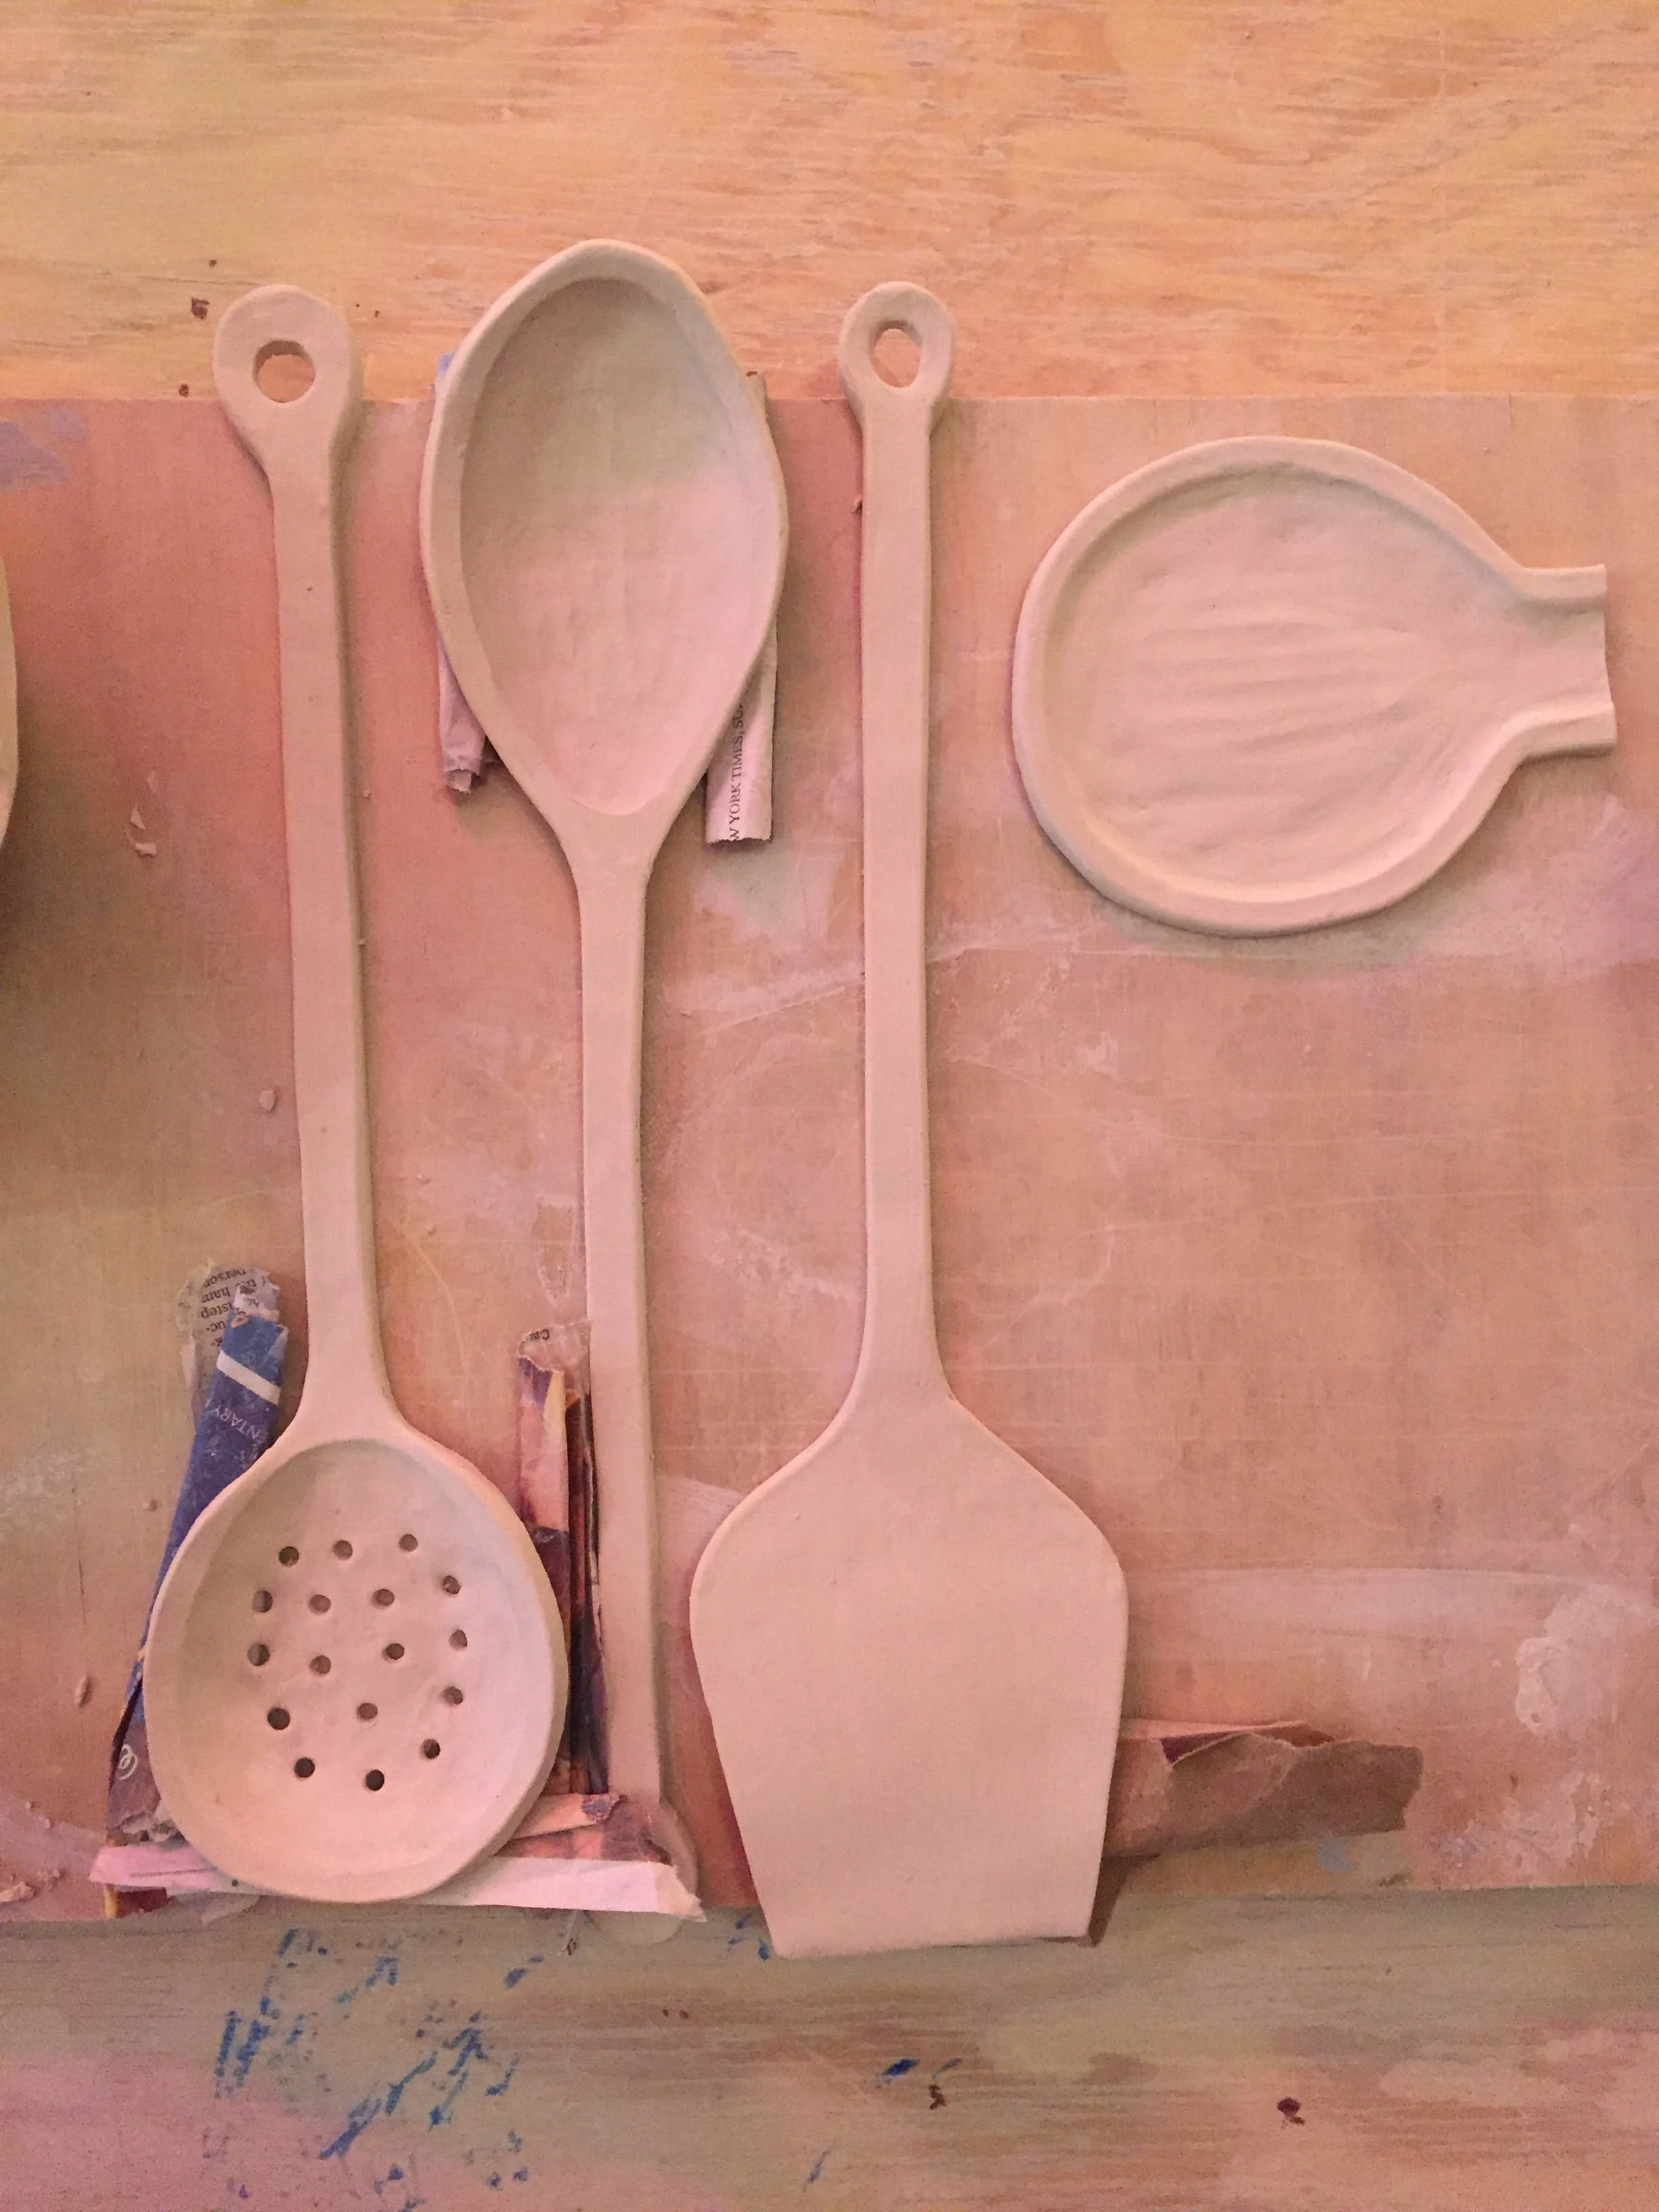
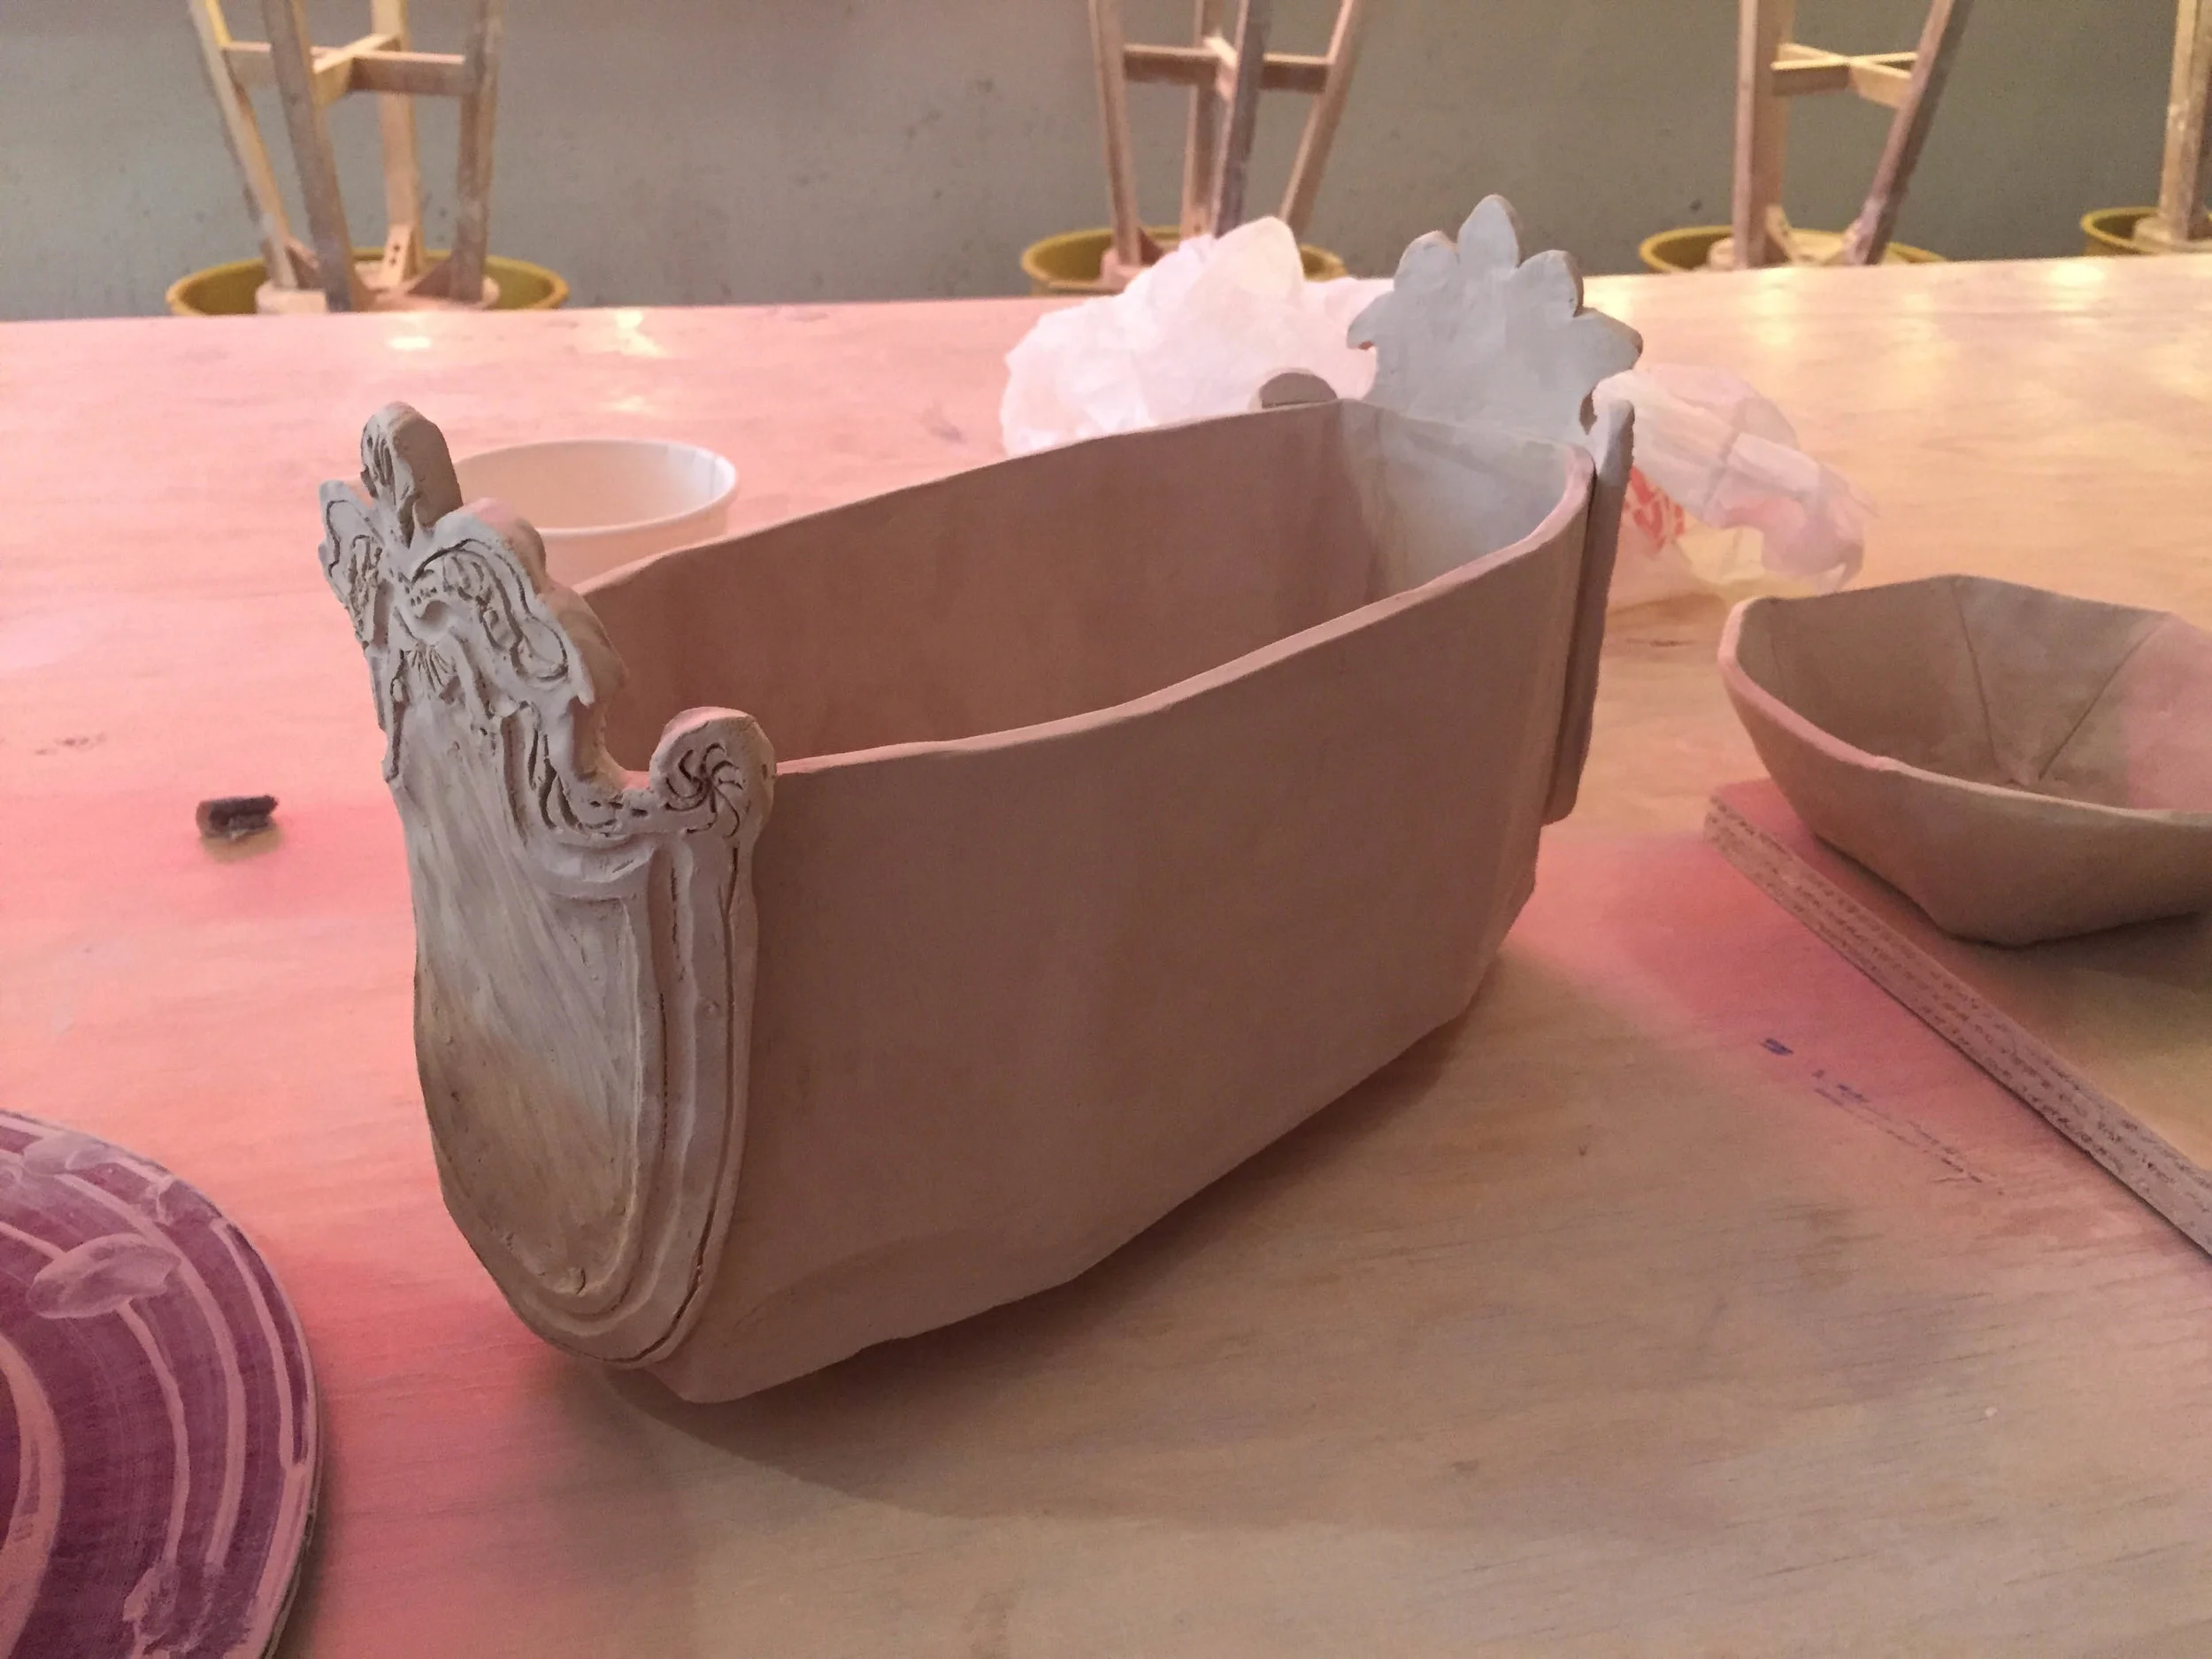
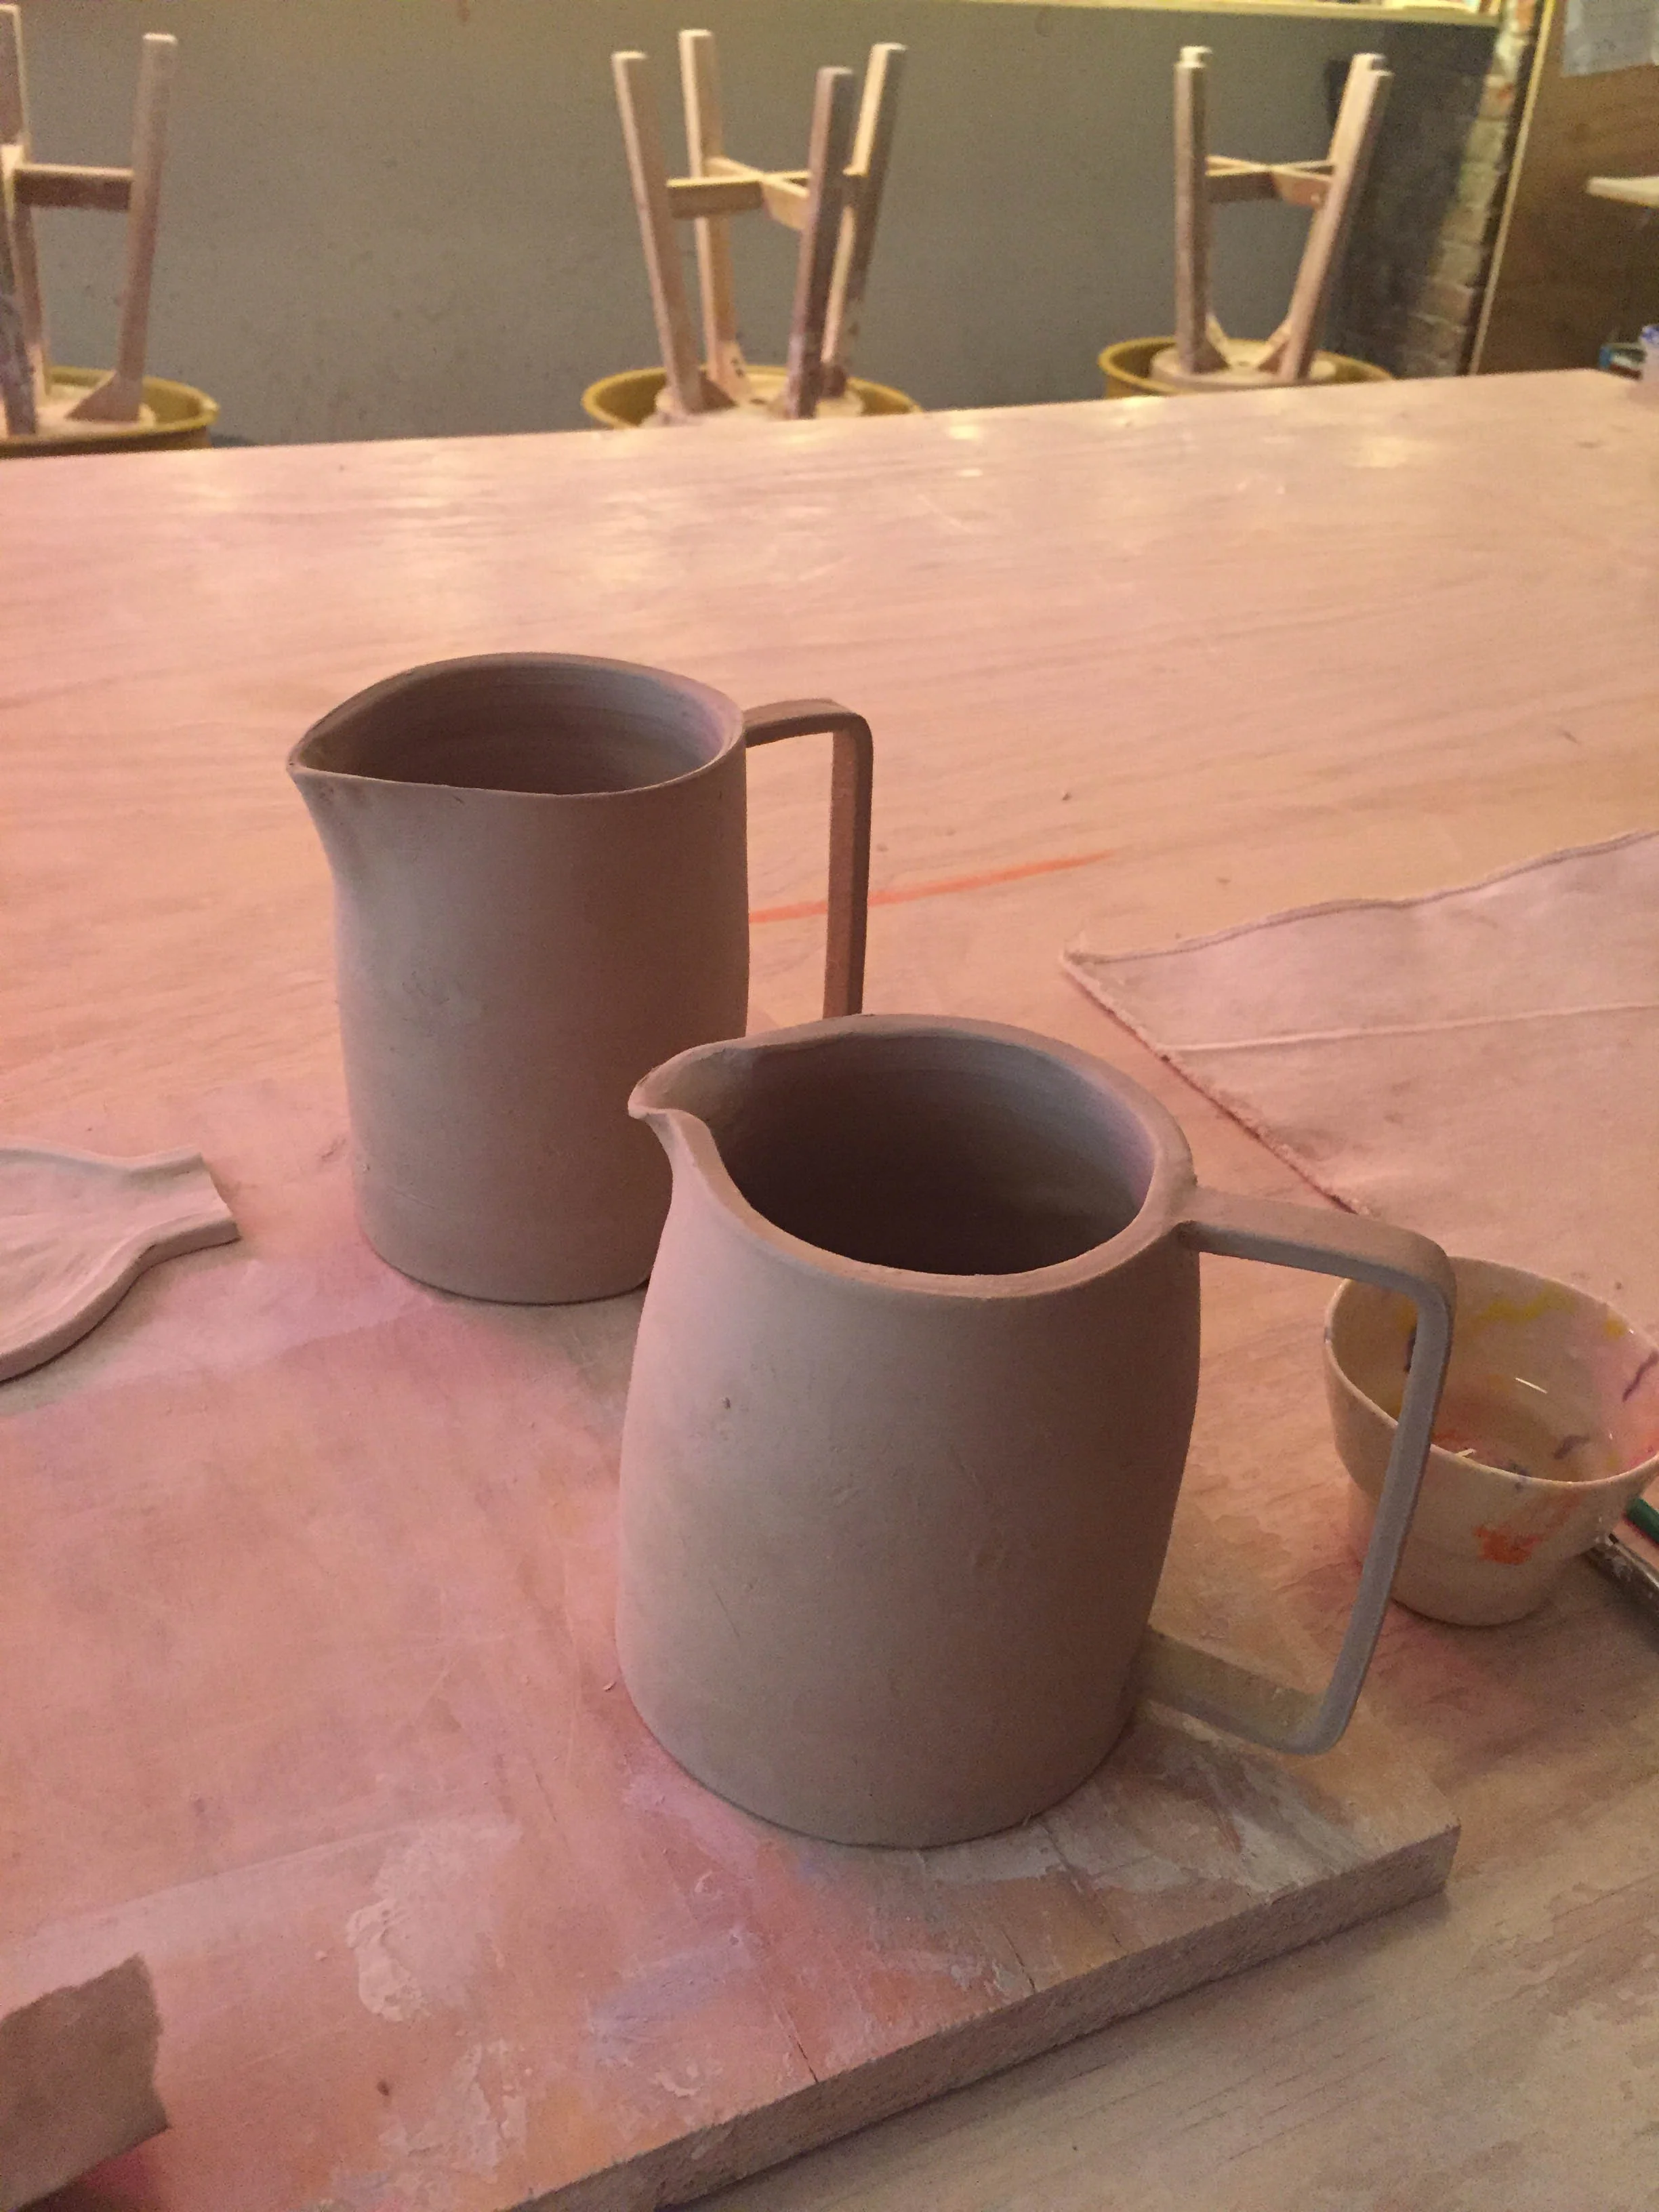
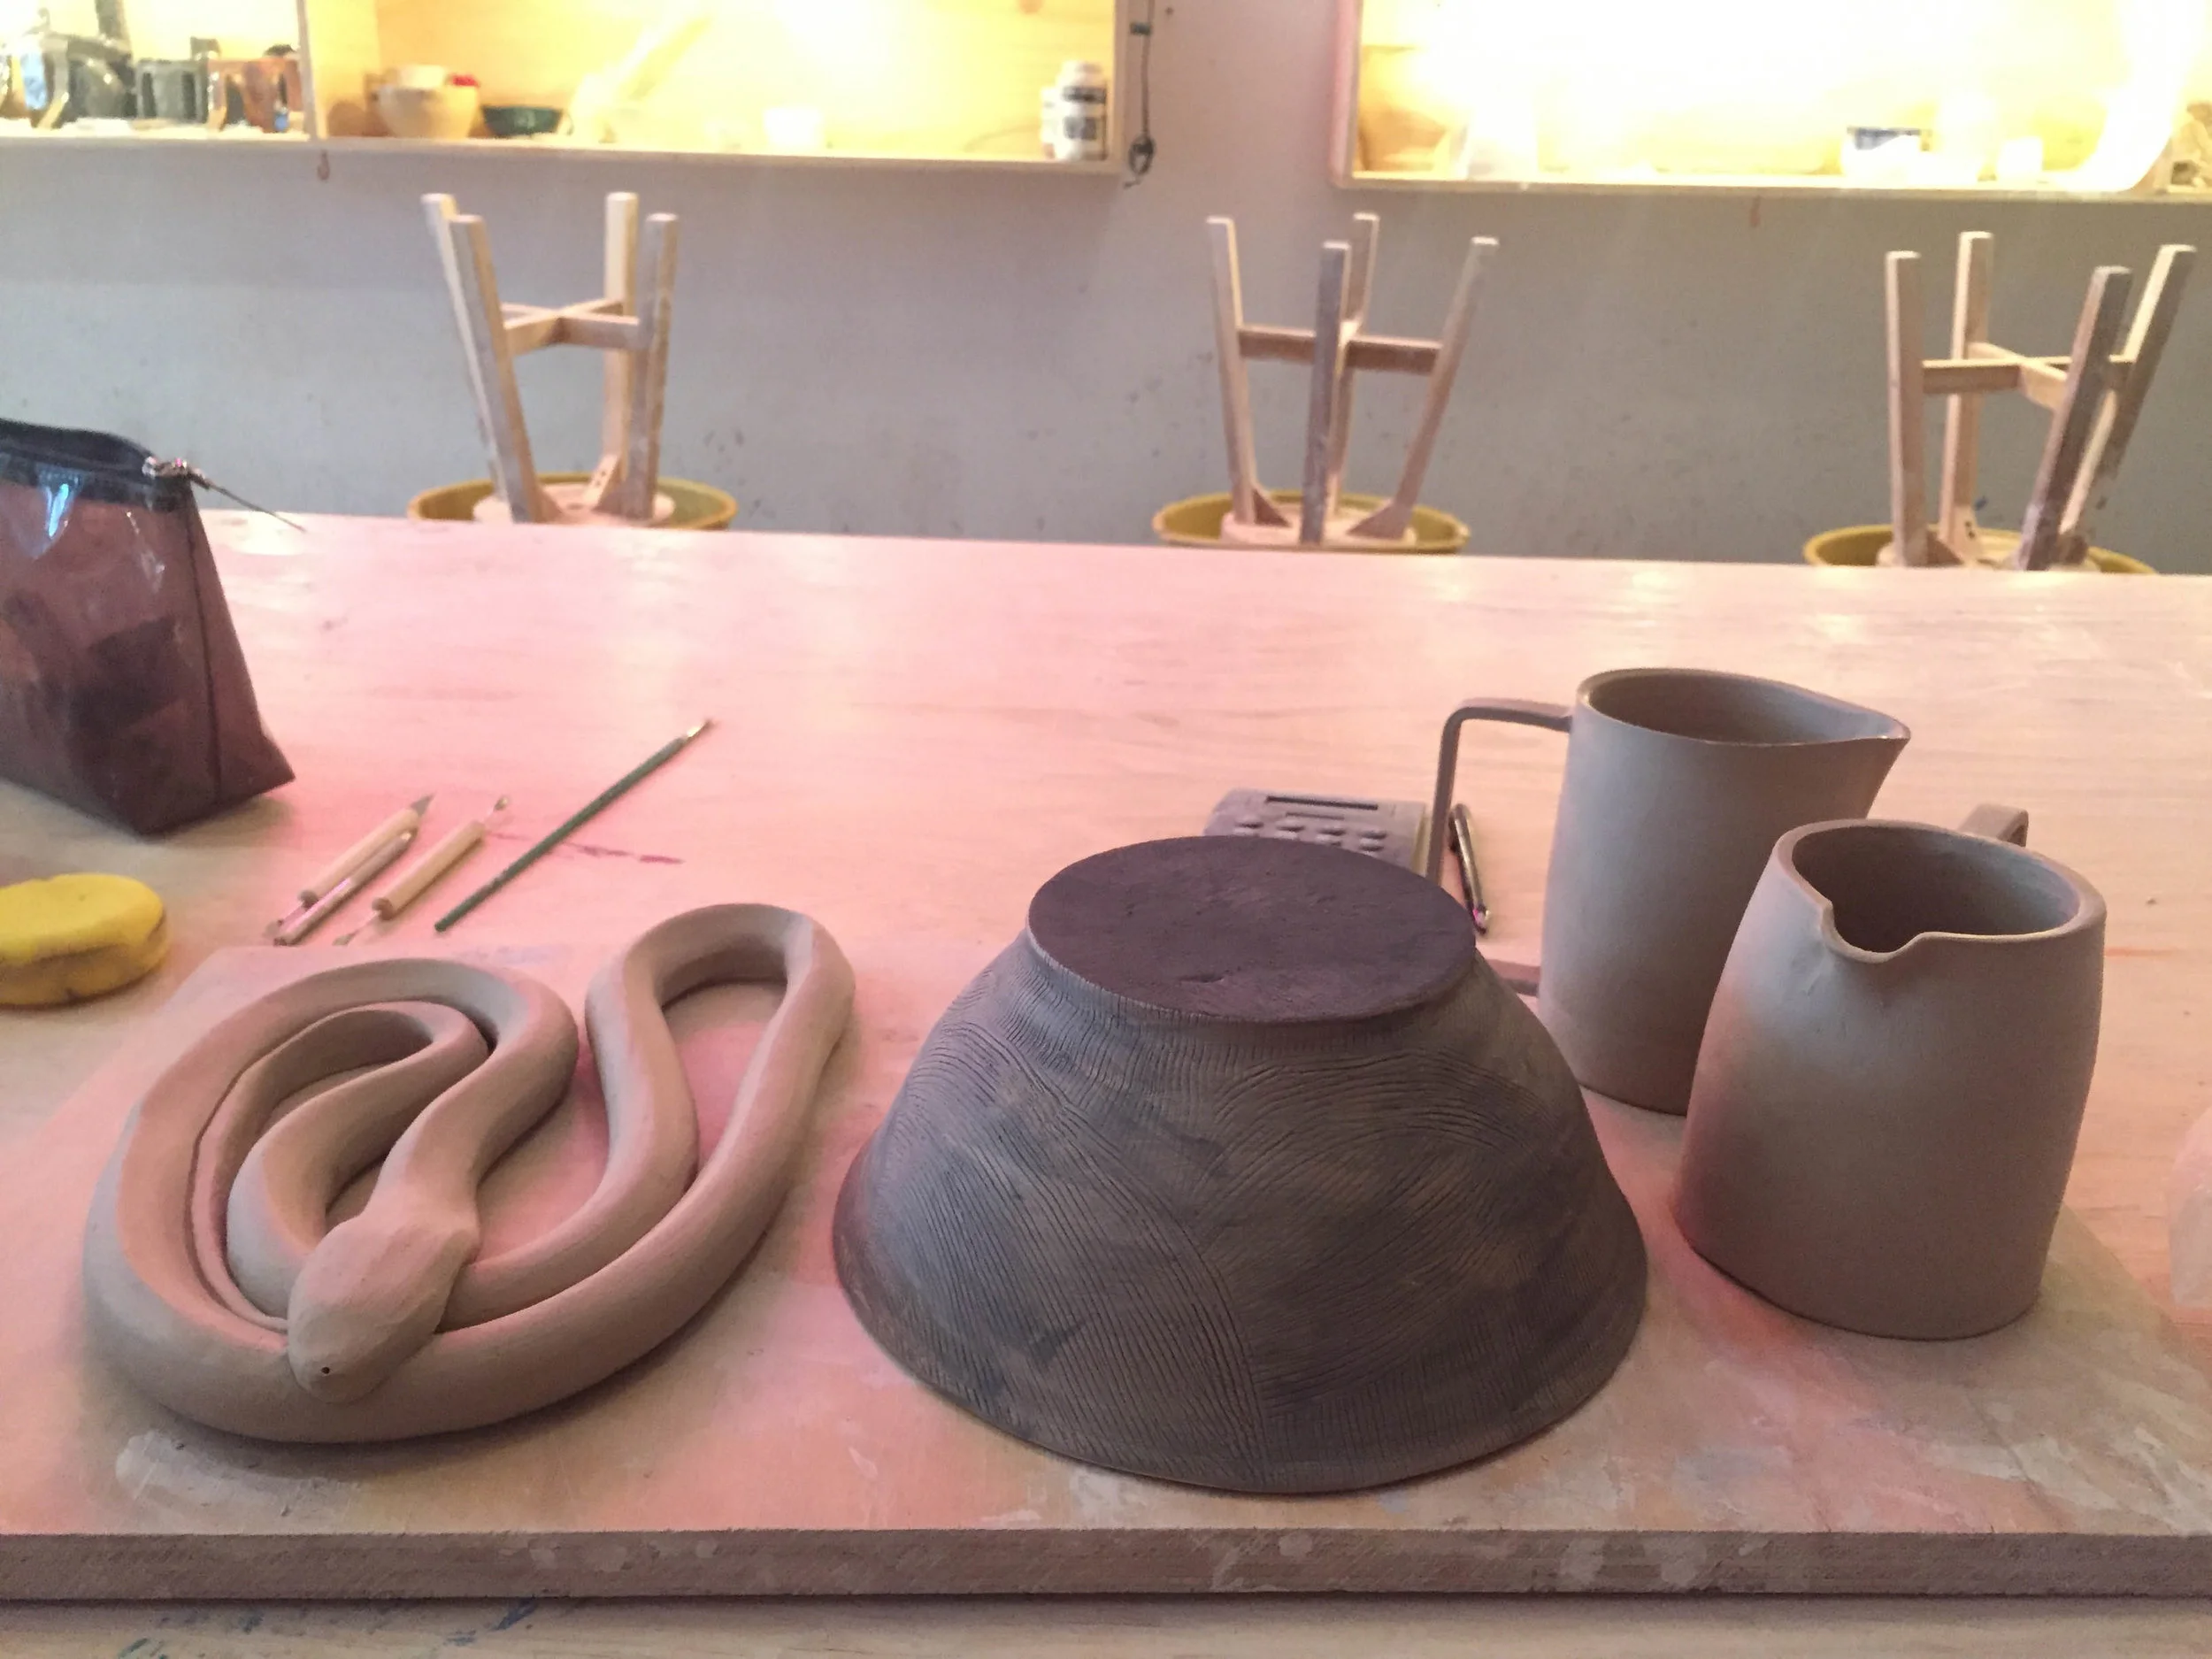
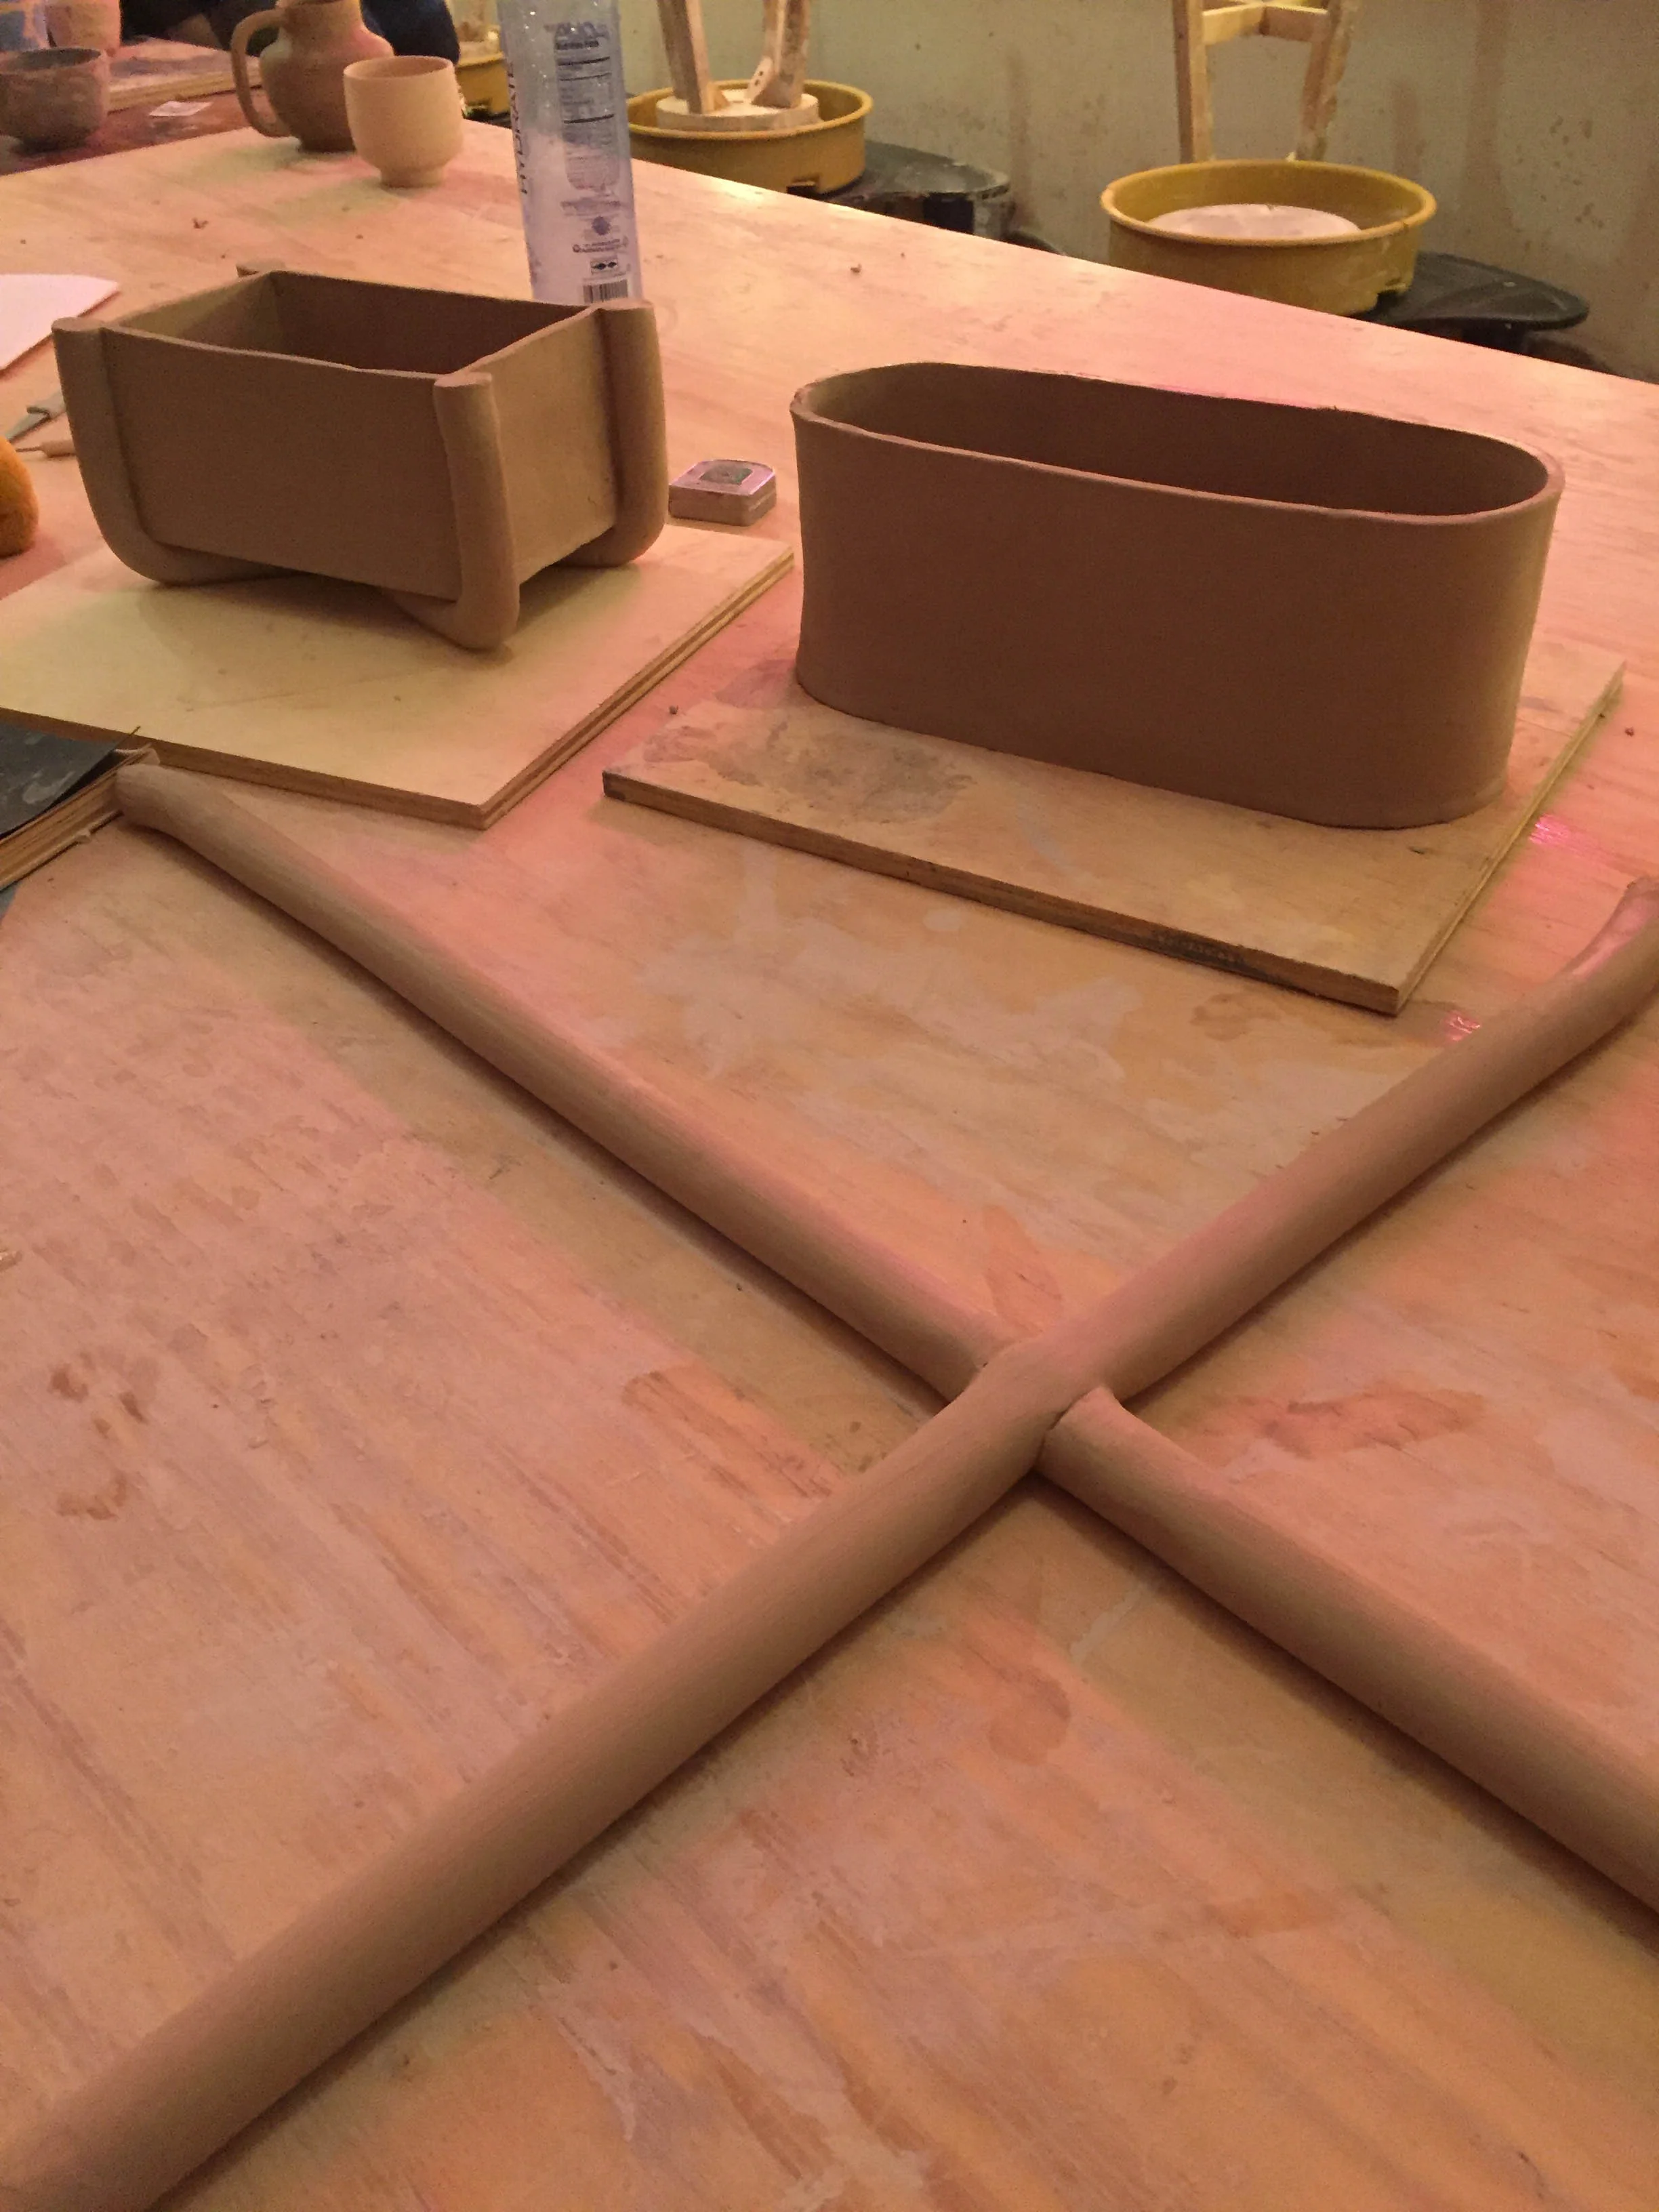
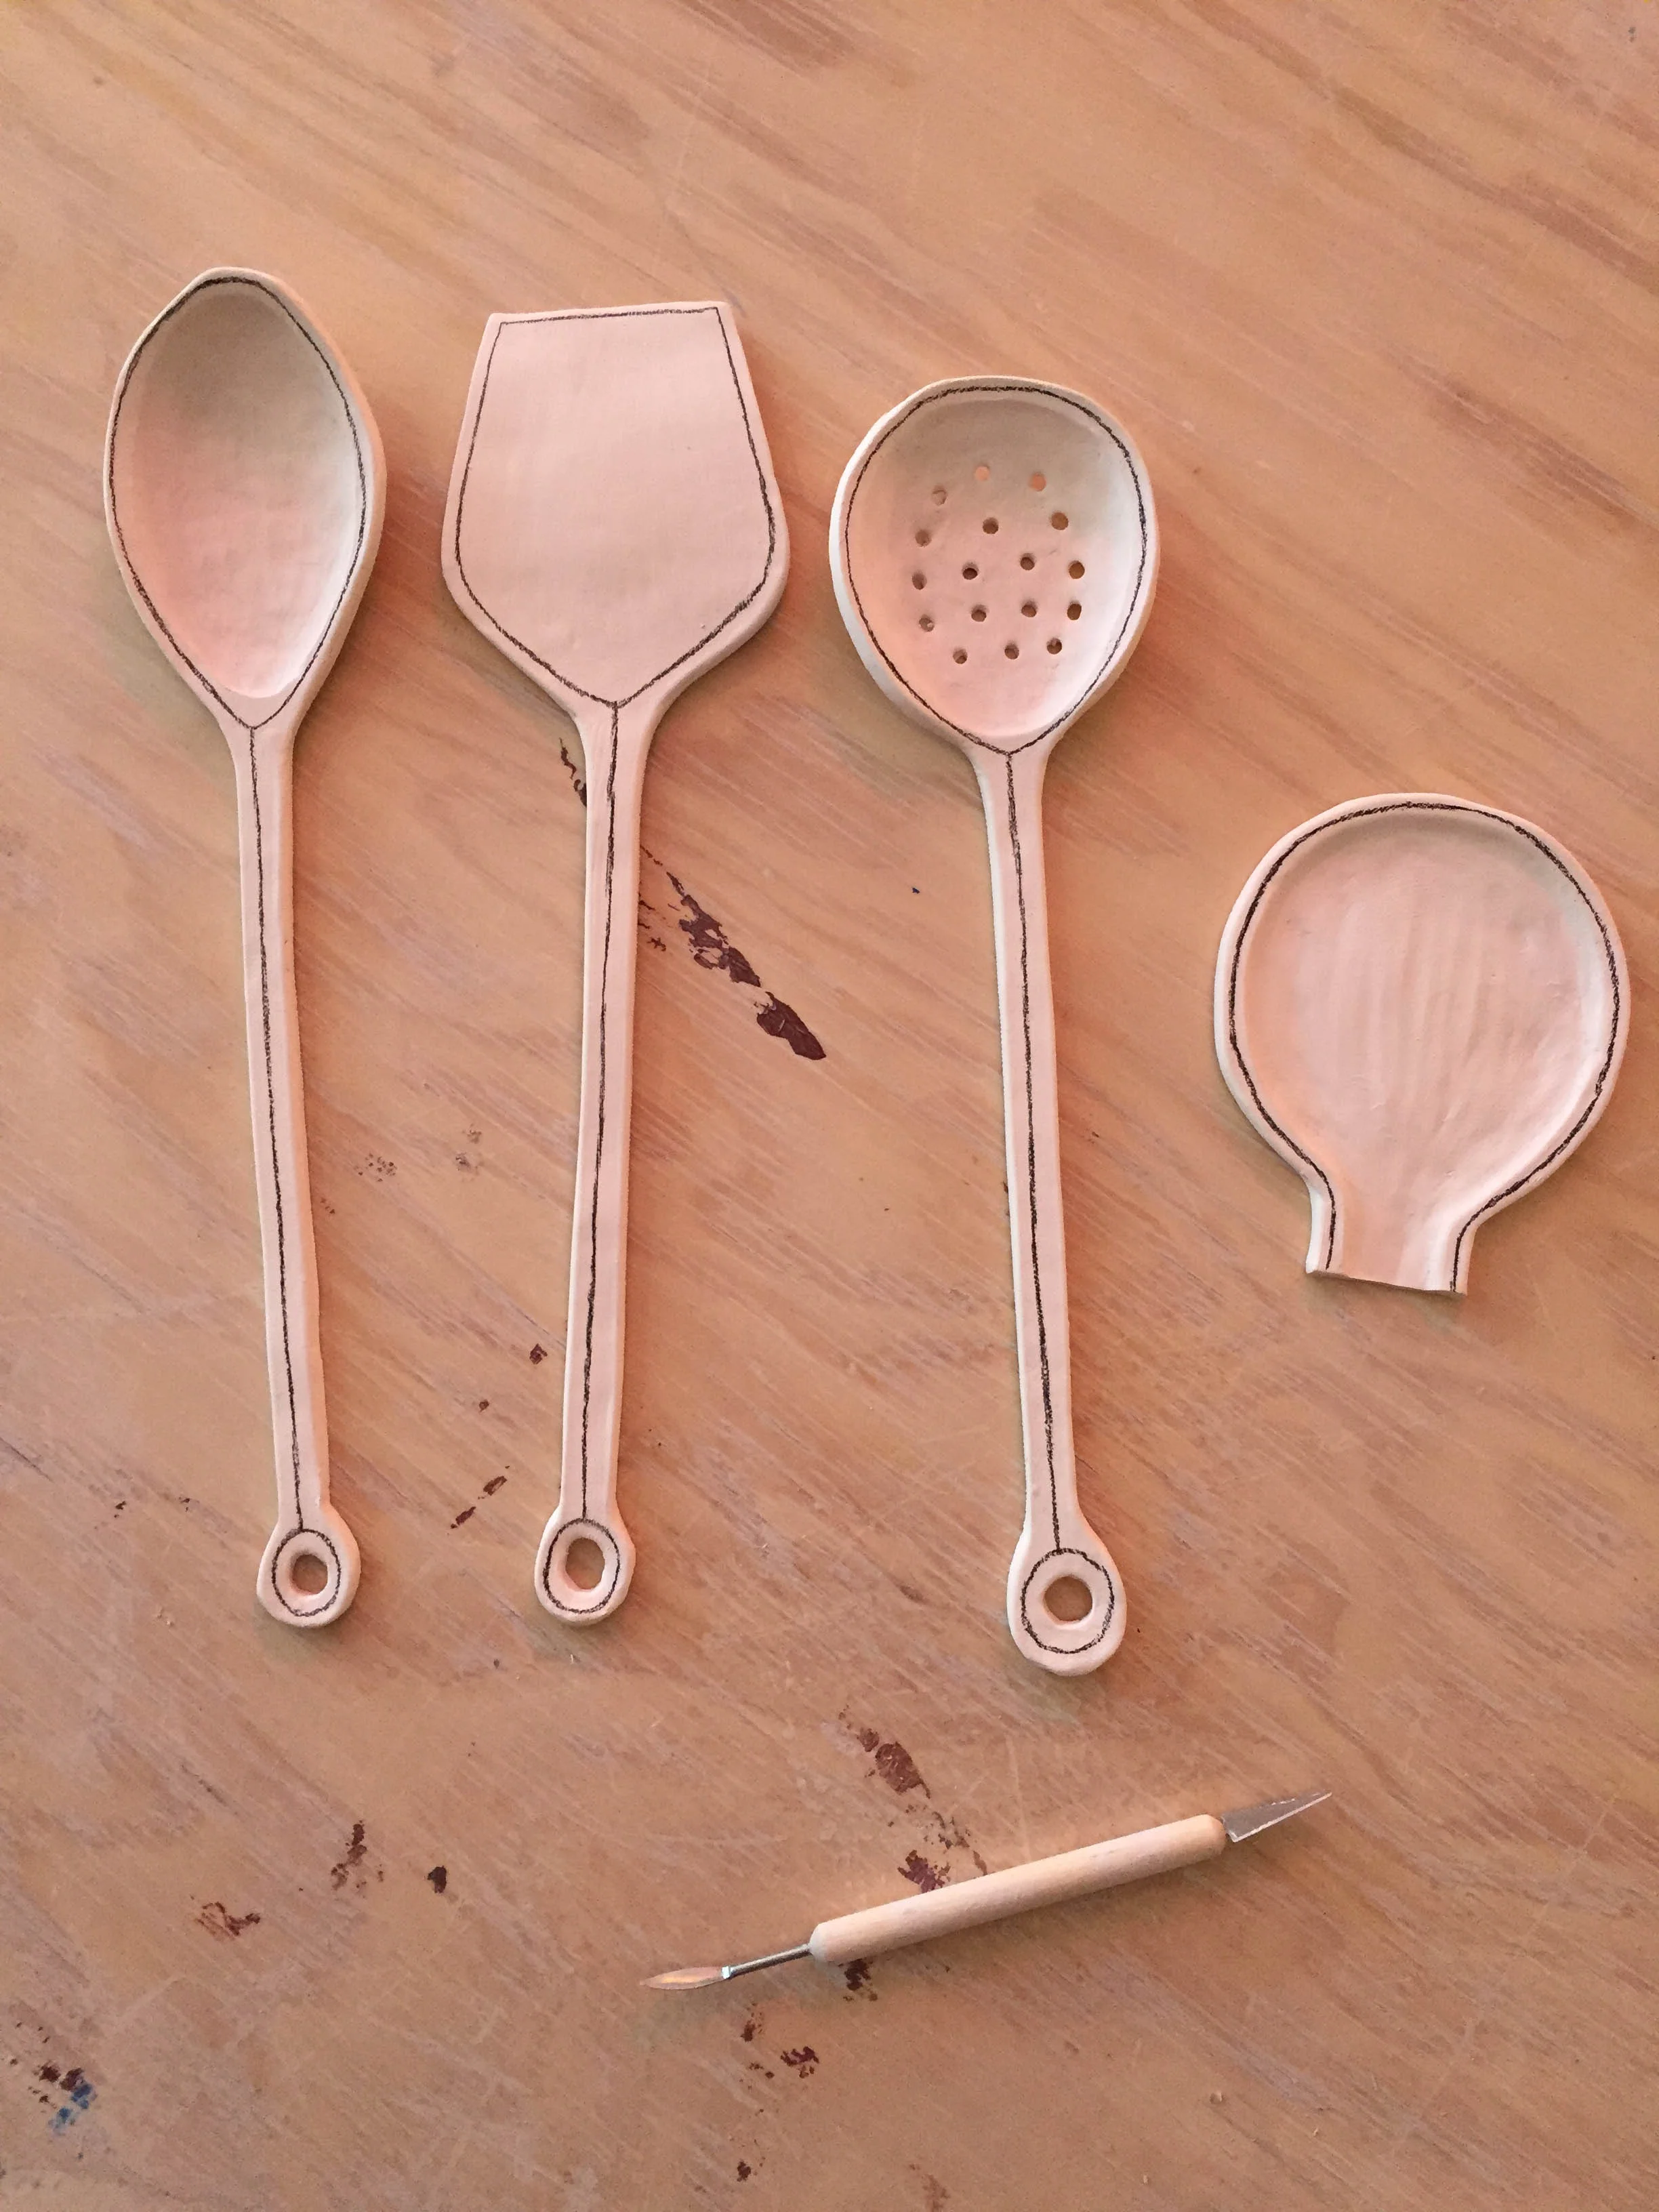
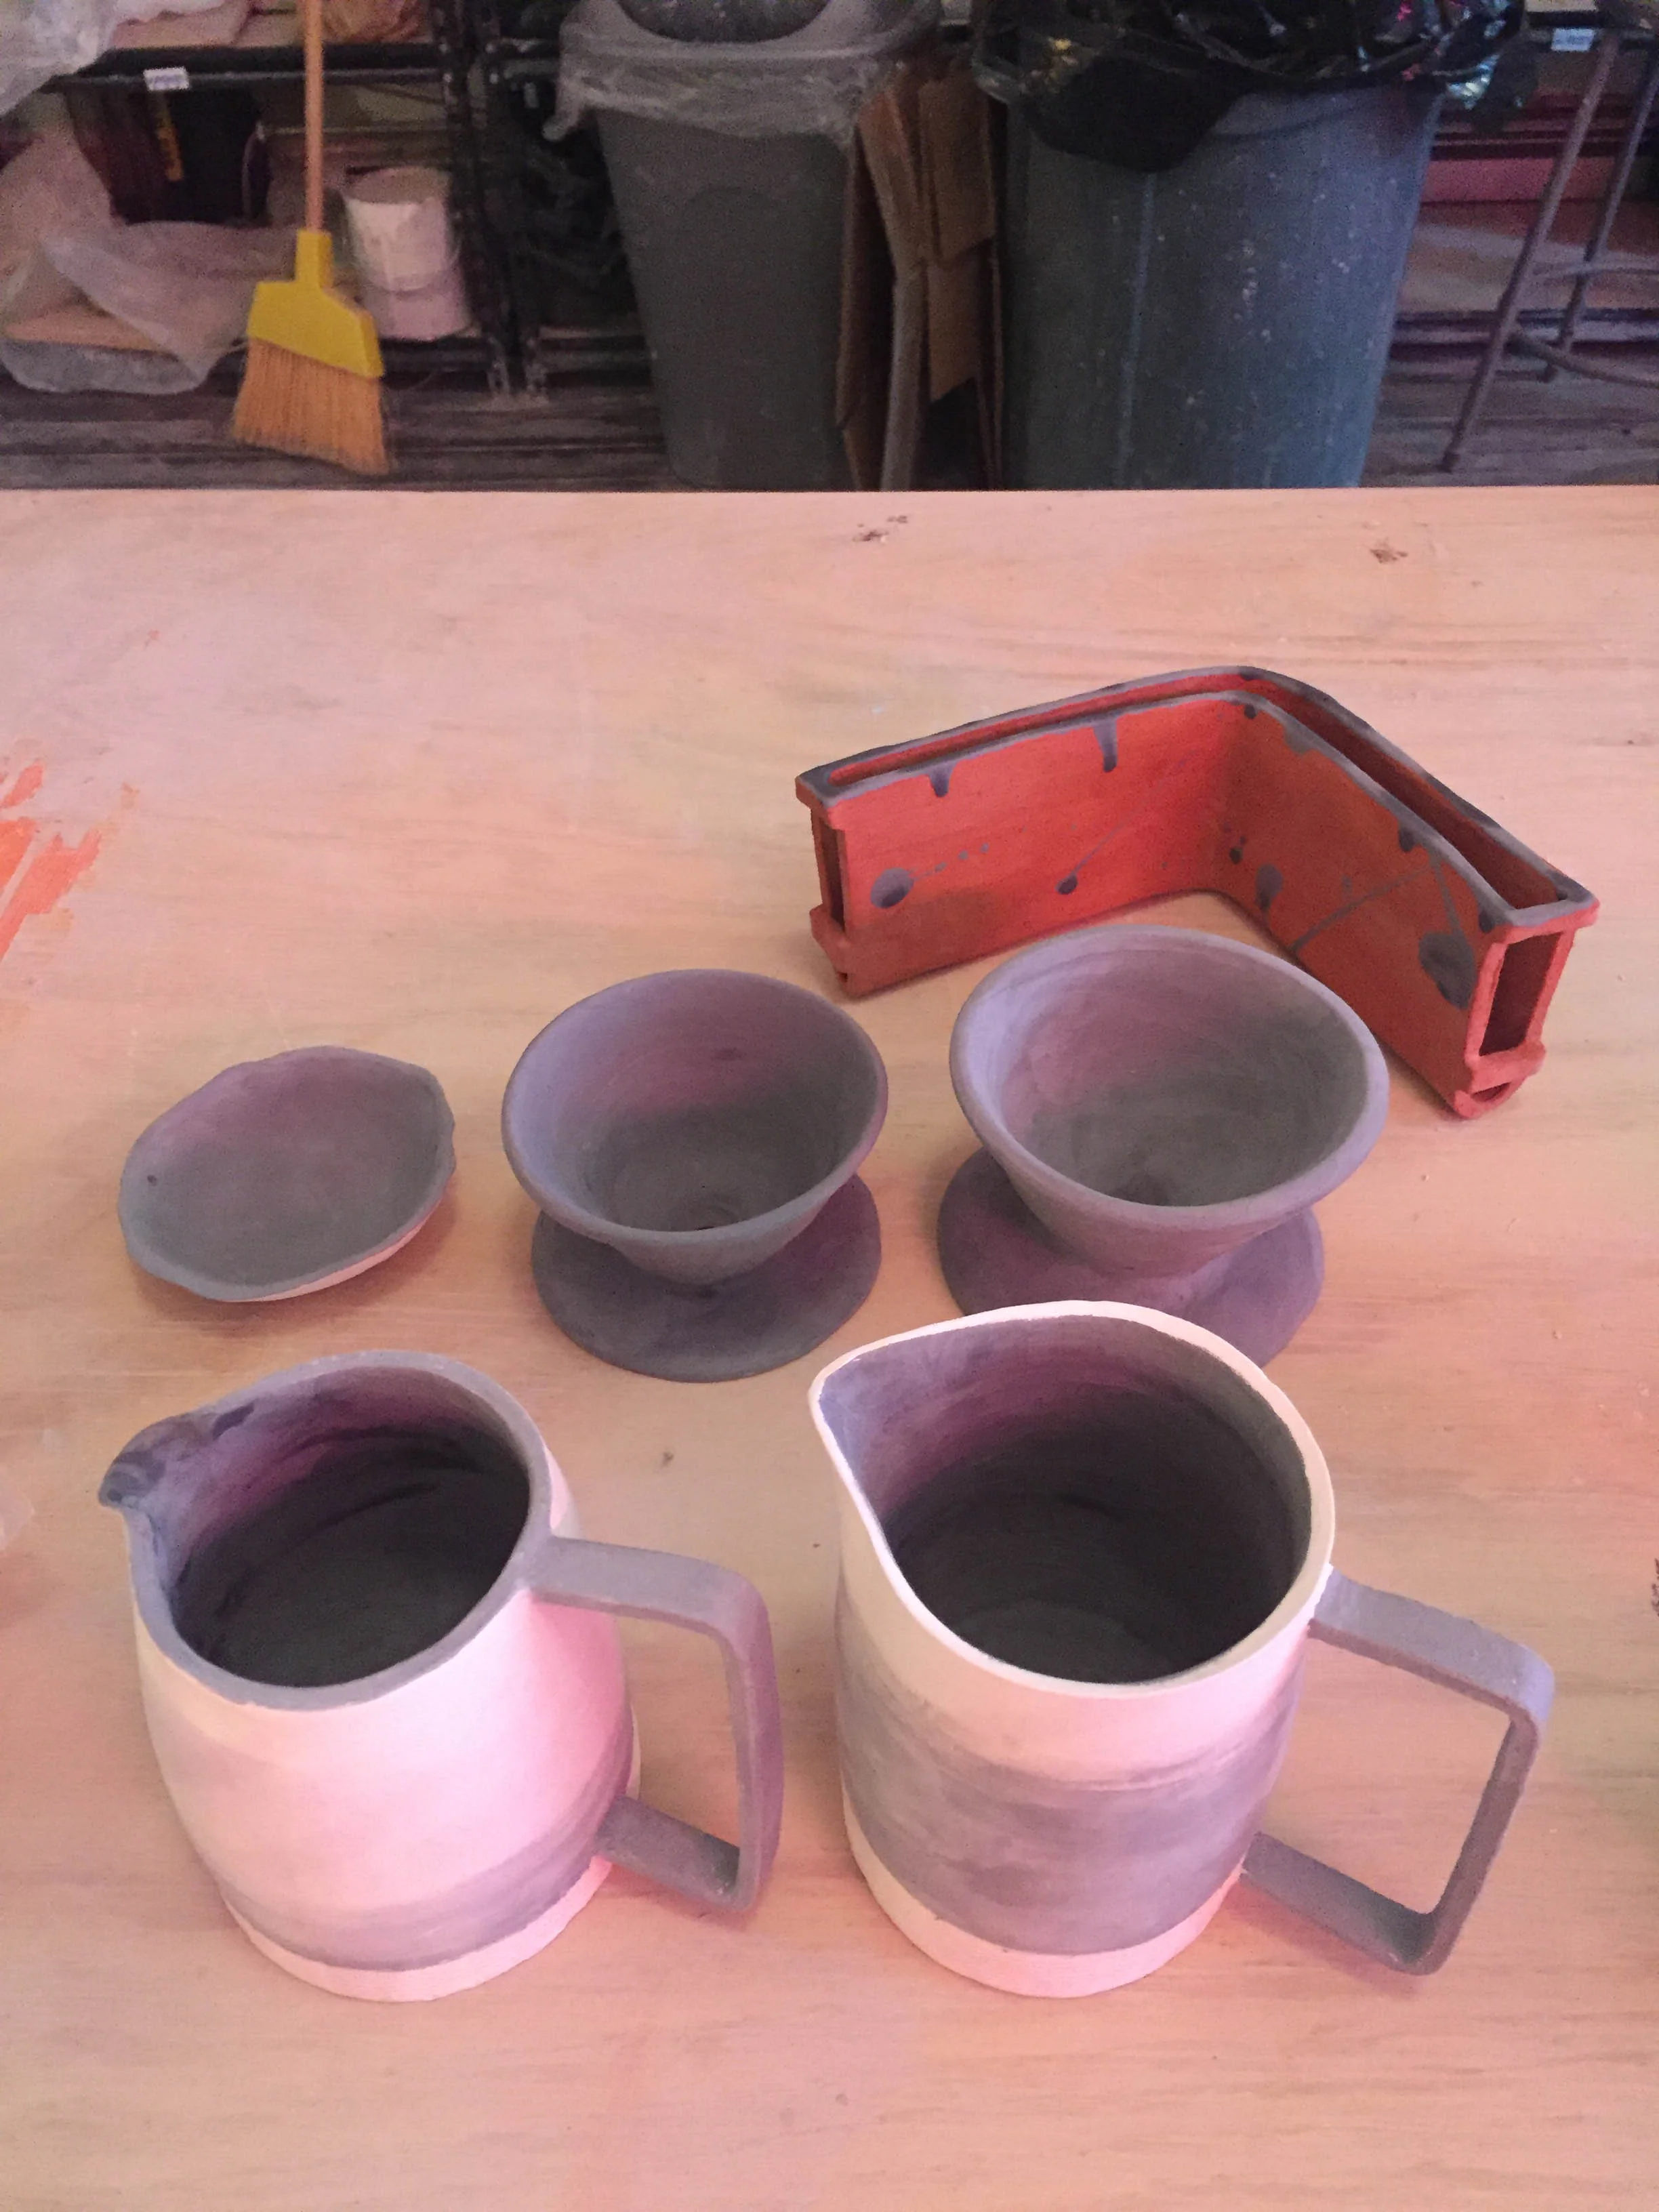
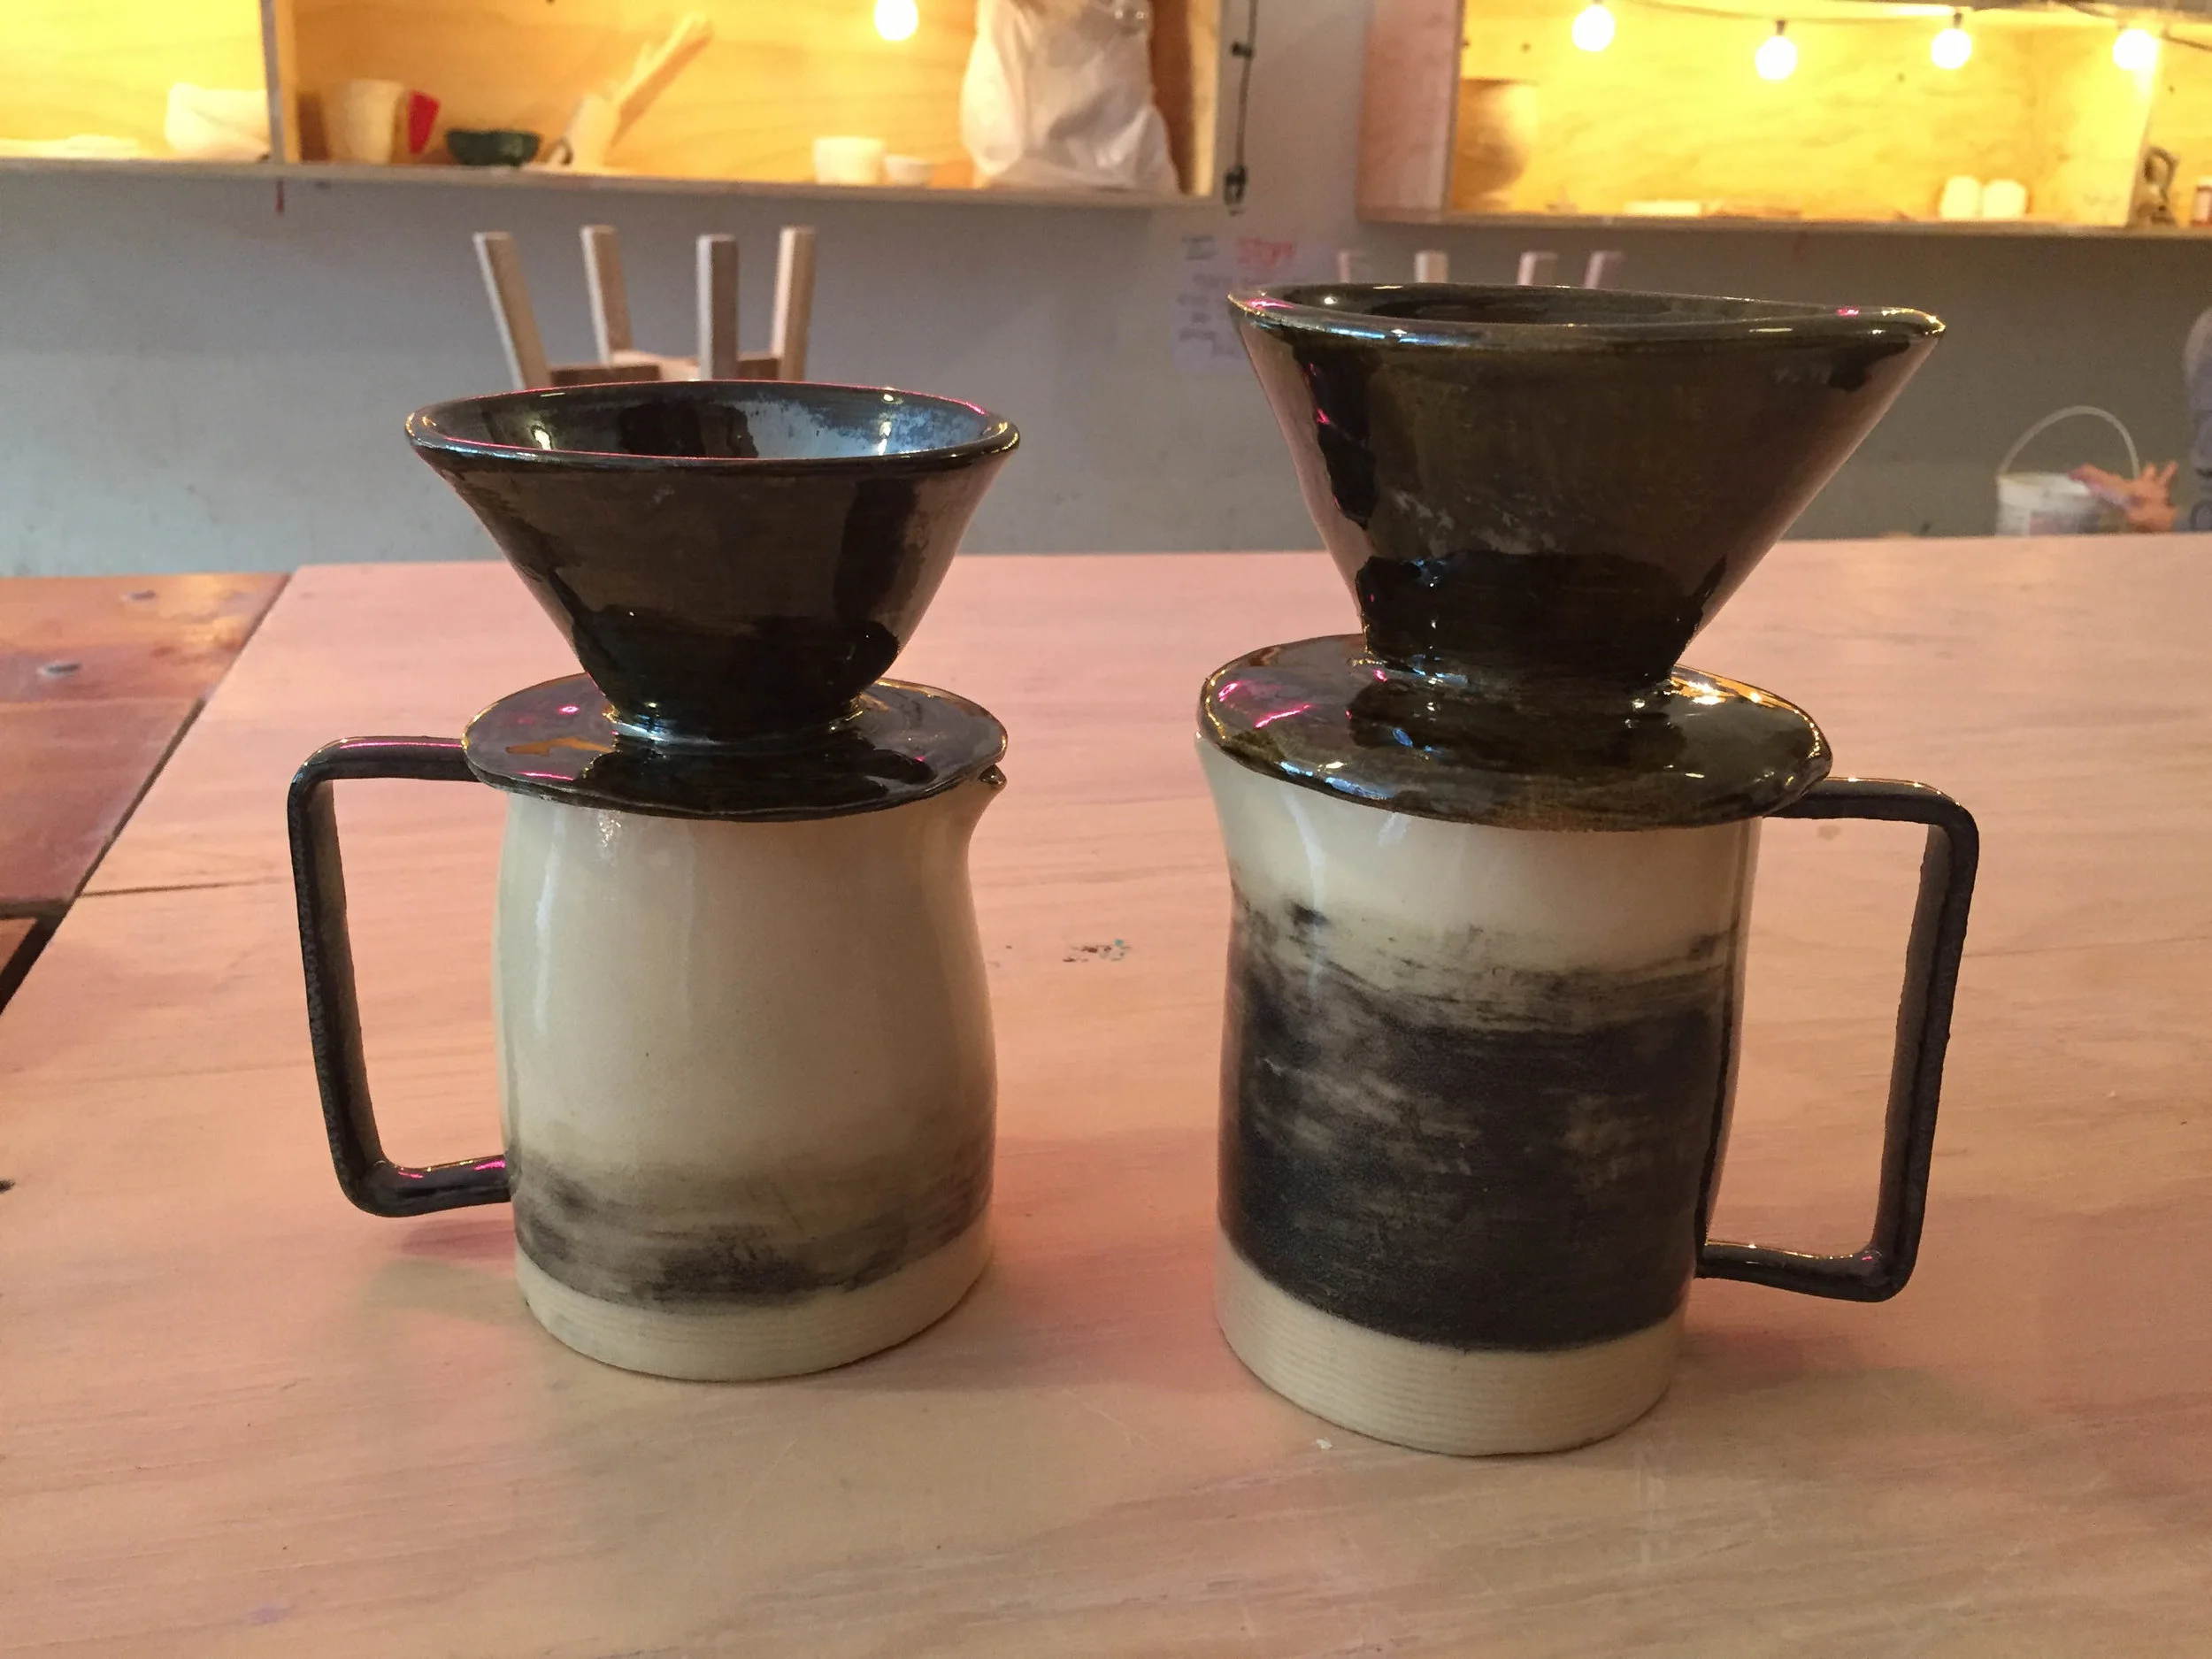
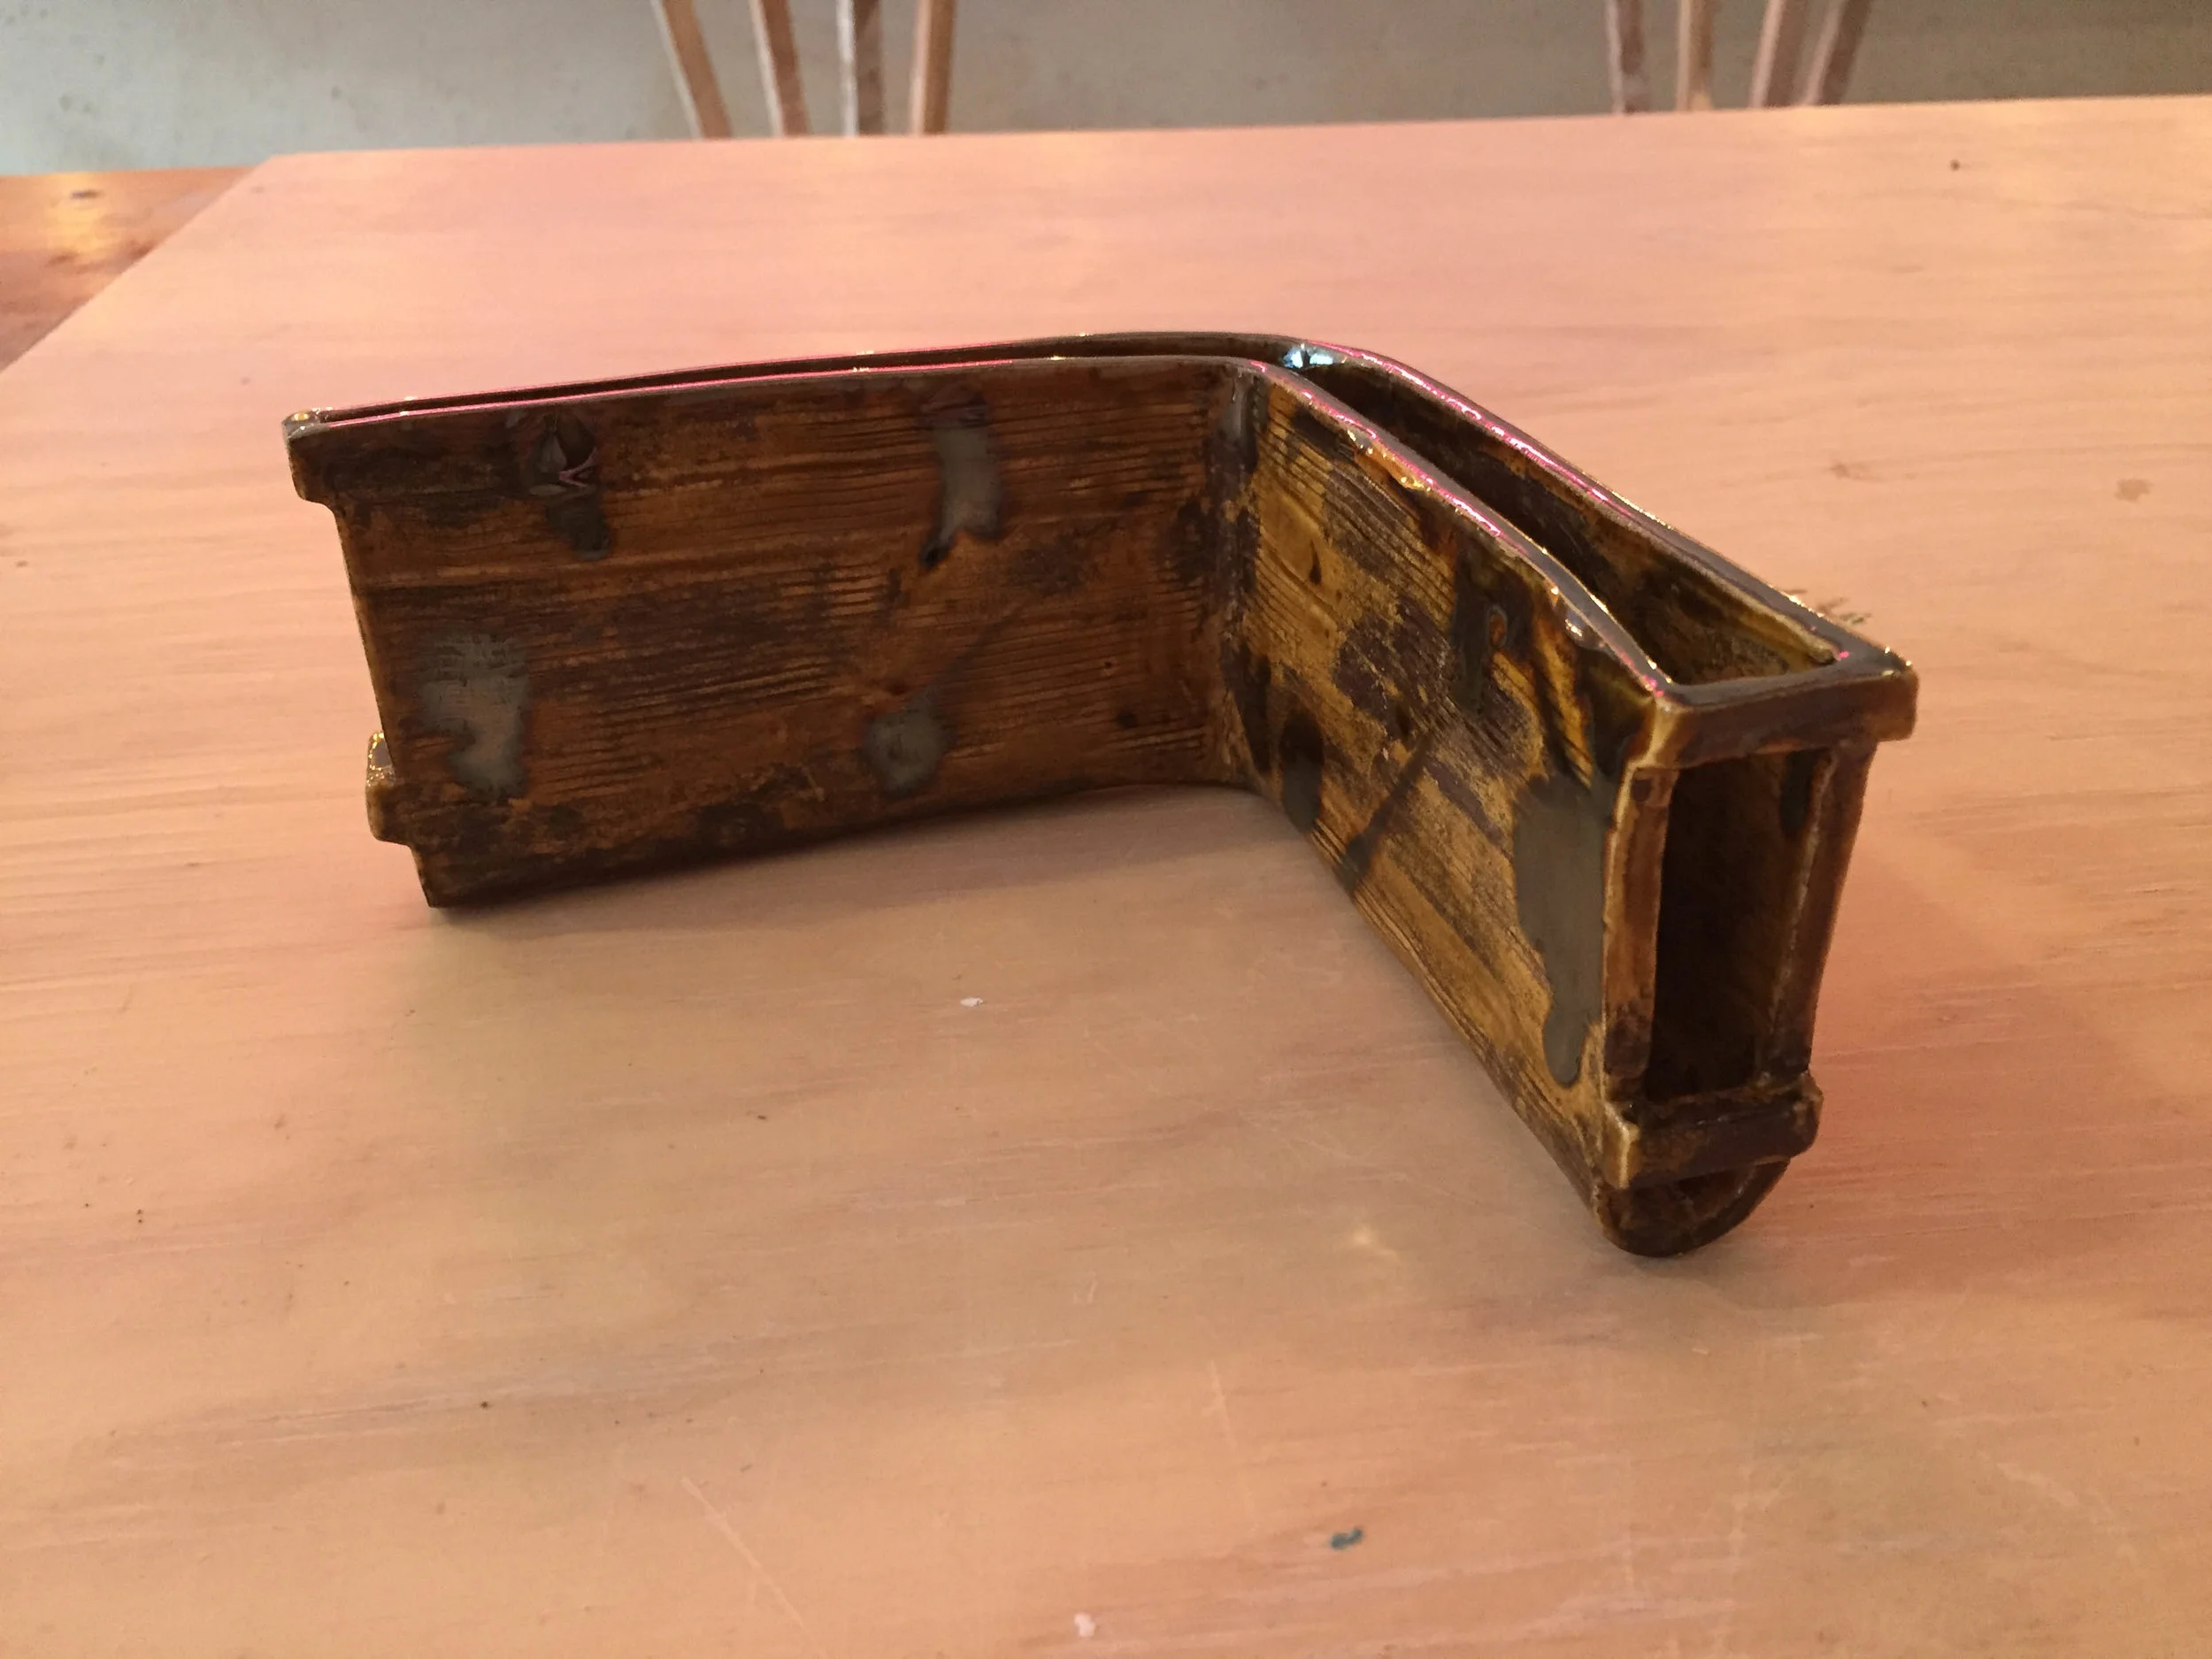
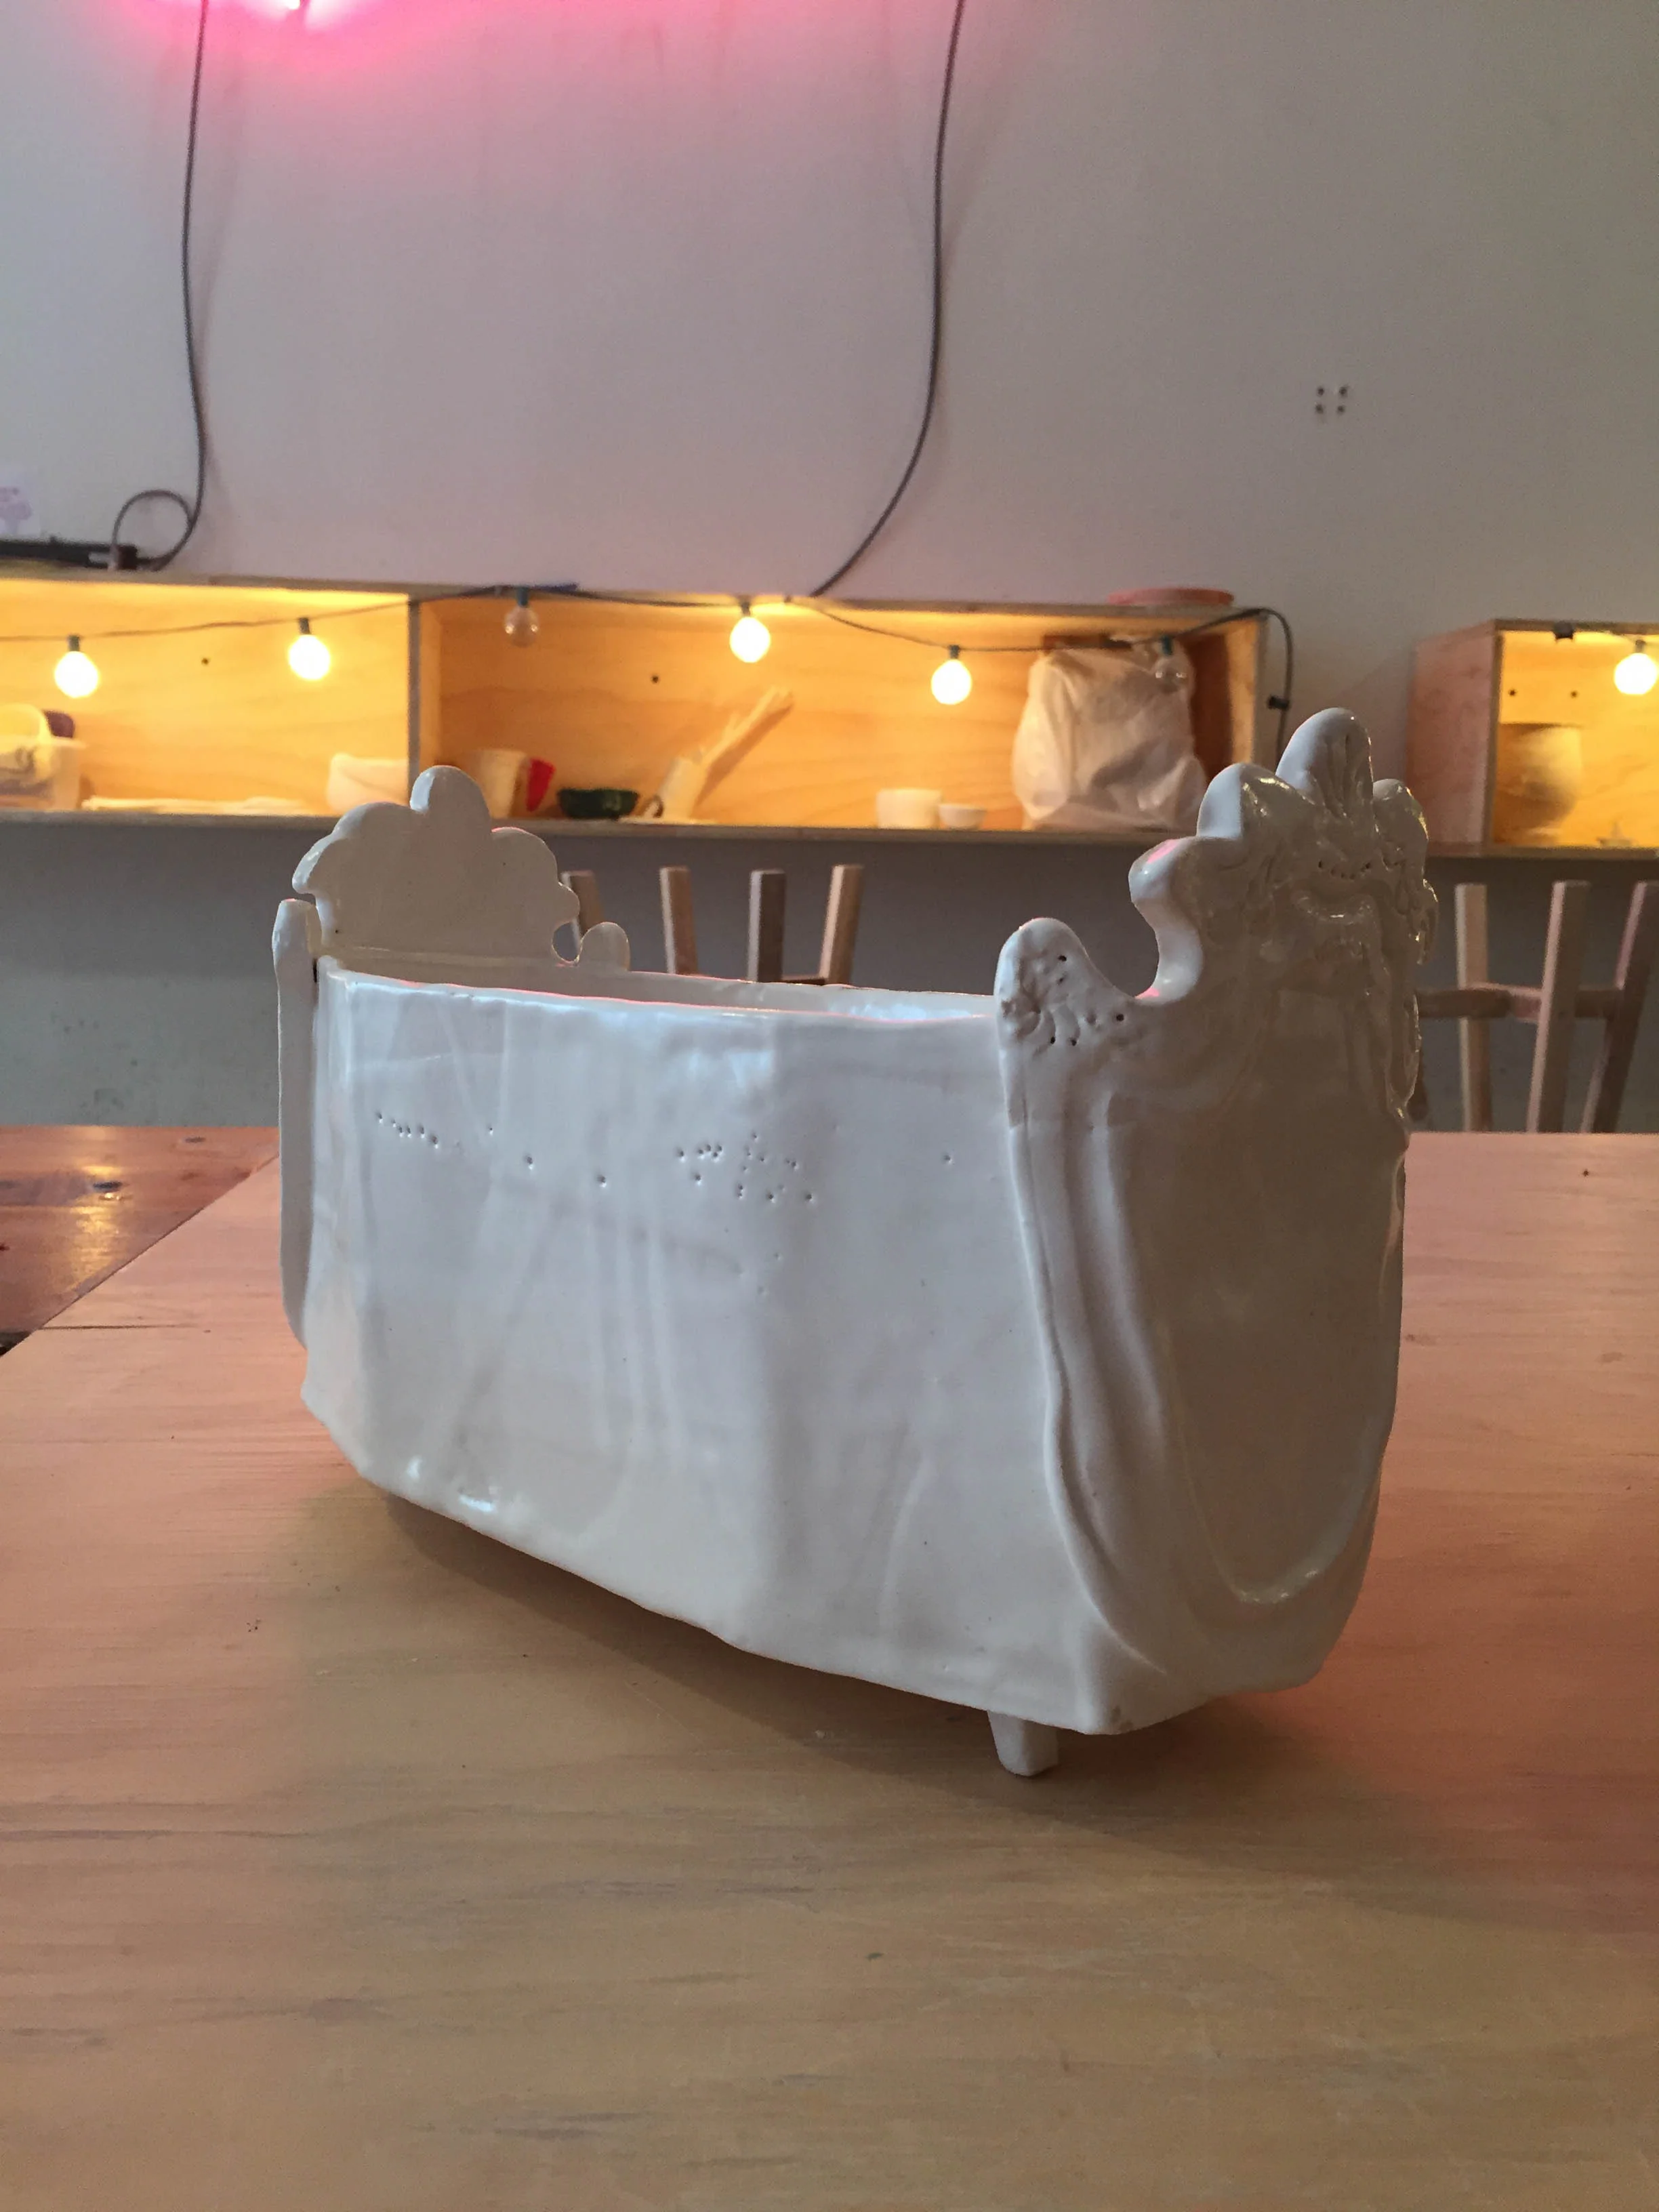
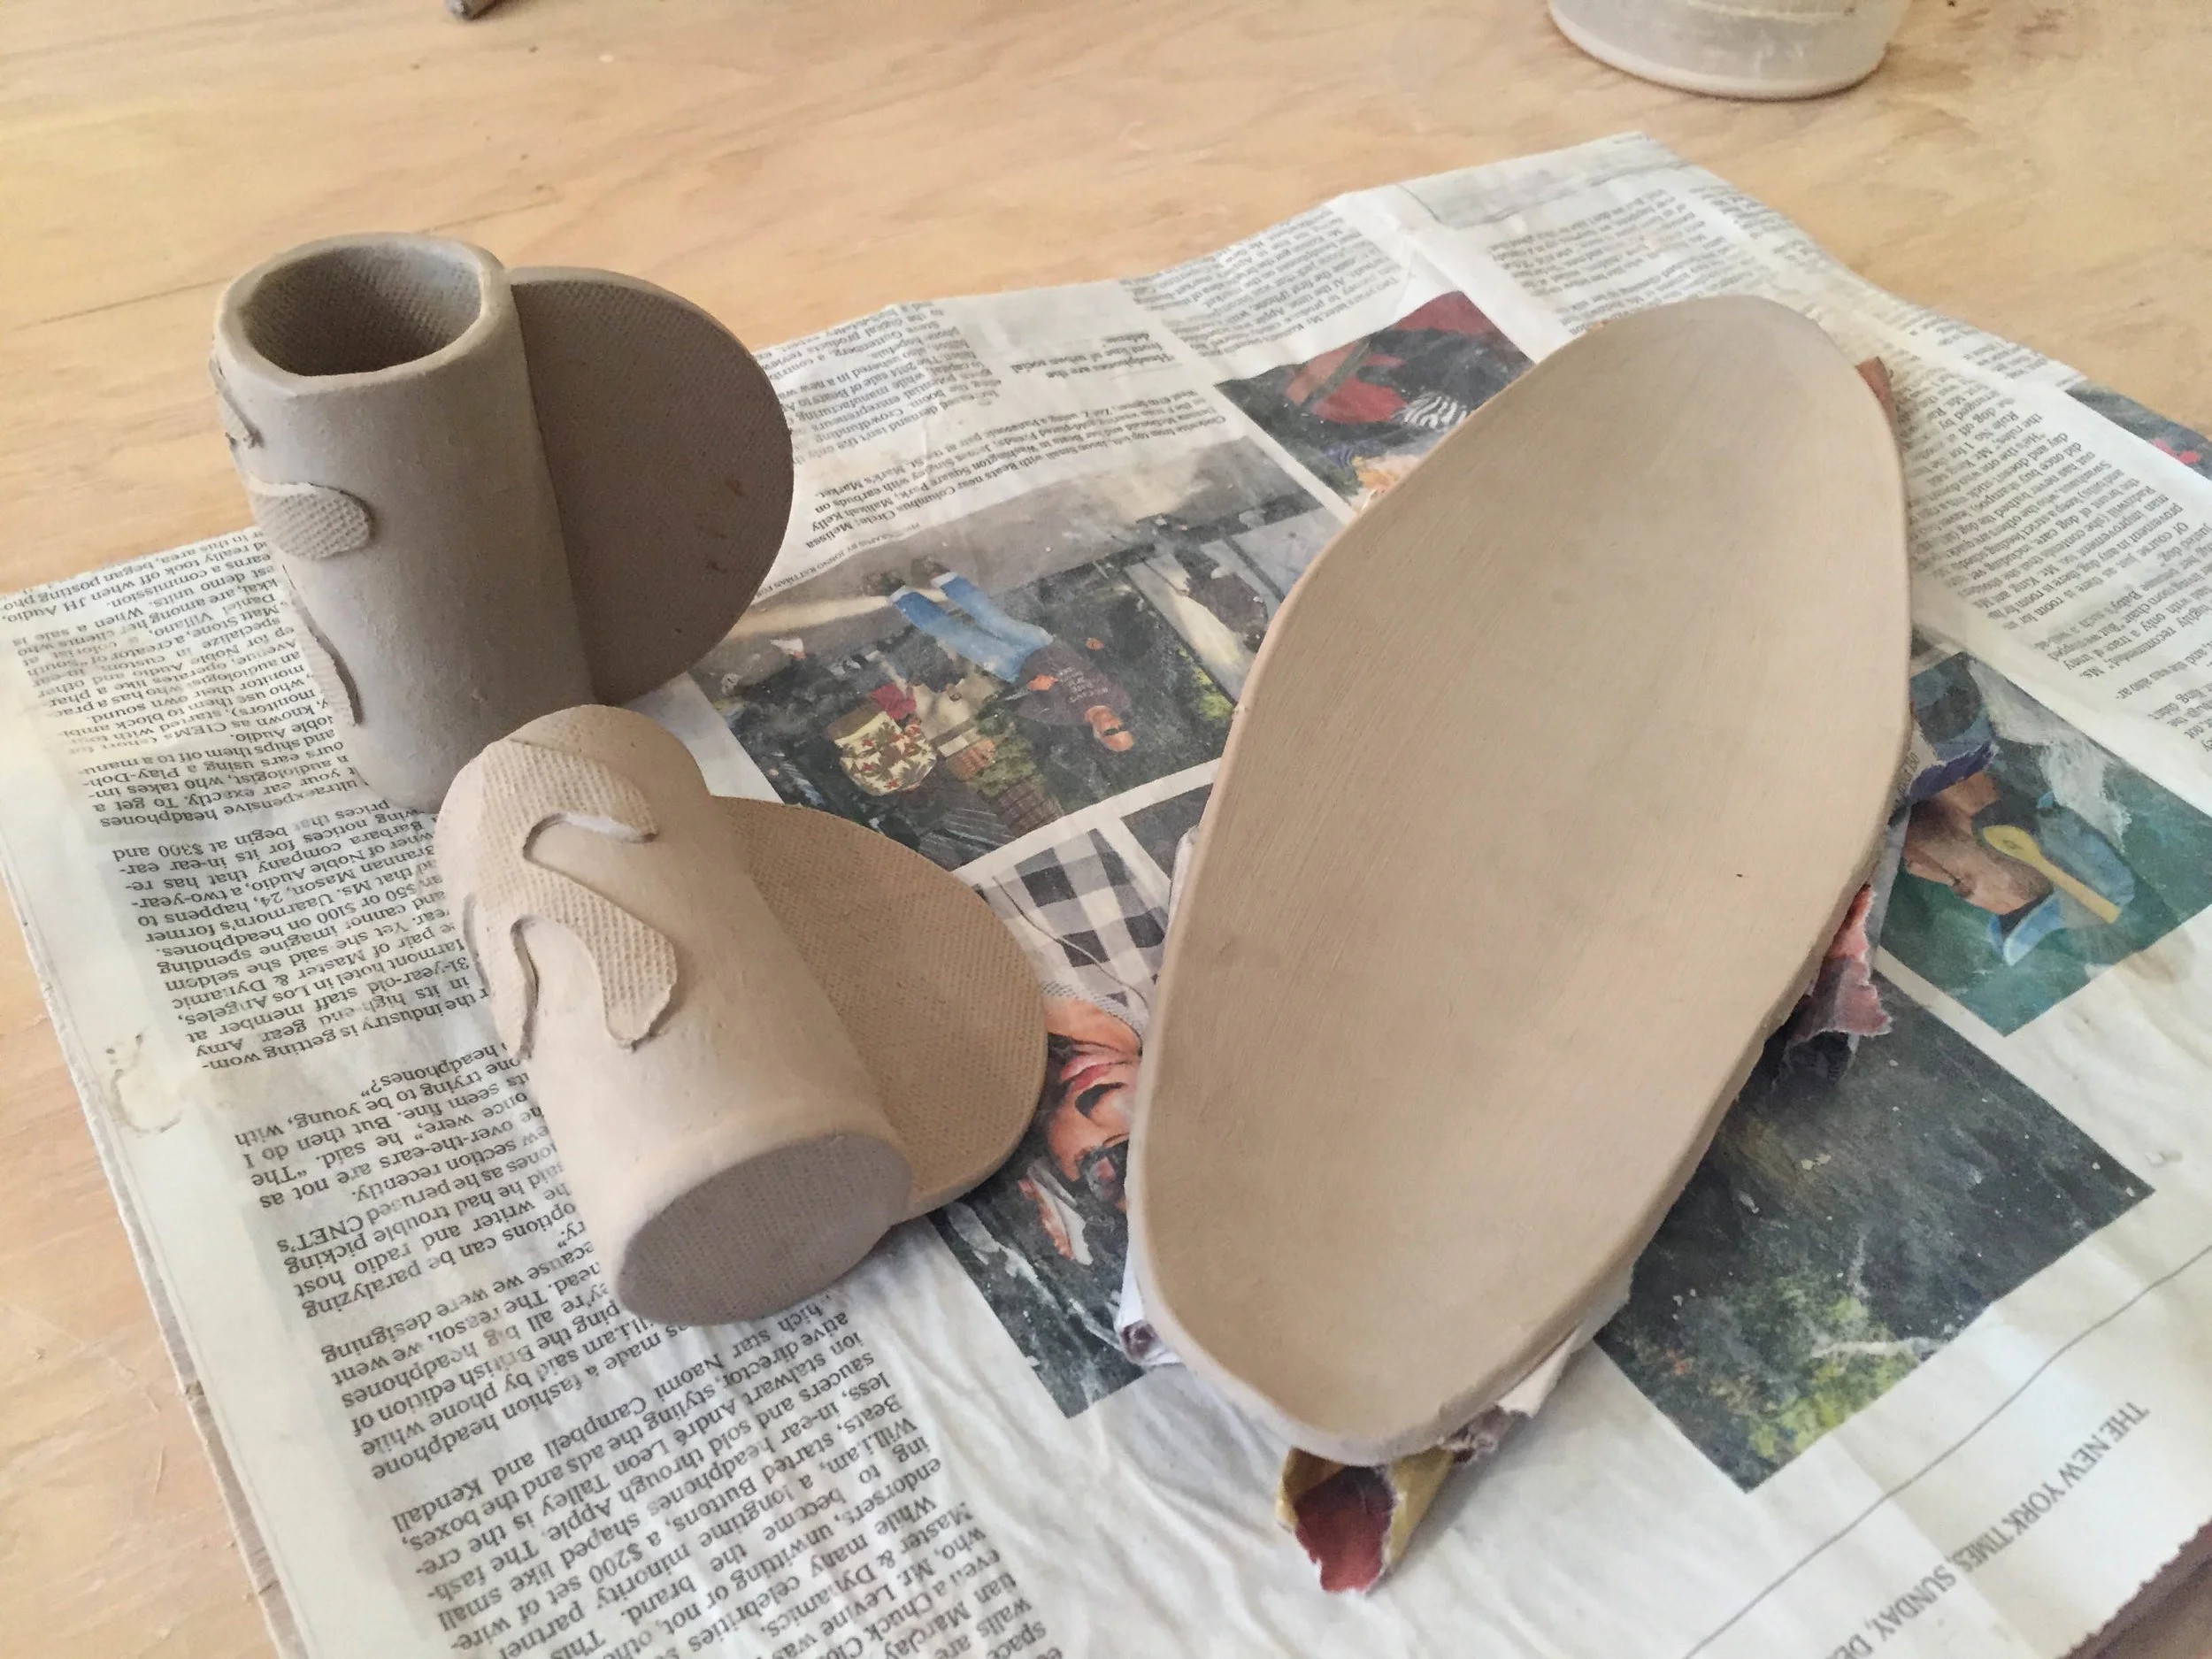
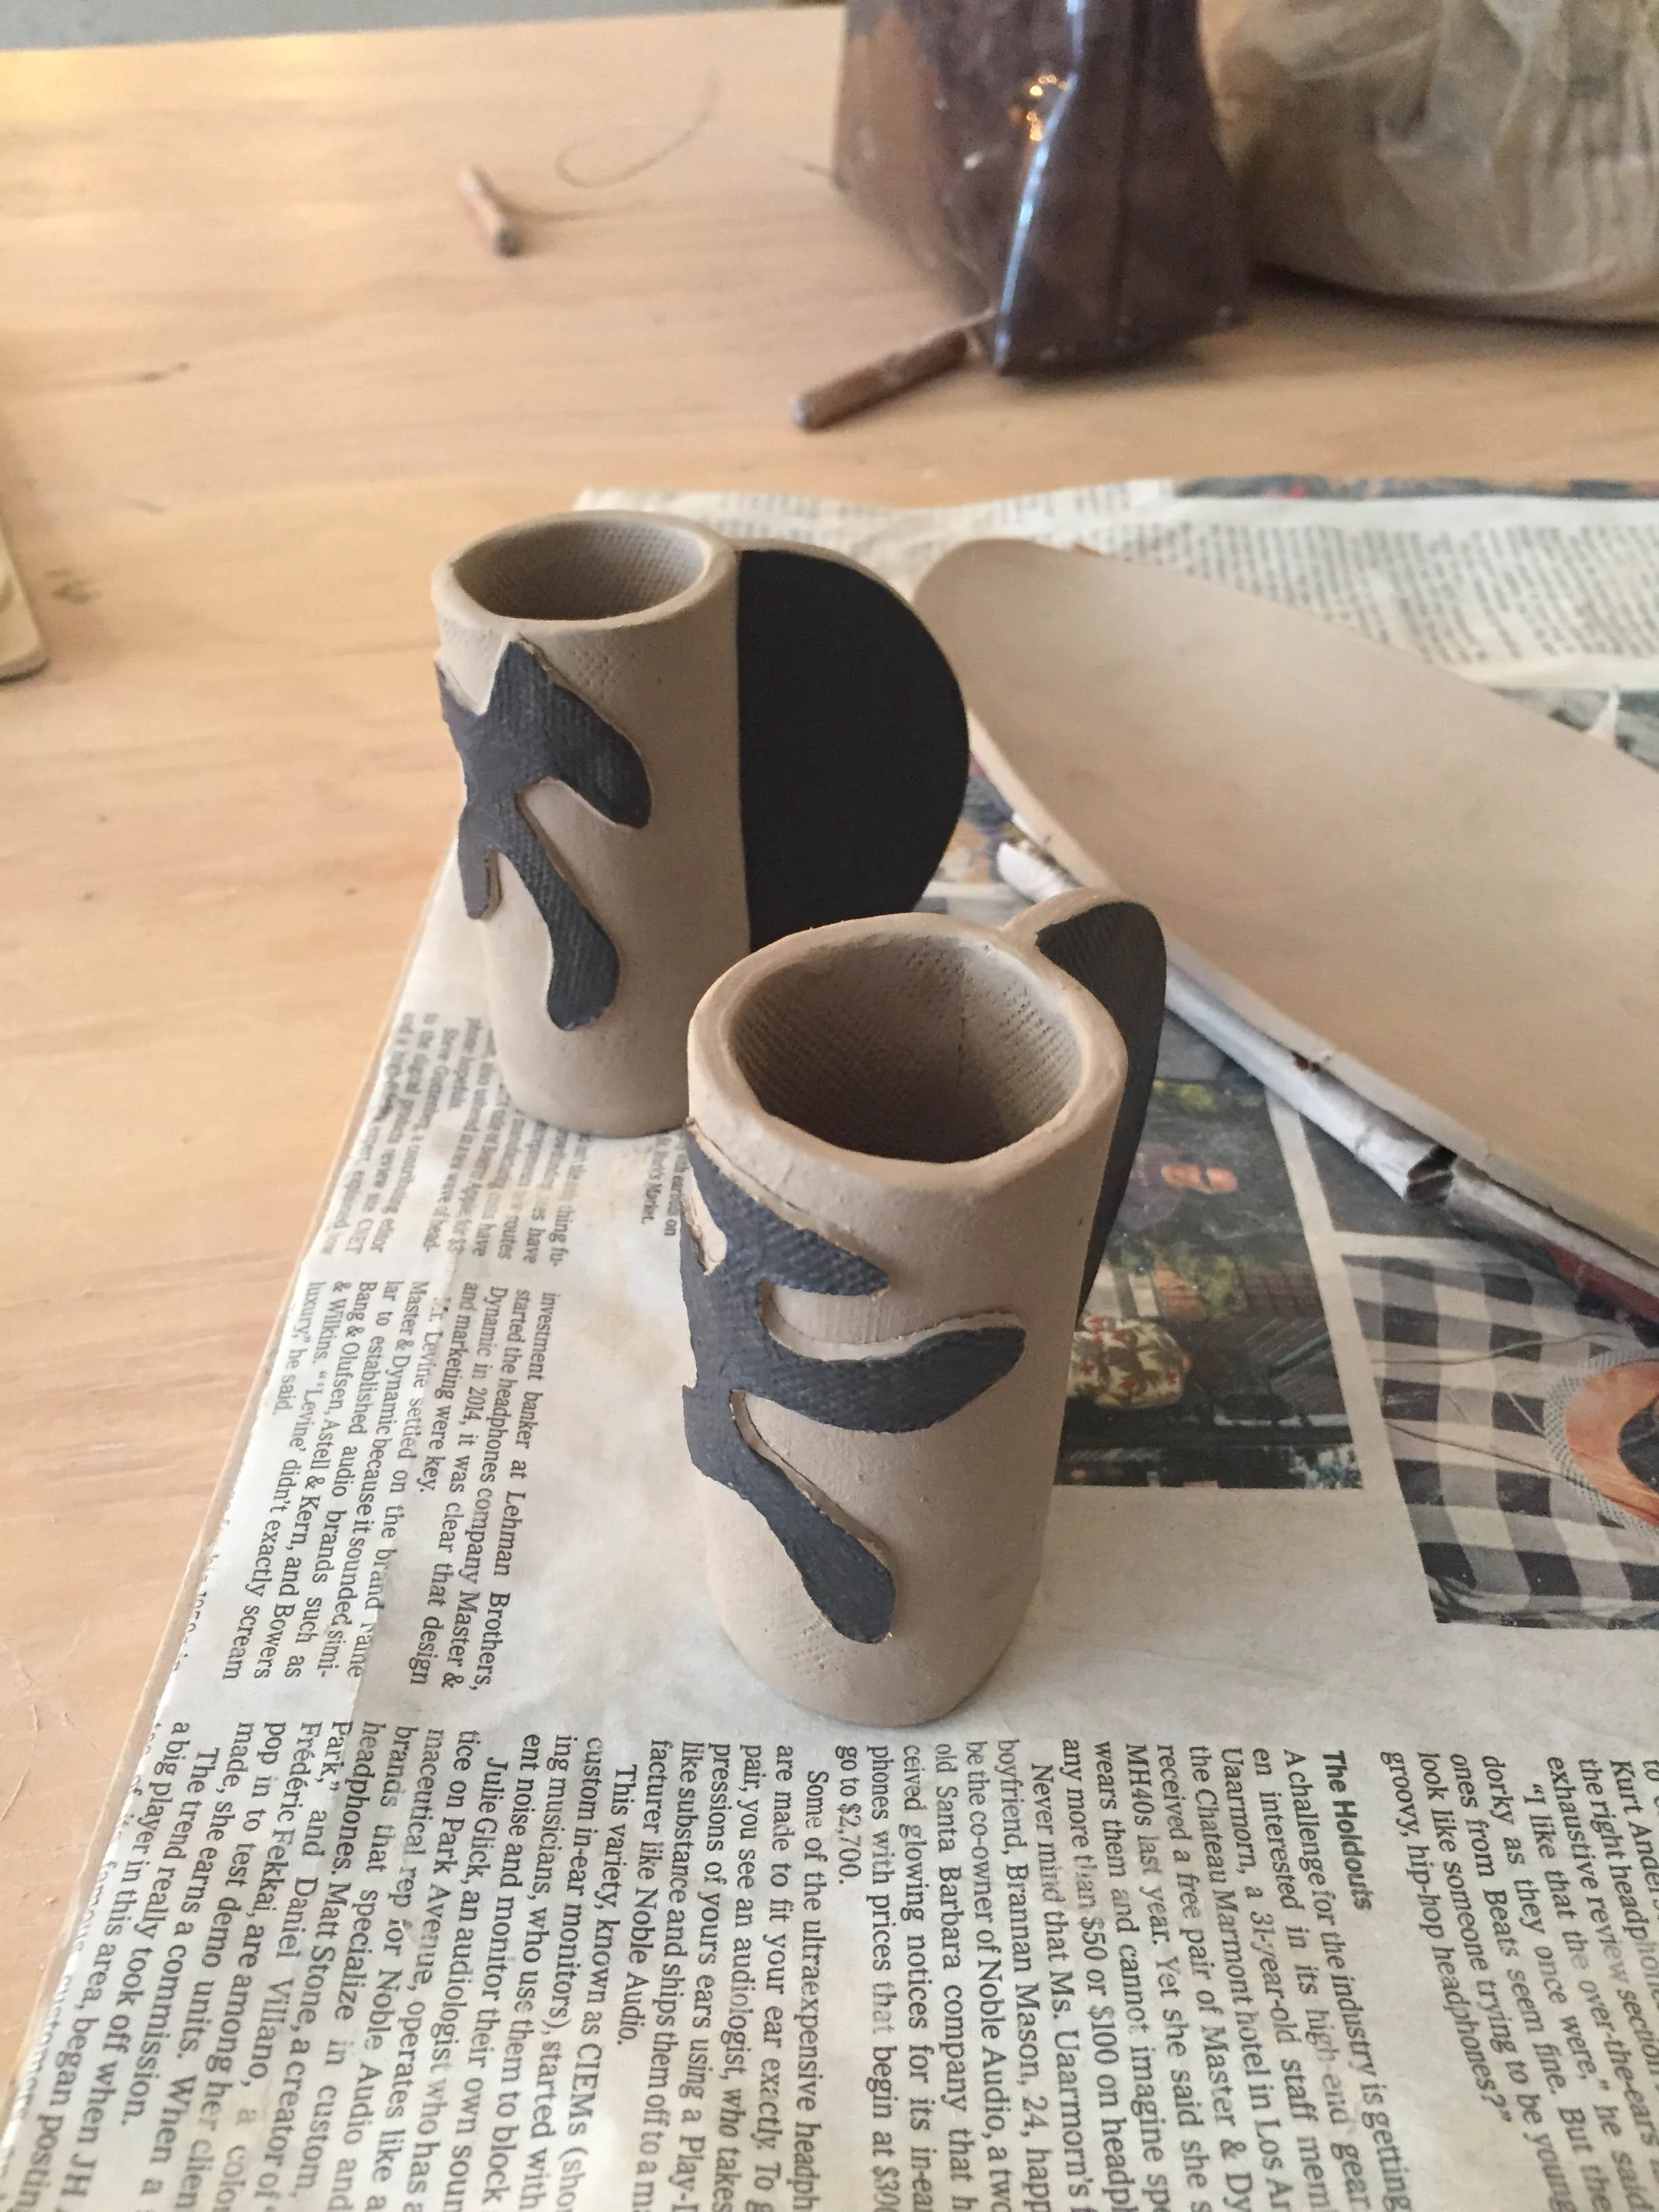
Monday Update | Vessels, Utensils and Snakes, Oh my!
This past week I've worked out a few ideas in clay that I'm really excited about. I've been thinking about vessels - for food, for plants, etc. that have a non-traditional or modern spin so I used the Extruder to create thick coils which I wrapped around rectangular and oval containers. Also this week, working with hand built utensils, coffee mugs and filters, bowls, and a new pet snake which I painted with colored slip. I wanted the snake to look as though it were hiding beneath a flowering plant :) So happy with the results!


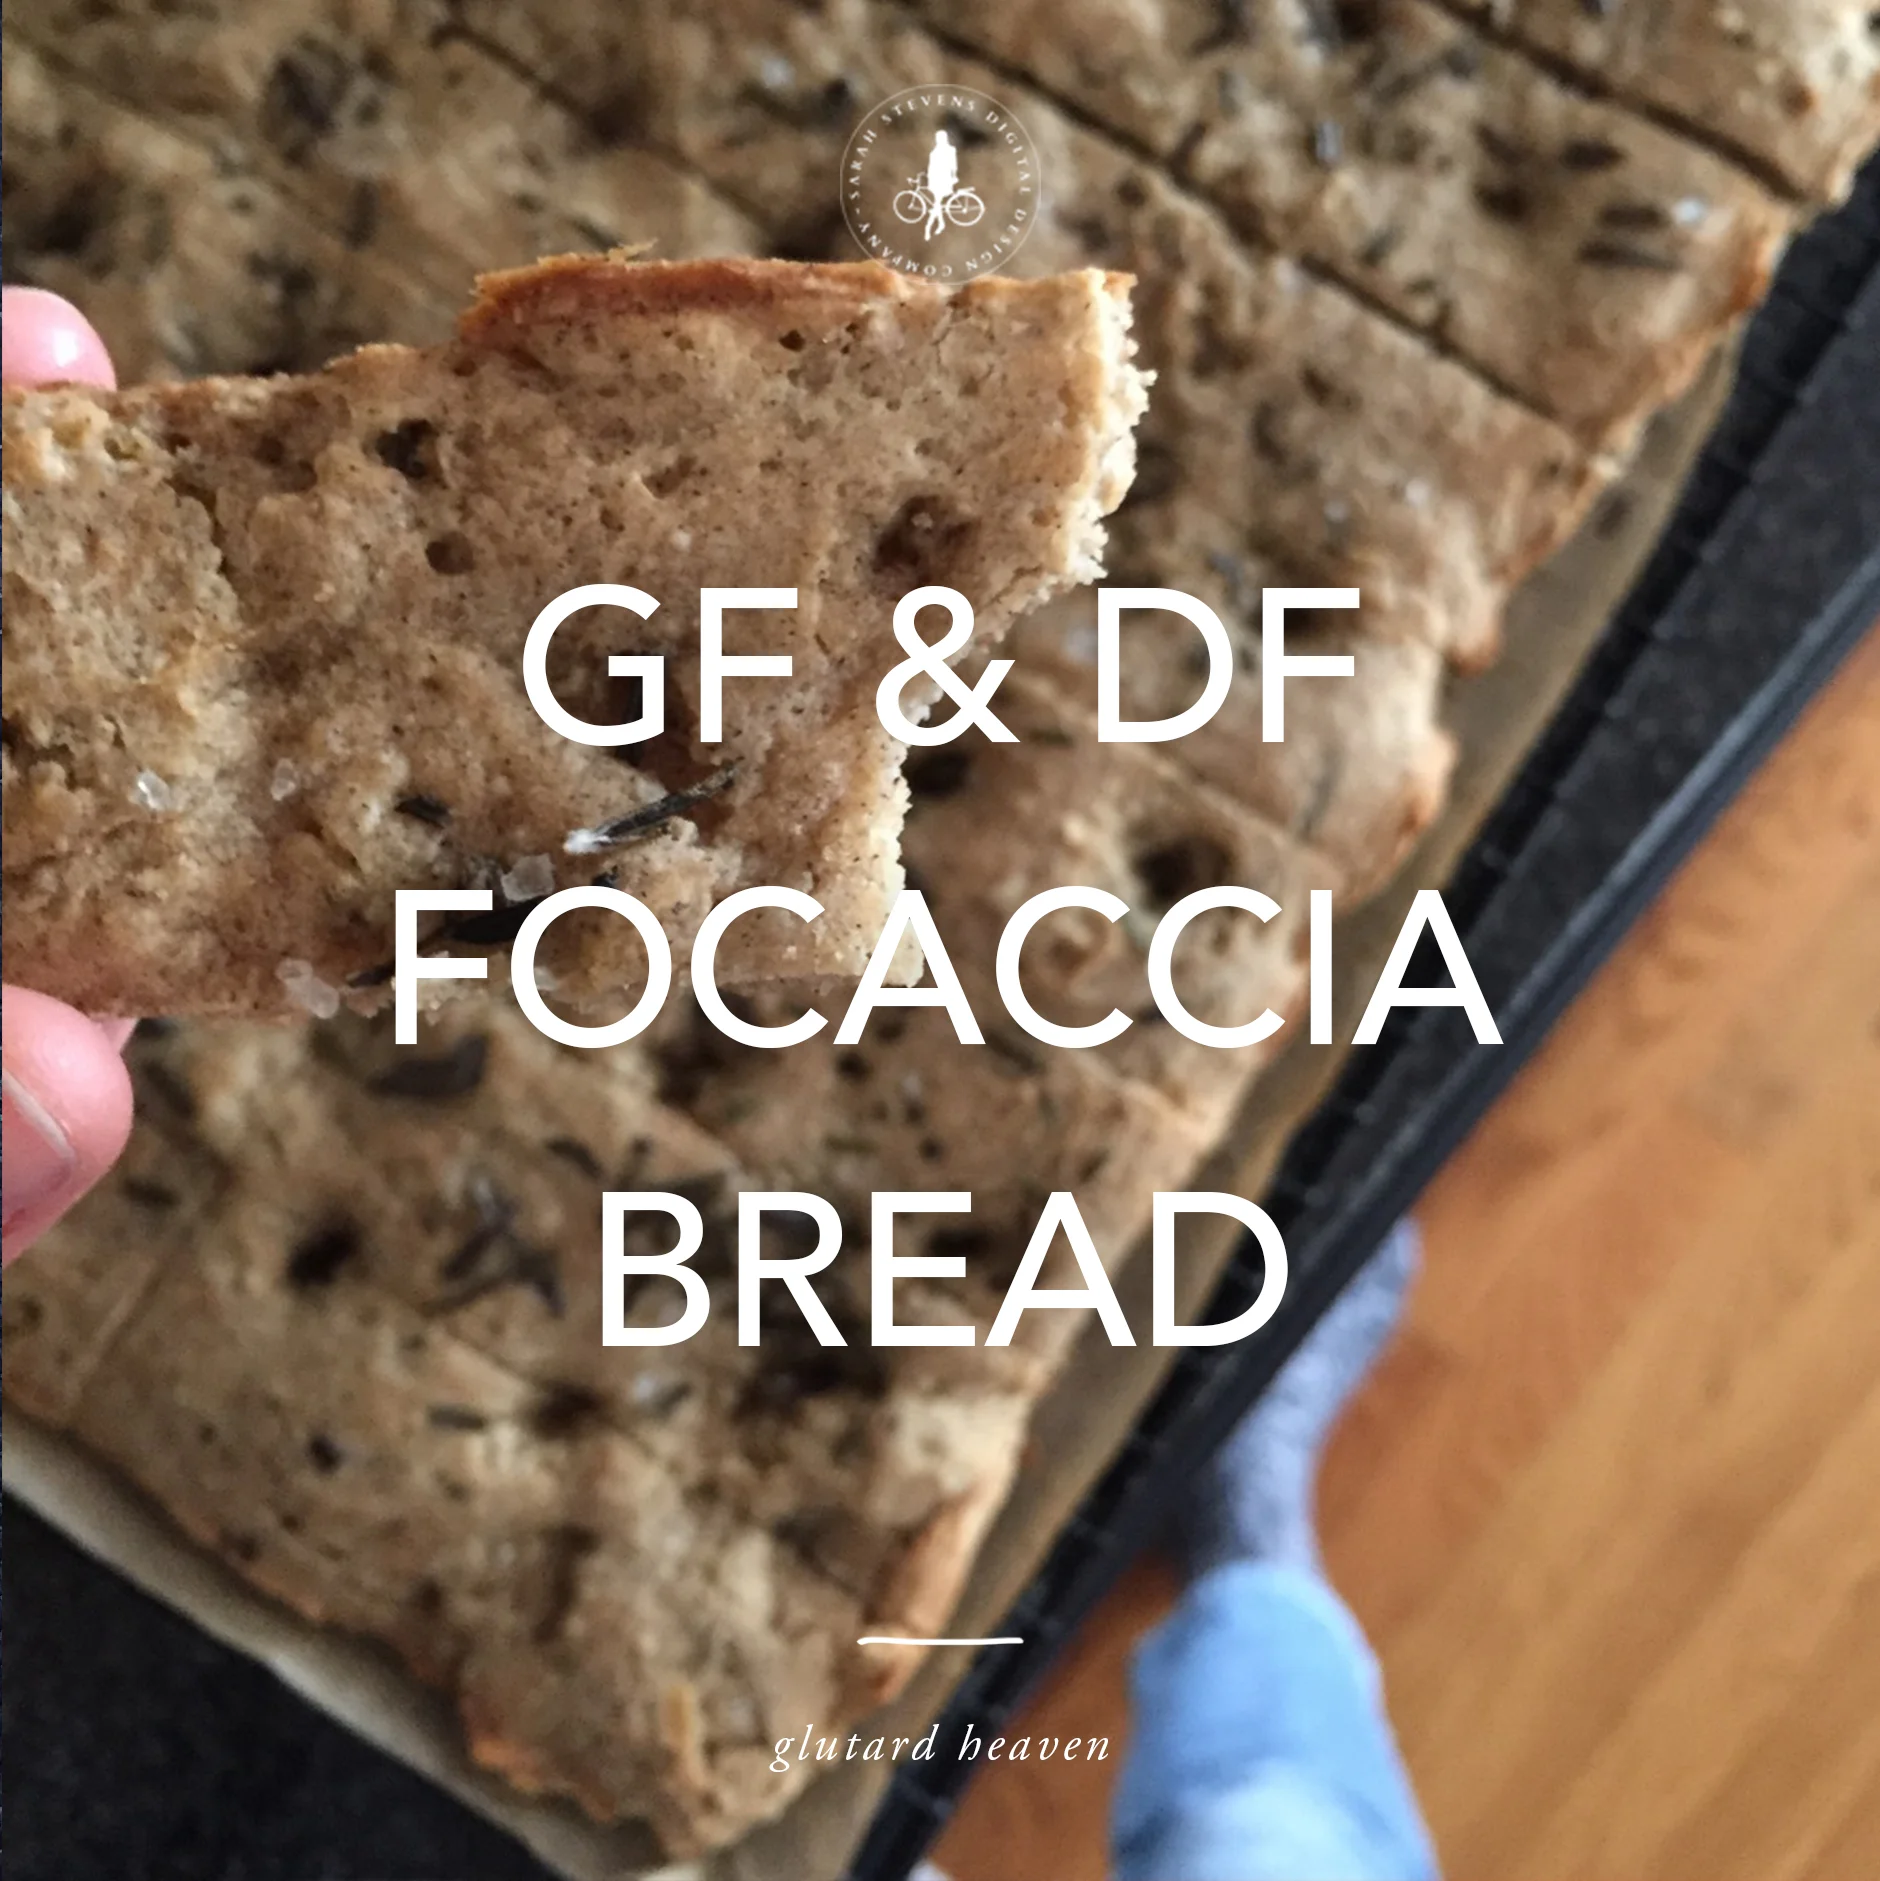
GF & DF Rosemary Foccacia Bread
I've made this bread for several potlucks lately, pairing it with an olive and balsamic tapenade, and it's been a hit. Definitely satisfies the craving for bread. Make sure to use a good olive oil and coarse sea salt - enjoy :)
Gluten and Dairy Free Focaccia Bread
Dry Ingredients:
3 1/4 cups gf flour
1/4 cup buckwheat flour
1 tsp xanthum gum
1/4 cup dry milk powder, dairy or non-dairy OR almond meal
1/2 tsp baking soda
2 tsp baking powder
1 tsp sea salt
2 tsp fresh rosemary, chopped
Wet Ingredients:
2 large eggs
1 tsp apple cider vinegar
1/4 cup extra virgin olive oil
2 tbsp honey
1 3/4 cup room temperature club soda
1 tbsp rapid rise or bread machine yeast
Toppings:
1-2 tbsp chopped, fresh rosemary
1 tbsp coarse sea salt
Method:
1. Preheat oven to 200 – turn off once temp is reached.
2. Combine dry ingredients in a large bowl.
3. In a large mixing bowl, mix wet ingredients (except yeast)
4. Gradually add the dry ingredients to the wet using a mixer. Once incorporated, add the yeast granules and beat well for 2 more minutes.
5. Line a baking pan with a sheet of oiled parchment paper.
6. Spread dough onto prepared pan. Smooth to edges evenly with a rubber spatula, sprinkle with toppings, then cover with another sheet of oiled parchment.
7. Place the pan into the preheated oven and allow to rise for 30 min.
8. Remove the parchment from the raised dough and press into the focaccia every 2 inches or so with your knuckle, to make dimples.
9. Preheat oven to 350.
10. Brush the top of the dough generously with olive oil.
11. Bake for 23 minutes. A toothpick inserted into the center of the focaccia should come out clean and it should be starting to lightly brown.
12. Remove to a cooling rack for 15 min then slice as desired.
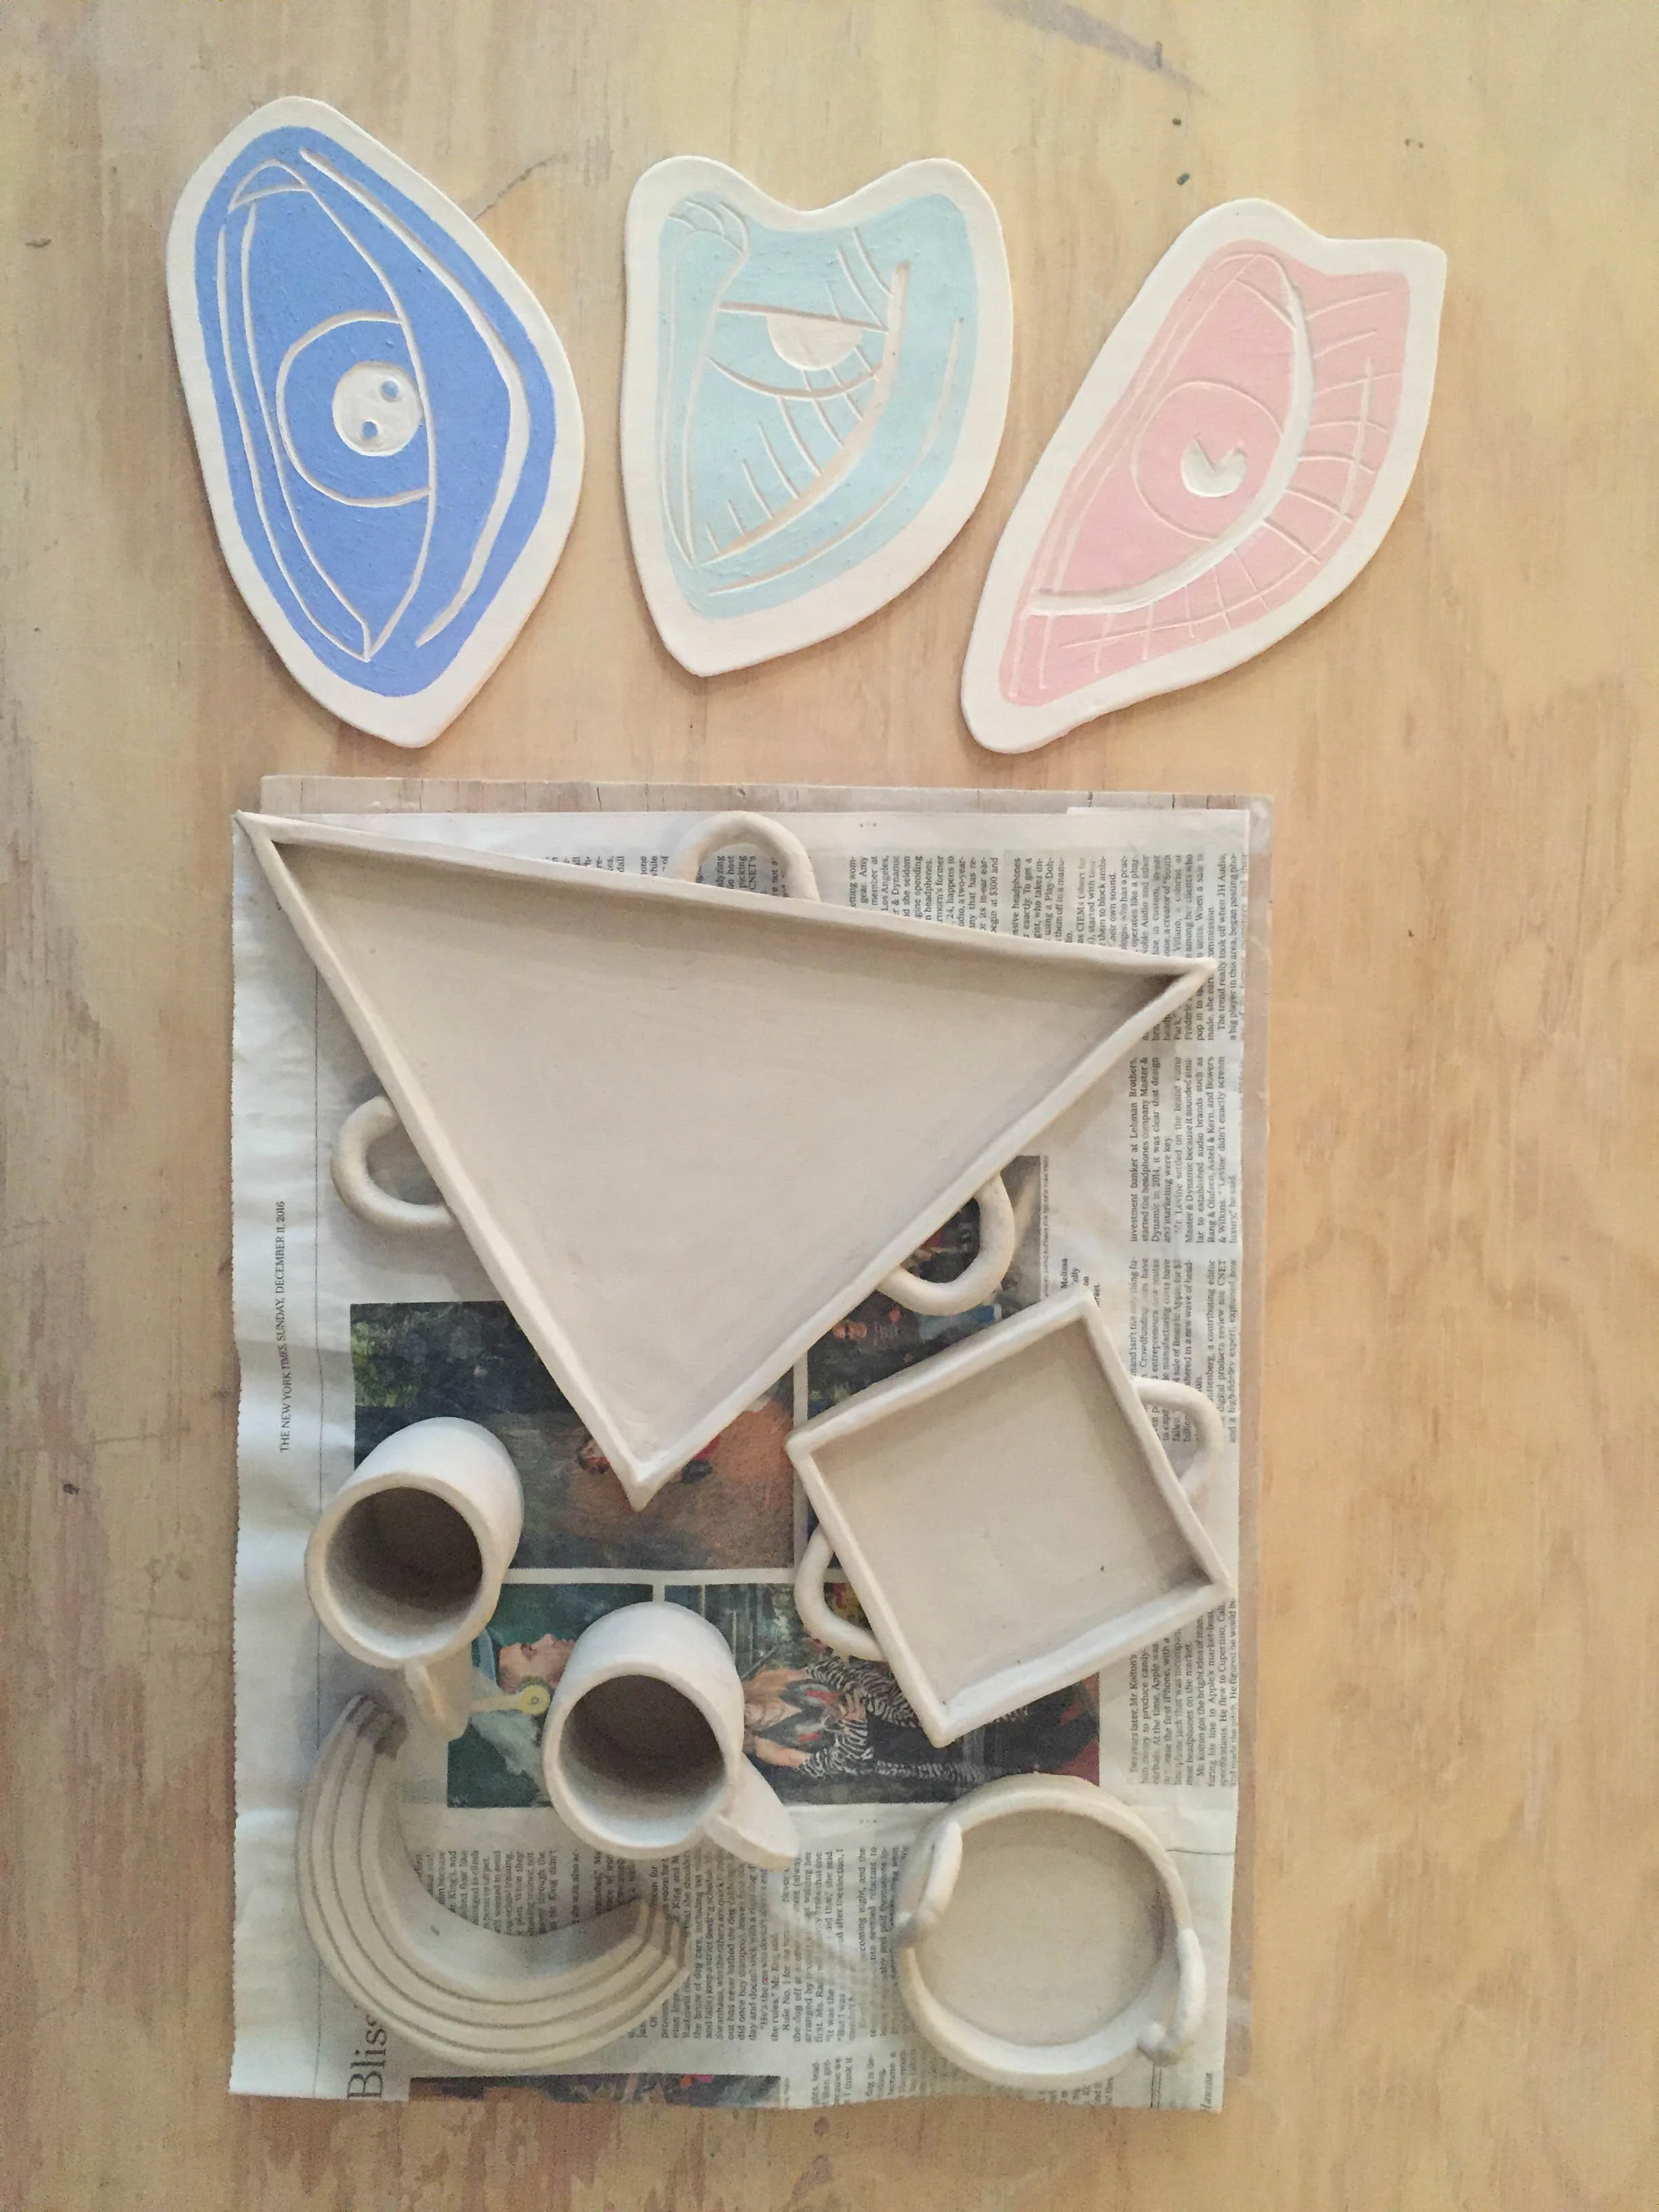
Monday Update | Pre holiday work and moving into 2017
Before the holidays I started working on hand building (with the exception of the carafe) some ideas I had from past and present sketches. Tons of ideas and a lot of concentrated hours in the studio, so I feel really accomplished moving into 2017. Today I glazed the bisqued pieces so they're in the final stages - christmas comes soon :-)
From top to bottom --
- braided spoons
- incense burner
- plates w/ illustration (katzeye)
- primary shapes/colors serving set
- sake carafe and cups
- oval tray (for a friend!)
- earrings
- LRC dice game (two sets)
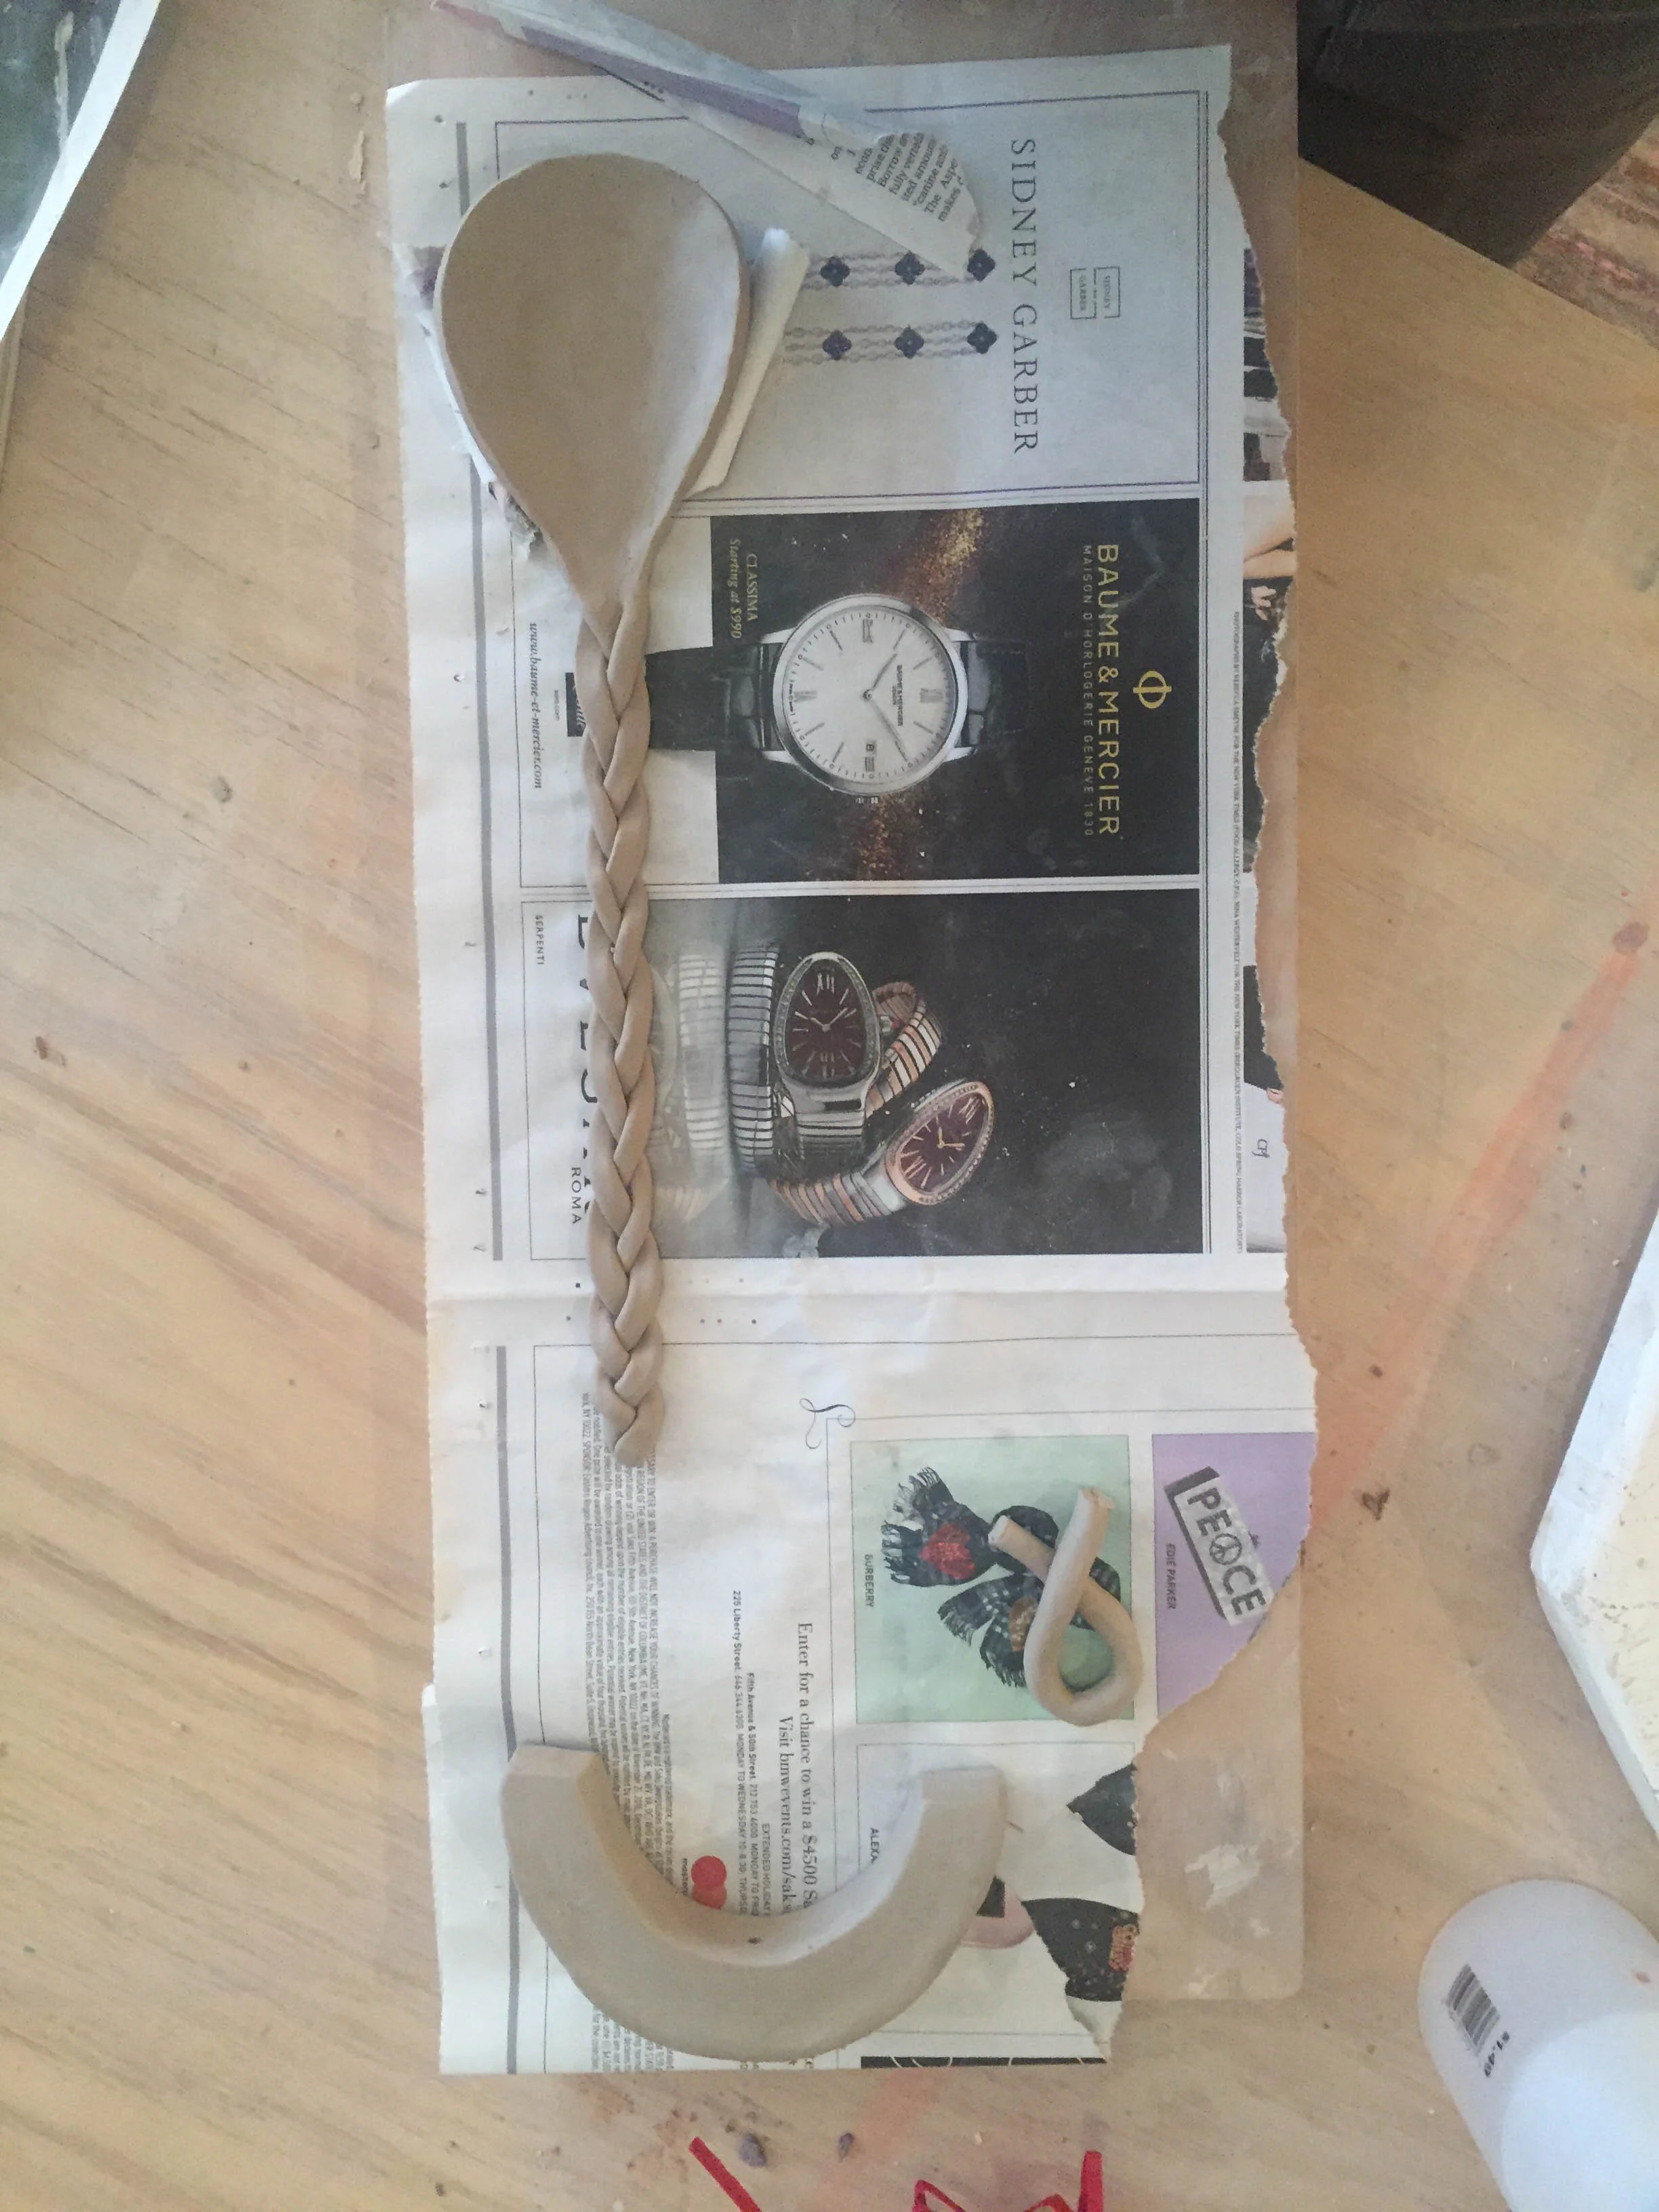
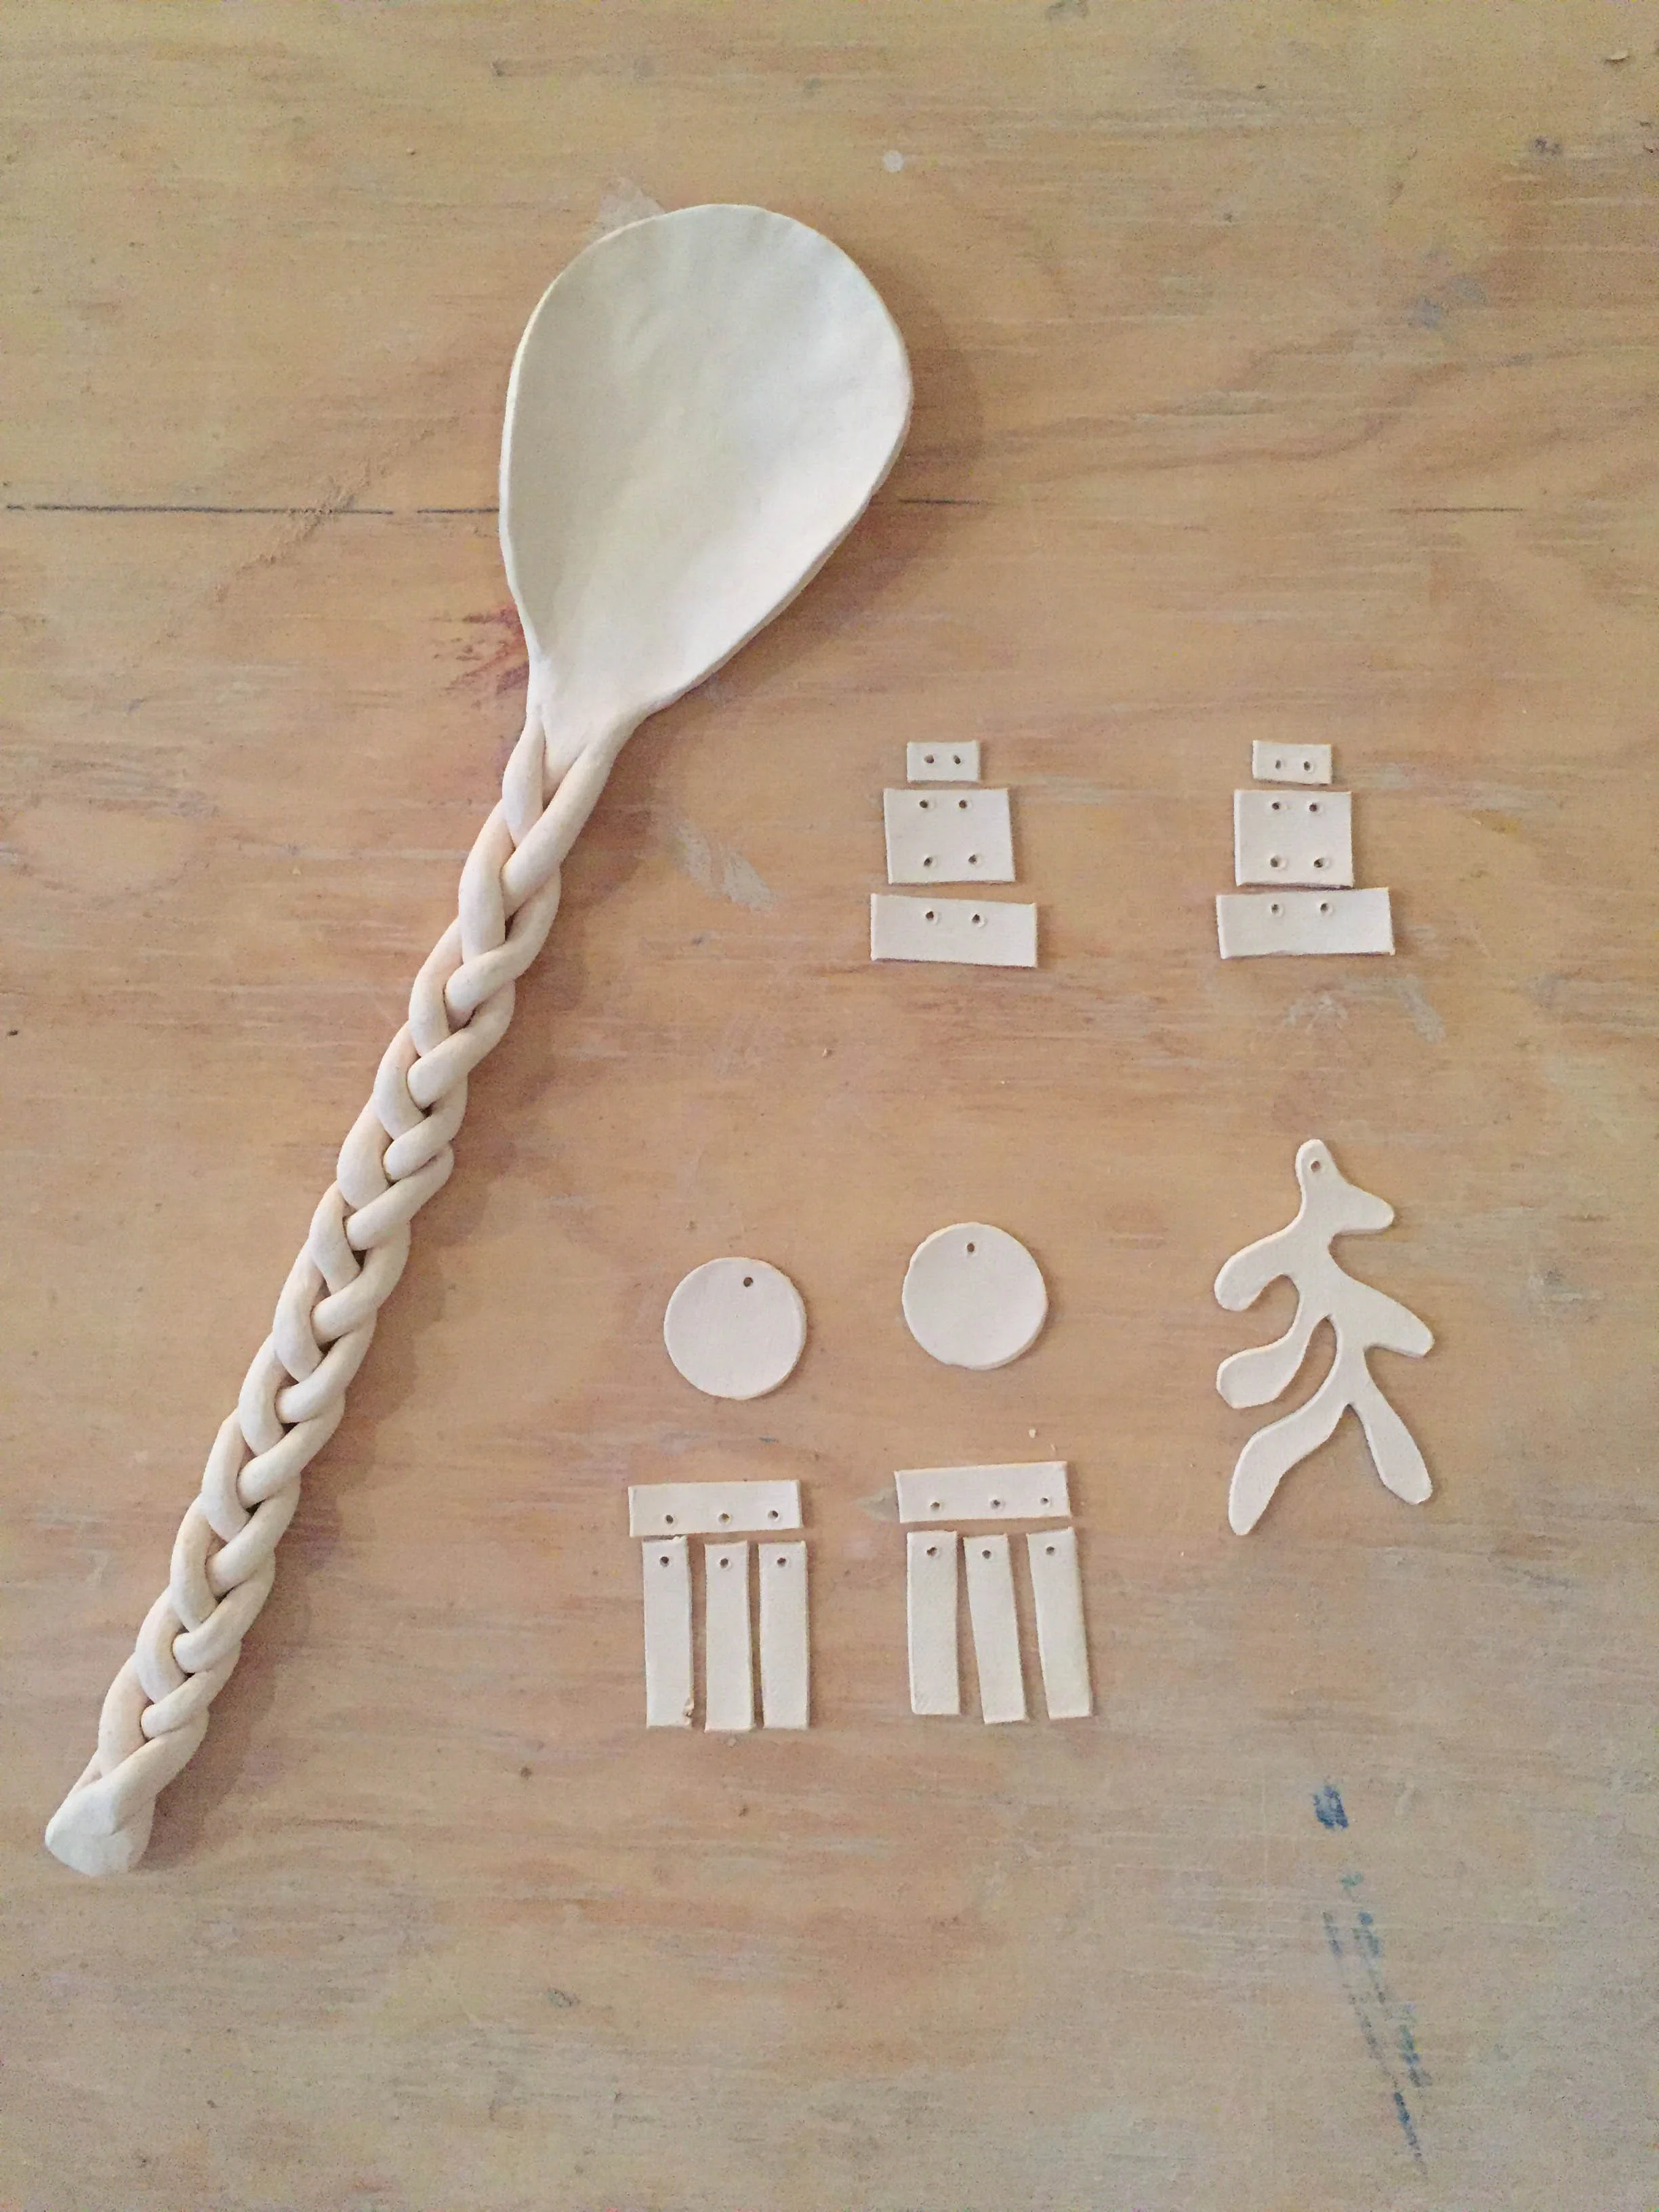

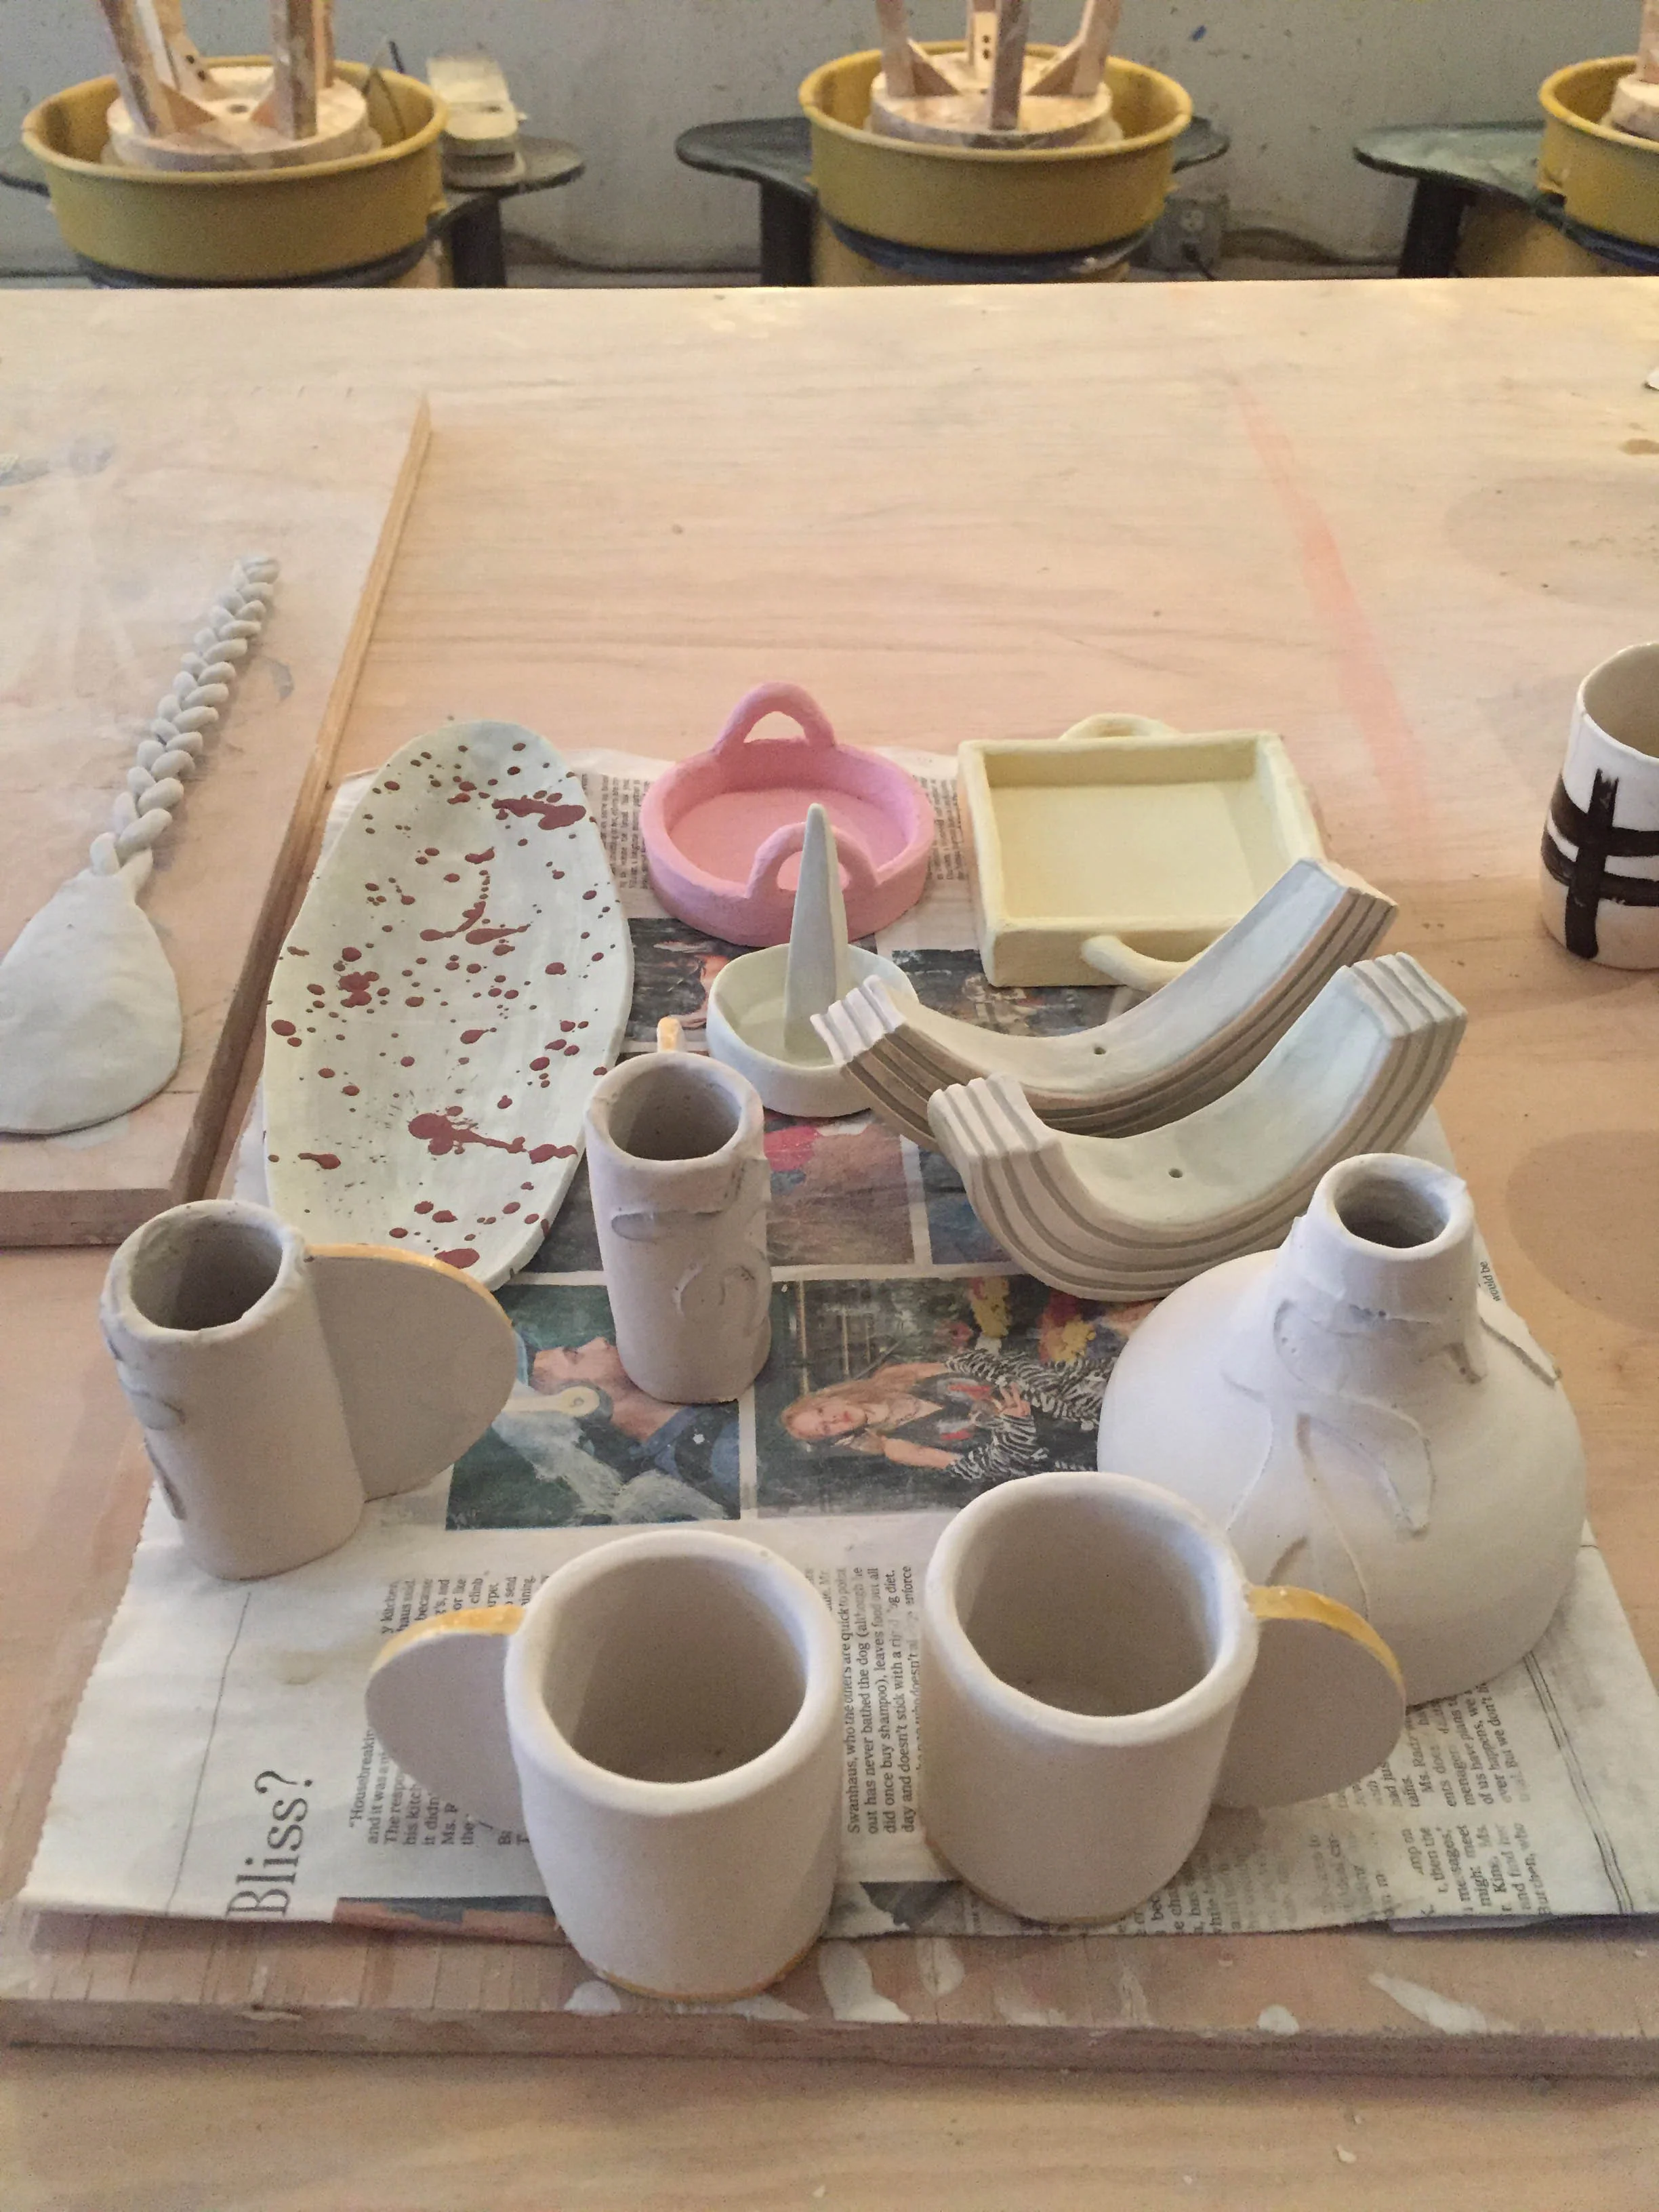
This week I'm making hollowed out vases from some sketches I did on christmas eve - psyched!
- Sarah
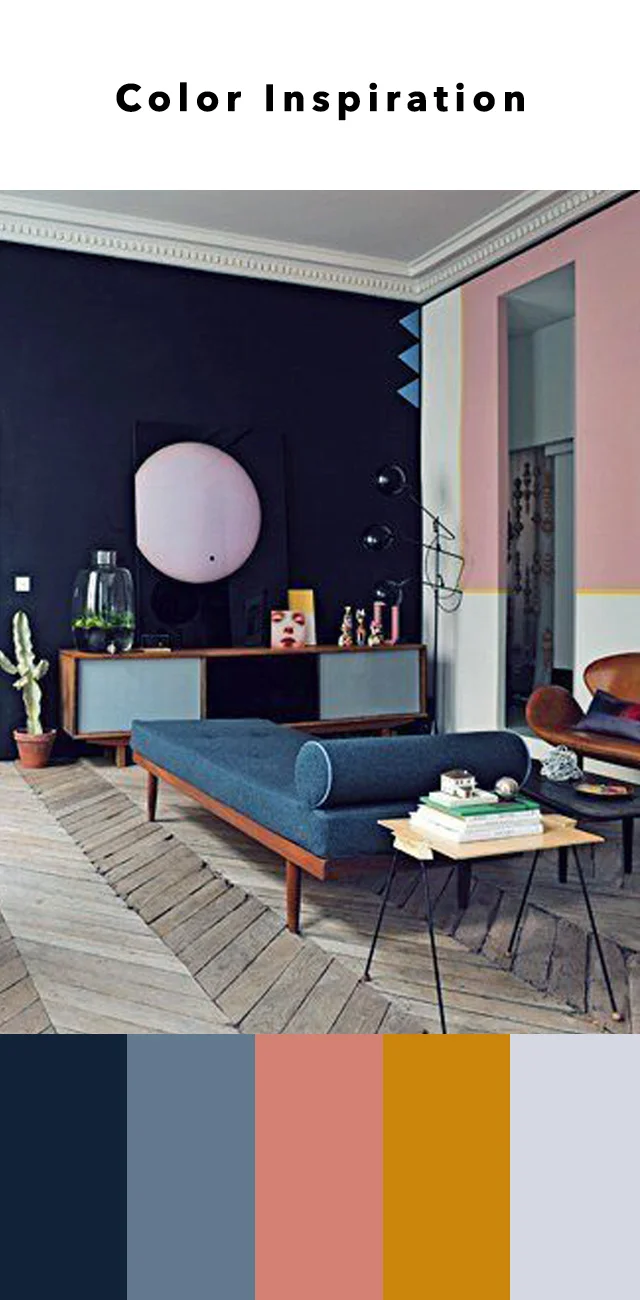
Pinterest | Patterns emerging
I use Pinterest regularly to create mood boards for the various projects I'm working on and lately I've noticed that I've been attracted to warm, natural hues and deep cool blues. This photograph, of a 50's inspired lounge, has me swooning. I'm a sucker for midcentury furniture but I also love this color palette. What do you think? Do you also use Pinterest to visualize?
To see more of my inspirations, check out my Pinterest page.
Cheers,
- sarah